Loading ...
Loading ...
Loading ...
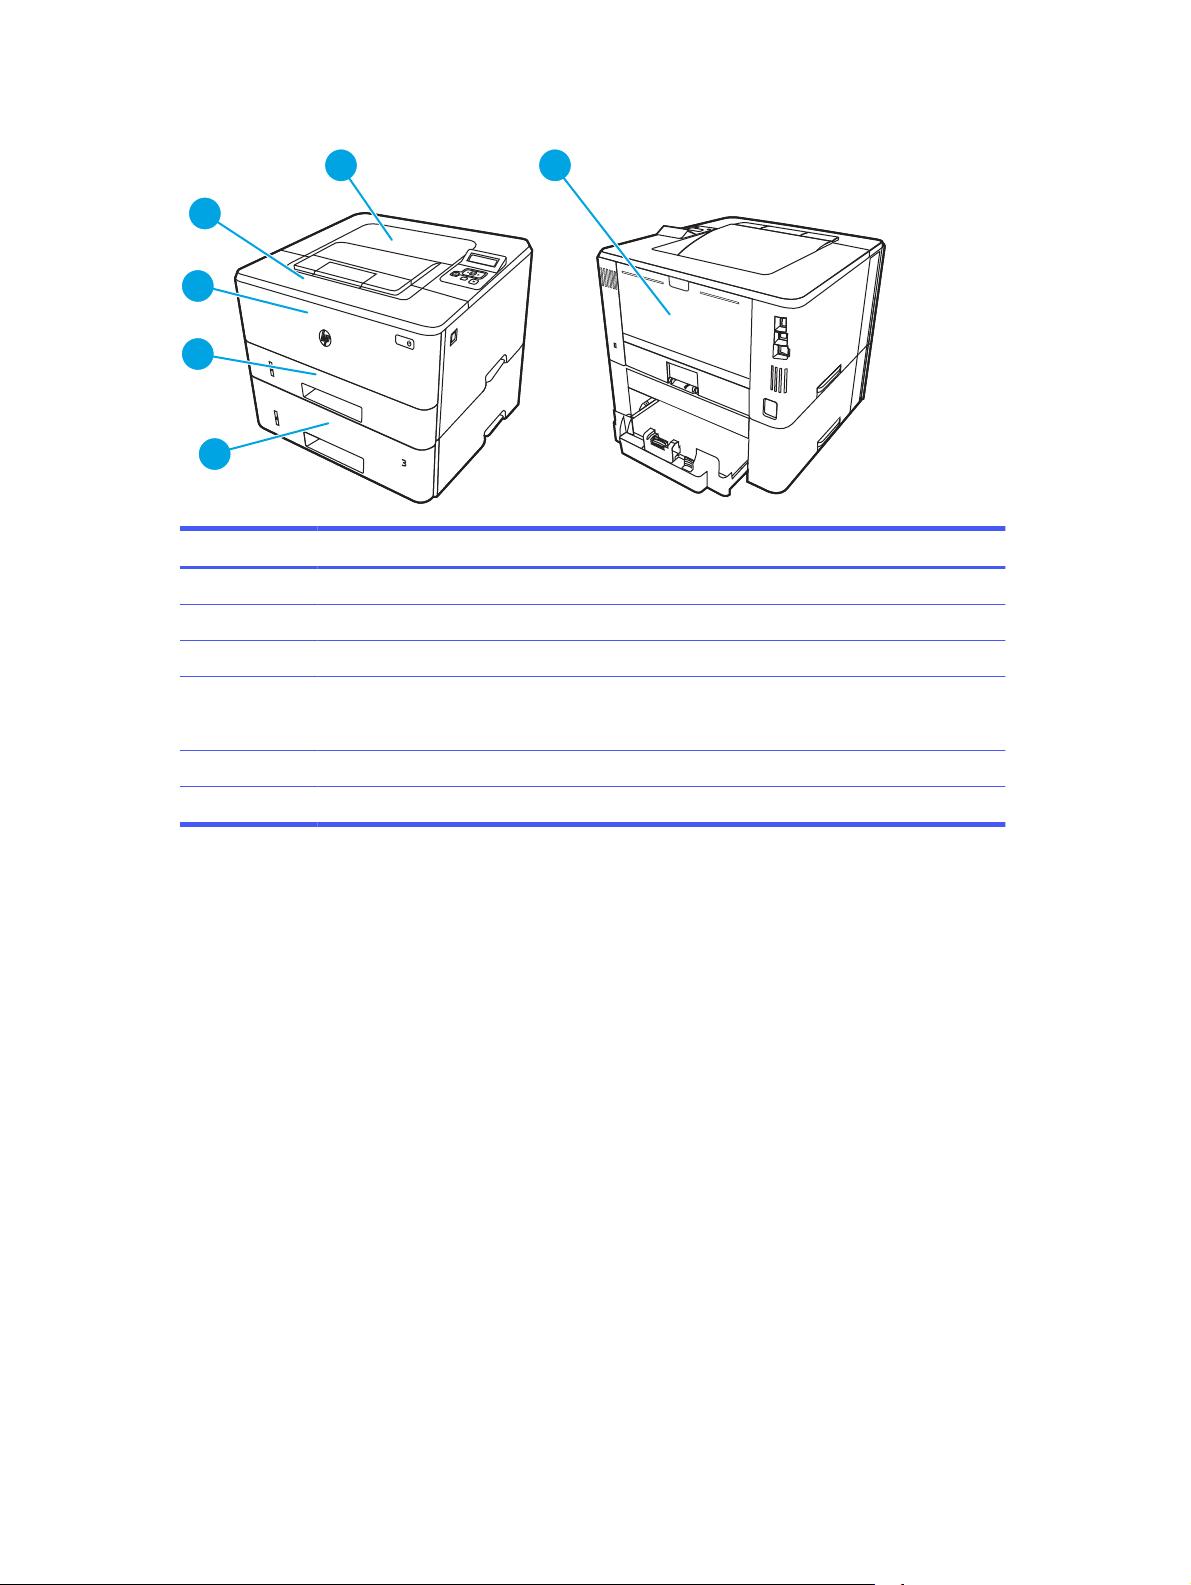
Figure 6-7 Paper jam locations
1
5
6
3
2
4
1
2
Number Description
1 Output bin
2 Fuser area
3 Tray 3 (optional)
4 Tray 2
Duplexing area (remove Tray 2 for access)
5 Tray 1
6 Toner cartridge area (open the front door for access)
Loose toner might remain in the printer after a jam. This problem typically resolves itself after a few
sheets have been printed.
13.02 jam error tray 1
Use the following procedure to clear paper jams in Tray 1.
Recommended action for customers
● 13.02 jam error in tray 1
68 Chapter 6 Solve problems
Loading ...
Loading ...
Loading ...