Loading ...
Loading ...
Loading ...
SIGLENT
SSA3000X User Manual 41
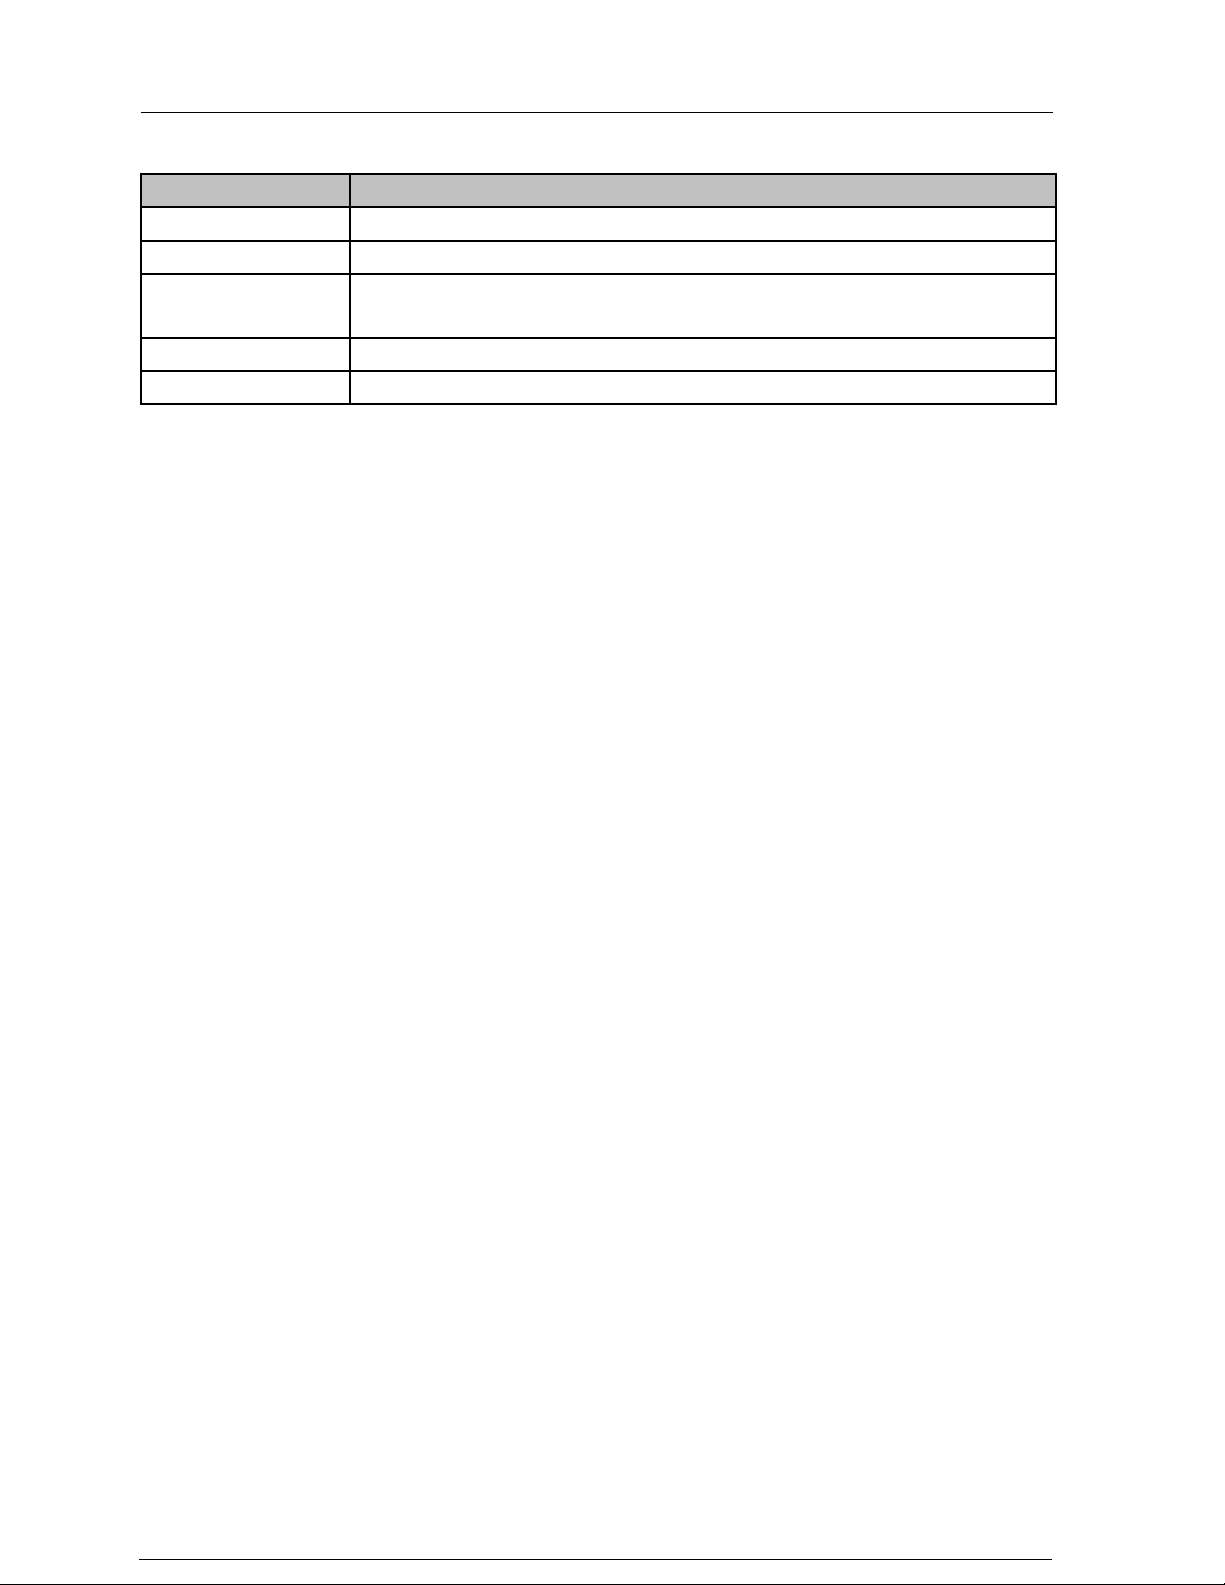
Table 2-27 Marker parameters
Parameter
Explanation
Default
Center Frequency
Range
0 ~ Full Span
Unit
Readout = Frequency , units available are GHz, MHz, kHz, Hz
Readout = Time, units available are s, ms, us, ns, ps
Knob Step
Readout = Frequency (or Period), Step = Span/(Sweep Points - 1)
Direction Key Step
Readout = Frequency (or Period), Step = Span/10
2.3.1.2 Select Trace
Select the trace to be marked by the current marker from A, B, C, D.
2.3.1.3 Normal
One of the marker types. It is used to measure the X (Frequency or Time) and Y (Amplitude) values of a
certain point on the trace. When selected, a marker with the number of the current marker (such as “1”)
appears on the trace.
◆ If no active marker exists currently, a marker will be enabled automatically at the center frequency
of the current trace.
◆ You can use the numeric keys, knob or direction keys to move the marker. The readouts of the
marker will be displayed at the upper right corner of the screen.
◆ The readout resolution of the X-axis (frequency or time) is related to the span. For higher readout
resolution, reduce the span.
2.3.1.4 Delta
One of the marker types. It is used to measure the delta values of X (Frequency or Time) and Y
(Amplitude) between the reference point and a certain point on the trace. When selected, a pair of
markers appears on the trace: Reference Marker (marked by a combination of the marker number and
letter “r”, such as “1r”) and the Delta Marker (marked by the marker number, such as “1”).
◆ A reference marker will be activated at the position of the current marker if an active marker
currently exists; or else both the reference marker and delta marker will be simultaneously
activated at the center frequency.
◆ The location of the reference marker is always fixed (both on the X-axis and the Y-axis); while the
Delta Marker is active. You can use the numeric keys, knob or direction keys to change the
location of the Delta Marker.
◆ The frequency (or time) delta and amplitude delta between the two markers are displayed at the
upper right corner of the screen.
◆ There are two methods for defining a point as the reference point:
a) Open a “Normal” marker and locate it onto a point. Then, switch the marker type to “Delta”; at
this time, this point is the reference point. You can modify the location of the delta point to achieve
delta measurement.
Loading ...
Loading ...
Loading ...