Loading ...
Loading ...
Loading ...
50 | NORD STAGE 3 USER MANUAL OS V2.5X
10
MIDI
USING MIDI
The Nord Stage 3 is designed to be as flexible as possible in regard
to its MIDI capabilities. It can be used as a master keyboard to control
other hardware units or software sound sources, or as two independent
panels to be played/controlled by outboard gear such as a sequencer. It
is also possible to control only parts of the Nord Stage 3 from a separate
keyboard. If you like, you can even do all these things at the same time.
The MIDI functionality of the Nord Stage 3 can be divided into four main
areas: Global, Panel, Dual KB and Extern. Each of these are inde-
pendently assignable to any MIDI channel. MIDI functions can also be
disabled by setting the related channel setting to Off. MIDI channels are
defined in the MIDI and Extern menus, see page 56.
Global and Extern are used to transmit MIDI data to other units, while
Panel and Dual KB modes only receive MIDI data. Most settings relating
to MIDI functions are made in the MIDI Menu, except for the Extern set-
tings that are made in the Extern Menu and Dual KB configuration which
is done from the Dual KB panel control.
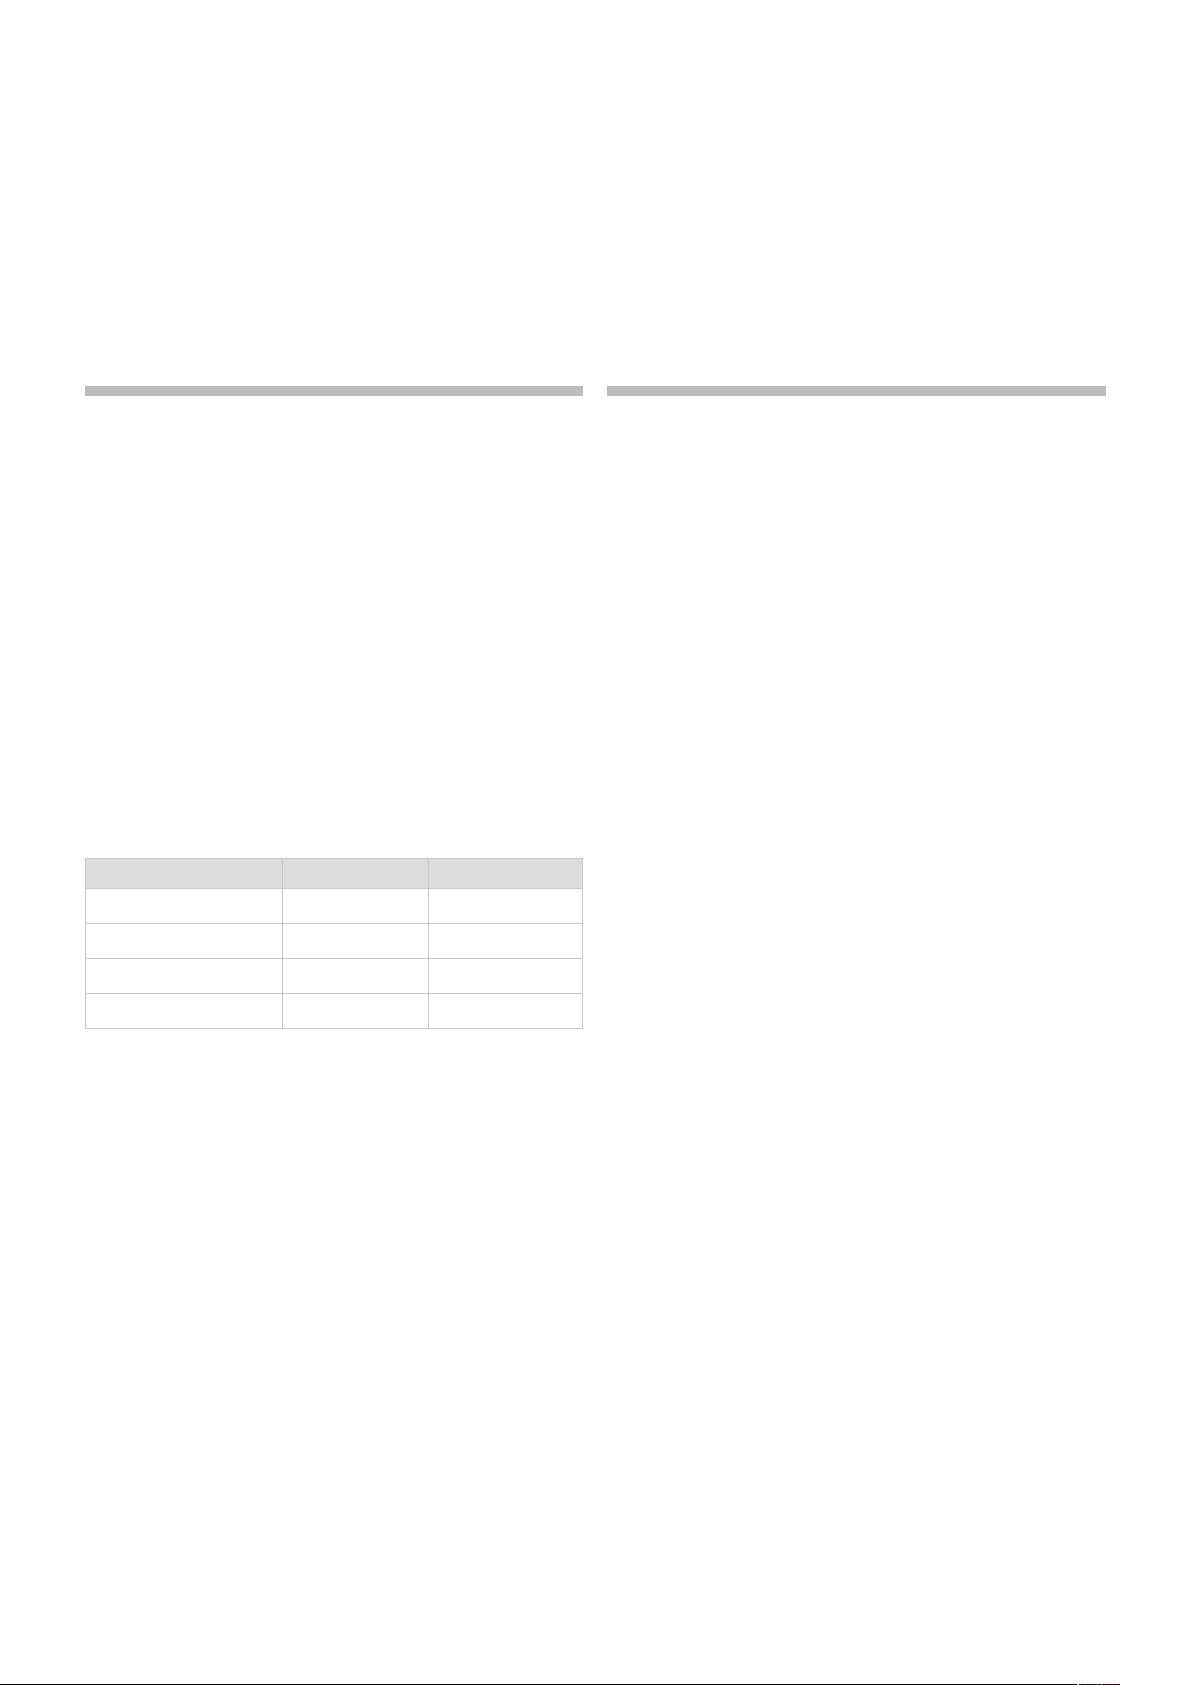
Nord Stage 3 MIDI IN MIDI OUT
Global
a a
Panel A/B
a
Dual KB
a
Extern
a
GLOBAL
The Global MIDI channel is used for transmitting and receiving MIDI
information at the same time. It allows for external control over every
aspect of the Nord Stage 3 - much like playing its own keyboard - and it
can be used to transmit keyboard, pedal and panel actions.
Any MIDI data entering the Nord Stage 3 on the Global MIDI channel will
reach the sound engines that are active within the active program. If the
program includes layers and/or splits, those will be acknowledged by
incoming MIDI as well.
Global transmits both keyboard and panel generated MIDI data. For ex-
ample, if a knob in the Synth section is turned or the modulation wheel,
aftertouch, connected pedals or pitch stick are used, these will generate
MIDI data that is transmitted on the Global channel.
M Global MIDI can be turned Off in the MIDI menu. This disables both
transmission and reception of MIDI from the Global component.
PANEL A/B
The Panel MIDI channels only receive MIDI, allowing for control of an
entire Panel and its active sound engines from an external device. Panel
A and Panel B can be assigned individual MIDI channels in the Nord
Stage 3 MIDI Menu.
EXTERN
The Extern section is primarily designed for integration of external MIDI
units into a live performance. Below is a practical example of how this
could be set up. Refer to the Extern chapter, beginning on page 43,
for full documentation on how to work with the Extern section.
CONTROLLING EXTERNAL GEAR FROM THE
NORD STAGE 3
It is useful to think of the Extern A/B sections simply as another pair of
onboard sound engines - just like the Organ, Piano and Synth sections.
Assigning keyboard zones and layers, enabling pitch stick and sustain
pedal etc. are all done in the same manner as with other sections.
It is also possible to store “initial values” of things such as Program
Change, Bank Select, or Volume, for the Extern A/B panels. The Extern
section also features a value dial, assignable to any MIDI CC#. Most
settings can be stored either on a global or per-program basis.
1 Select a Nord Stage 3 program where external sounds should be
integrated.
2 Set the Extern A section and the external device, for example a
rack synth module, to the same MIDI channel. On the Nord Stage 3
this is done in the Extern menu, accessed through EXTERN (Shift +
Program button 4).
E Make sure that the Extern channel is not the same channel as the
Nord Stage 3 Global channel.
3 Turn on the Extern section and assign it to the desired keyboard
zone(s).
4 Play within the zone defined for Extern A on the Nord Stage 3 and
you should hear your external device.
M There may be settings on the external MIDI unit, affecting how it
reacts to incoming MIDI data. Refer to its documentation if needed.
5 Set OCT UP/DOWN, SUST PED and PSTICK as appropriate.
6 Press the Extern parameter button repeatedly until the PROGRAM
LED is lit. Turn the Extern encoder until the desired program is
selected on the external device. If Bank Select data is needed
for accessing the program, these data will need to be manually
entered into the Extern Menu.
7 Press the Extern Parameter Select repeatedly until the VOLUME
LED is lit. Turn the Extern encoder knob to adjust the volume of the
external MIDI (which is achieved by transmitting MIDI CC#7).
8 Store the program on the Nord Stage 3.
By activating Send On Load in the Extern Menu all stored data (program
change, bank select, MIDI CC and volume) will automatically be sent
from the Nord Stage 3 whenever this program is selected. An additional
continuous controller message can be defined in the Extern menu, if
needed. Simply set the CC number and the desired value and it will be
transmitted along with everything else.
Loading ...
Loading ...
Loading ...