Loading ...
Loading ...
Loading ...
28 | NORD STAGE 3 USER MANUAL OS V2.5X
3 To assign your program a category, which may be useful for
retrieving it later on, press down on the Cat soft button and select
any of the 20 categories from the list.
4 Pressing STORE will now bring up the Store Program/Song To
screen. Use the dial and/or PAGE 3/4and Program buttons to
select a location.
5 When a suitable location has been found, press STORE again.
Naming programs and songs can also be done with the Nord
Sound Manager.
SONG MODE
The Nord Stage 3 features a dedicated Song Mode
which is used for referencing groups of programs,
according to how they are used within a live set list
or similar. Program references are referred to as song
parts, and a group of 5 song parts is referred to as a
song. There are a total of 8 banks of 50 songs each.
E It is important to note that songs do not contain copies of the pro-
grams and their data. This means that if a program is edited and
stored, all songs referencing it will make use of the edited program.
When SONG MODE is pressed, the last active song will be selected and
the Song Mode LED will light up. The display will show the location and
name of the Song, along with the currently focused program within the
Song.
Navigating parts within a song is as easy as pressing one of the SONG
PARTS 1-5 buttons. Songs are changed either by pressing the PAGE
3/4 buttons or by turning the PROGRAM dial.
Song parts can also be changed by using an attached Program
Up/Dn pedal.
SONG EDIT
To select which programs should be part of a song, activate SONG EDIT
(Shift + Song Mode), indicated both in the display and by the Song
Mode LED and current Program LED blinking.
To then change which program is referenced from a song part, simply
press the corresponding SONG PARTS button, and turn the dial. To re-
turn from Song Edit mode, press EXIT.
E Any changes made in Song Edit mode need to be stored through a
Store operation to take effect.
STORING A SONG
Storing and naming a Song is done in exactly the same way as storing
and naming programs, see the previous Store section for details.
STORING EDITED PROGRAMS
Program edits that have been made when in Song Mode will not be
stored when a song is stored, as the song only contains references to
program locations. To store an edited program, first exit Song Mode by
pressing SONG MODE – which brings up the edited program at its pro-
gram bank location – and then perform a Store operation normally.
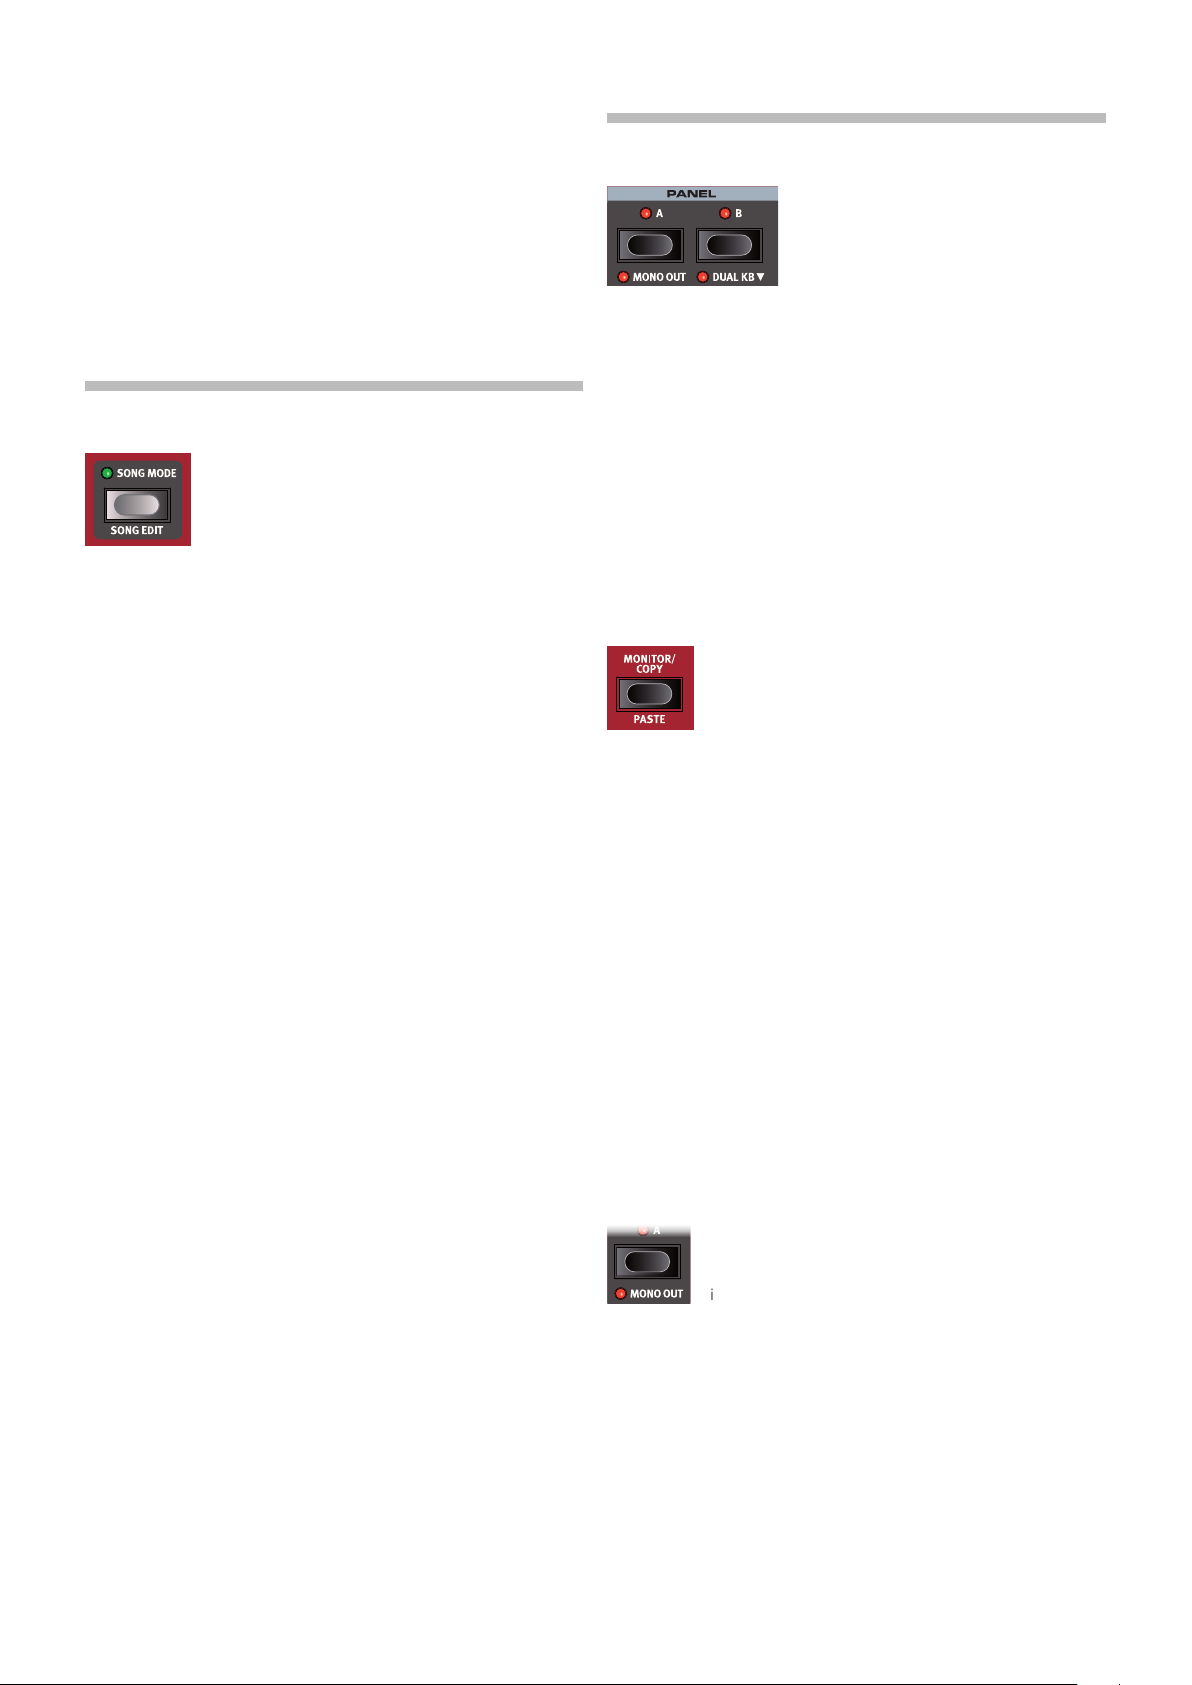
PANEL BUTTONS A & B
There are two independent panels available
for each program: Panel A and Panel B.
Each panel provides a complete setup of
the Organ, Piano, Synth, Extern and Effects
sections. The two panels can be used as a
vehicle for quickly switching between two
different sounds, or for creating layers utilizing the sound engines of both
panels.
To activate both panels, hold down the currently active PANEL A or B
button and press the other one. There are now six sound engines and
two instances of each effects unit available for use within one program.
With both panels active, one of the panel button LEDs will flash, indi-
cating which panel is focused for editing. To switch edit focus press the
corresponding panel button. To disable one panel, and return to a single
panel setup, hold the button of the panel that should be kept and press
the other one.
MONITOR / COPY PANEL / PASTE
To display what a parameter on the panel is set to, with-
out changing it, hold down the MONITOR button and turn
the associated parameter knob.
The COPY PANEL button can be used not only for copy-
ing a panel, but also for copying a program or a morph:
1 Make a copy by holding down the COPY PANEL button in combina-
tion with one of the options below:
• To copy a Panel, press the PANEL A or B buttons
• To copy a Morph, press the WHEEL, ATOUCH or CTRLPED buttons
• To copy a Program, press one of the PROGRAM 1-5 buttons.
2 To paste the copied settings, hold down PASTE (Shift + Monitor/
Copy Panel) and the button corresponding to the panel, morph or
program the settings should be pasted into. Panels and morphs
can either be pasted within the program they were copied from, or
into any other program.
M When pasting a panel to the other panel in the same program,
two options are given: Swap (Program 3 button) will have the two
panels switch places while Paste (Program 4 button) performs a
normal paste operation. Press Cancel (Program 1 button) to abort.
MONO OUT
Enable MONO OUT (Shift + Panel A button) to set the out-
puts of the Stage 3 sound sources and effects to mono.
This is a global setting which will affect all programs until
it is deactivated or the Nord Stage 3 is turned off.
DUAL KB
The DUAL KB feature allows for playing and controlling either the entire
Panel B, or one of the Panel B sound engines from an external keyboard
connected to the MIDI input of the Nord Stage 3. This can be handy in
live situations where a secondary keyboard can be used as a controller
for parts of the Nord Stage 3, on a per-program basis.
Loading ...
Loading ...
Loading ...