Loading ...
Loading ...
Loading ...
14 Setting Oven Controls
Setting the Clock
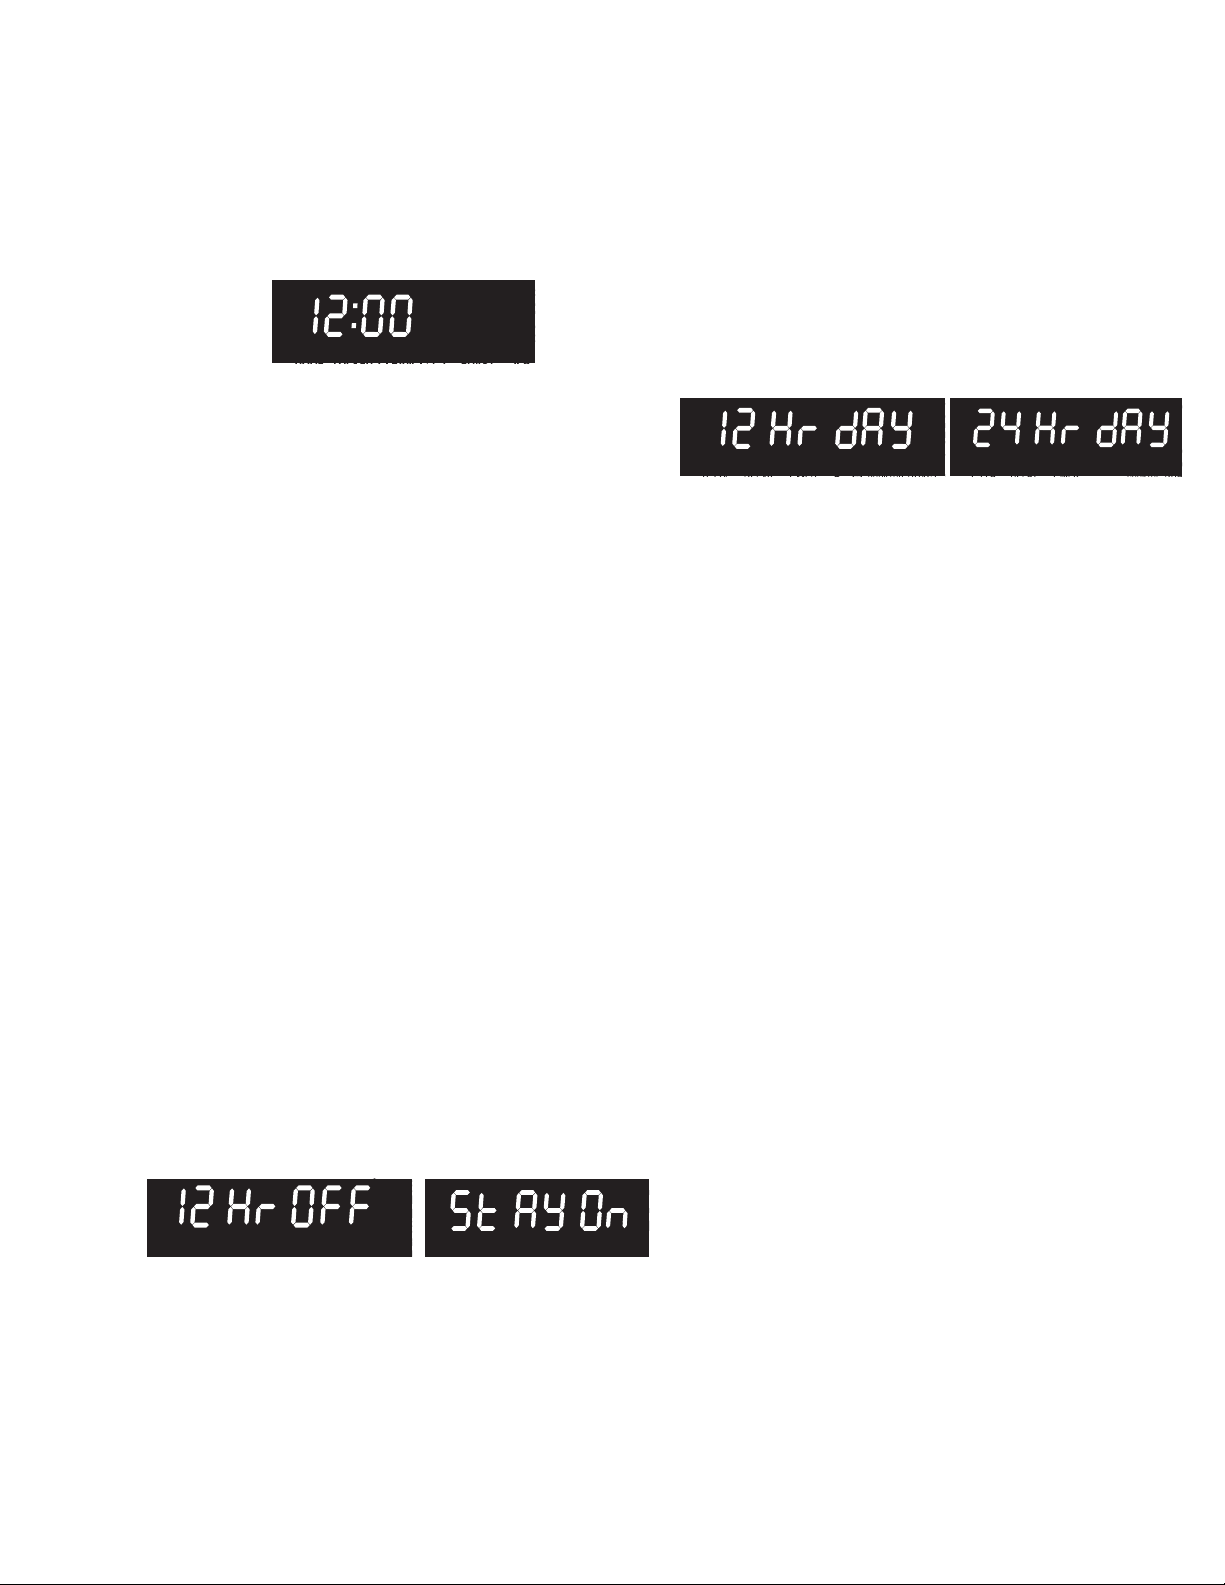
When the appliance is powered up for the first time or when the
electric supply to the appliance has been interrupted, the dis-
play will flash 12:00 (Figure 7).
To set the clock for 1:30:
1. Press set clock.
2. Enter 1 3 0 using numeric keypad.
3. Press START to accept time.
IMPORTANT! The clock cannot be changed when a cook time,
self clean, delay start, or cooking feature is active.
•Be sure to set the clock to the correct time of day before
using the oven, especially when cooking with added time
instructions.
•If an invalid time of day is entered, the control will sound
with a triple beep (error tone). Re-enter a valid time of day
and press START.
•If CANCEL is pressed the clock will automatically set for
12:00.
Changing Between Continuous Bake Setting or
12 Hour Energy Saving Feature
The oven control has a factory preset 12 hour energy saving
feature that will turn off the oven after 12 hours. The control may
be programmed to override this feature to bake continuously.
To change between continuous bake or 12 hour energy
saving feature:
1. Press and hold Timer on-off until 12 Hr OFF or Stay On
appears in the display.
2. Press self clean to toggle between 12 Hour OFF or Stay
On feature.
3. Press START to accept choice.
Setting 12 Hour or 24 Hour display mode
The clock display mode allows you to select 12 hr or 24 hr
modes. The factory pre-set clock display mode is 12 hours.
To set 12 hr or 24 hr display mode:
1. Press and hold set clock until either 12 Hr day or 24 Hr day
appears in the display.
2. Press self clean to toggle between 12 Hr day or 24 Hr day
display modes (Figure 9).
3. Press START to accept the choice.
Setting Timer
The minute timer allows you to track your cooking times without
interfering with the cooking process. The timer may be set from
a minimum time of 1 minute to a maximum of 11 hours and 59
minutes.
To set timer for 5 minutes:
1. Press Timer on-off. The indicator light above the key will
flash.
2. Enter 5 using numeric keypad.
3. Press START to start the timer.The indicator light remains
on above the Timer on-off key.
4. When set time ends, END will show in the display and the
control will sound a beep three times every 30 seconds until
Timer on-off key is pressed.
To cancel the timer when active, press Timer on-off again.
Important note:
•The timer does not start or stop the cooking process. It
serves as an extra minute timer that will beep when the set
time has run out. The timer may be used alone or while
using any of the other oven functions.
•When timer is set for more than 1 hour it will display hours
and minutes until 1 hour remains. When less than 1 hour
remains, the display counts down in minutes and seconds.
With less than 1 minute remaining, only seconds will
display.
•If the timer is active during a cooking process, the timer will
show in the display. To view the status of any other active
oven function, press the key of the cooking function once
and it will appear in the display for a few seconds.
Fig. 7 12:00 displayed flashing when oven is powered up
or power is restored after an interruption
Figure 8: 12 Hr OFF or Continuous Bake setting
Figure 9: 12 Hr dAy and 24 Hr dAy settings
Loading ...
Loading ...
Loading ...