Loading ...
Loading ...
Loading ...
Perlick is committed to continuous improvement. Therefore, we reserve the right to change specications without prior notice
17
Form No. Z2751
Rev. 05.26.21
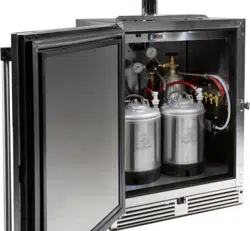
PERLICK NITRO BEVERAGE DISPENSING KIT
Operation/Installation Manual
1. Refer to the Tower Installation Manual in Operation 8 for
additional material on air scoop installation.
2. Identify the air scoop and how many attachment points are
needed (varies based on refrigeration model).
3. Find the evaporator fan’s cover in the refrigeration unit and
remove the necessary screws via a philips screwdriver for
the air scoop’s attachment points.
4. Replace the screws on the evaporator fan’s cover with the
air scoop installed.
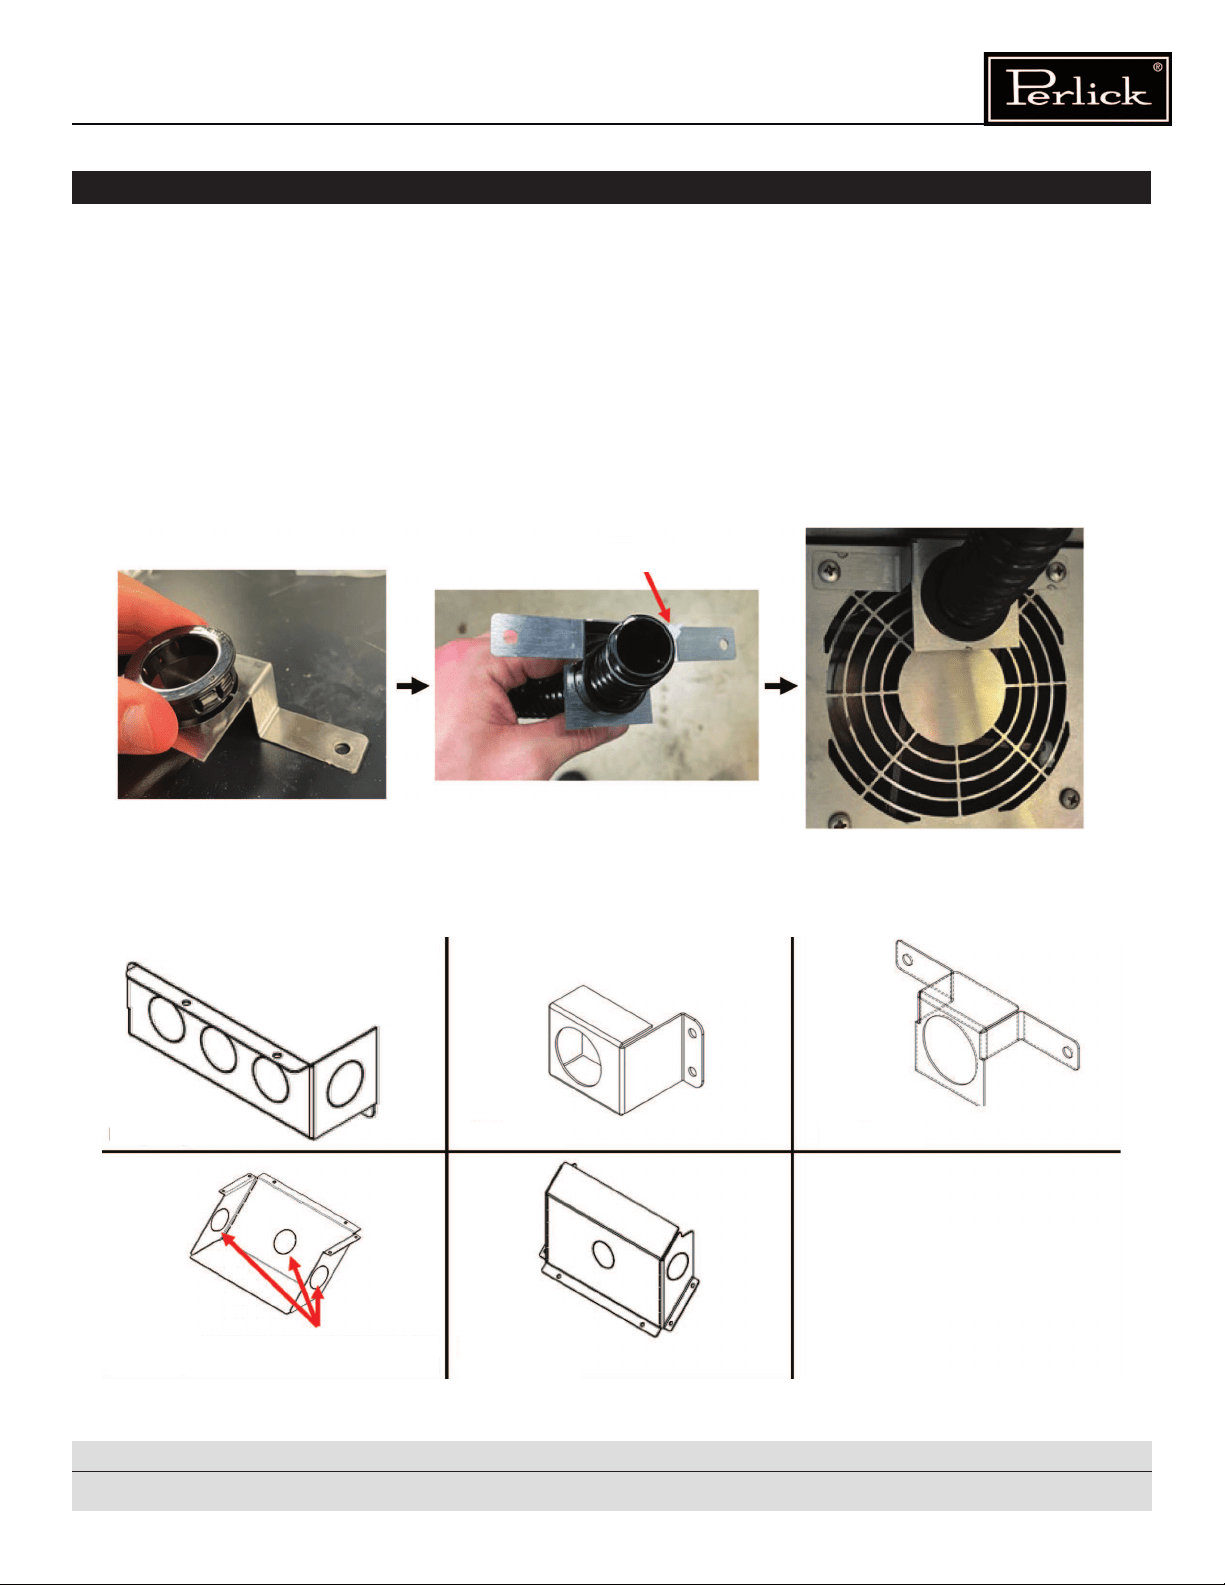
5. Place the accordian-style (black) tubing into the bushing.
a) Place a zip tie on the side of the tubing nearest to
the evaporator fan. This will ensure the tubing does
not slip out.
6. Snap in bushing with the tubing and zip tie installed.
7. Gauge how much tubing needs to be routed into the
tower and cut.
a) Ensure there is at least a couple inches of tubing
routed up into the tower for sucient air ow.
OPERATION #9
–
INSTALLING AIR SCOOP & TUBING TO COOL TOWER
Zip tie
Used in rst compartment from
compressor for DZS36. Used
next to the rst door by the
compressor in DZS60.
Used next to the second door away
from the compressor in DZS60.
Remove only one knockout per
tower for all air scoops.
Fig.16
Air scoops applicable
refrigeration family
Fig. 15
Installation Process for air scoop, tubing, and bushing
For DDC,
DDS, DZS,
BBR, BBRN
DZS HC & HP
BBR24
Only
BBR & BBRN
(Except BBR24)
Loading ...
Loading ...
Loading ...