Loading ...
Loading ...
Loading ...
Perlick is committed to continuous improvement. Therefore, we reserve the right to change specications without prior notice
15
Form No. Z2751
Rev. 05.26.21
PERLICK NITRO BEVERAGE DISPENSING KIT
Operation/Installation Manual
1. Place worm drive clamps around tubing that will attach to
the quick disconnects.
2. Use the beverage tubing from the nitrogen infuser’s inputs
(one line for single infuser and two lines for the dual
infuser) in Operation 4 and attach it to the hose barb on
the black quick disconnect(s) (Fig. 10).
3. Slide the worm-drive clamp over the hose barb and tubing
and tighten the clamp with a 1/4” nut driver to compress
the beverage line to the hose barb.
4. Repeat Steps 1 through 3 for the red gas lines from the air
distributor but ensure the gas line is connected to the gray
quick disconnect. There must be one gas line per beverage
input line from the nitro infuser (Fig. 11).
OPERATION #5
–
CONNECTING TO QUICK DISCONNECTS
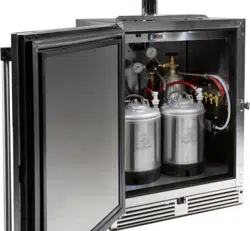
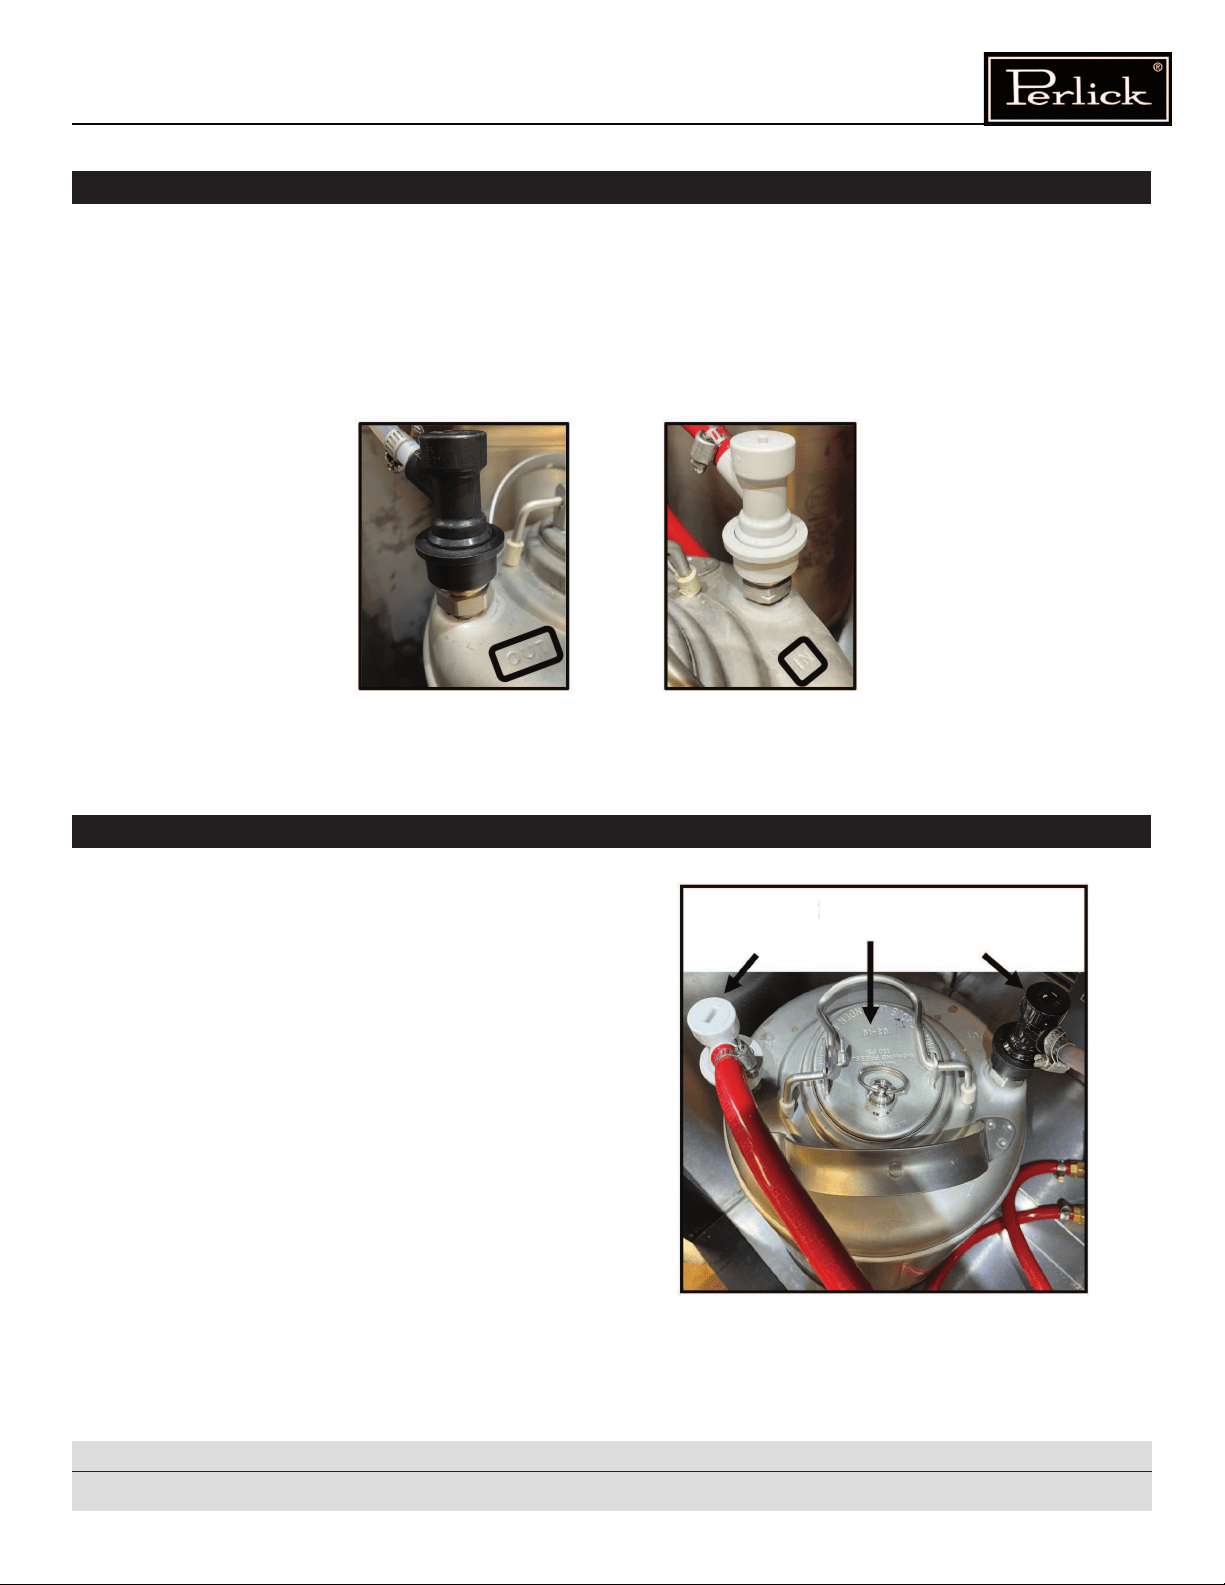
1. Place quick disconnects onto tank (Fig. 11).
a) It is critical that the gray or gas quick disconnect(s)
are placed where the tank has the word in embossed
into its surface (Fig. 11 and 12).
b) It is critical that the black or liquid quick
disconnect(s) is placed where the tank has out
embossed into its surface (Fig. 10 and 12).
2. Make sure a good connection is made and the connectors
are seated properly.
a) Pull up on the plastic ring to unlock the quick
disconnect. This will allow the quick disconnect to be
easily secured or removed.
b) A noticeable clicking sound & positional shift will be
made when the disconnect is secured.
OPERATION #6
–
CONNECTING TO KEG
Fig. 10 Fig. 11
Black quick
disconnect
for liquid
Gray quick
disconnect
for gas
Fig. 12
Gas line
in
Keg
Output to
tower
Loading ...
Loading ...
Loading ...