Loading ...
Loading ...
Loading ...
75 76ninjakitchen.eu
ninjakitchen.eu
Before Use
Make sure the probe socket is free of any
residue and the cord is free of knots before
plugging it into the socket.
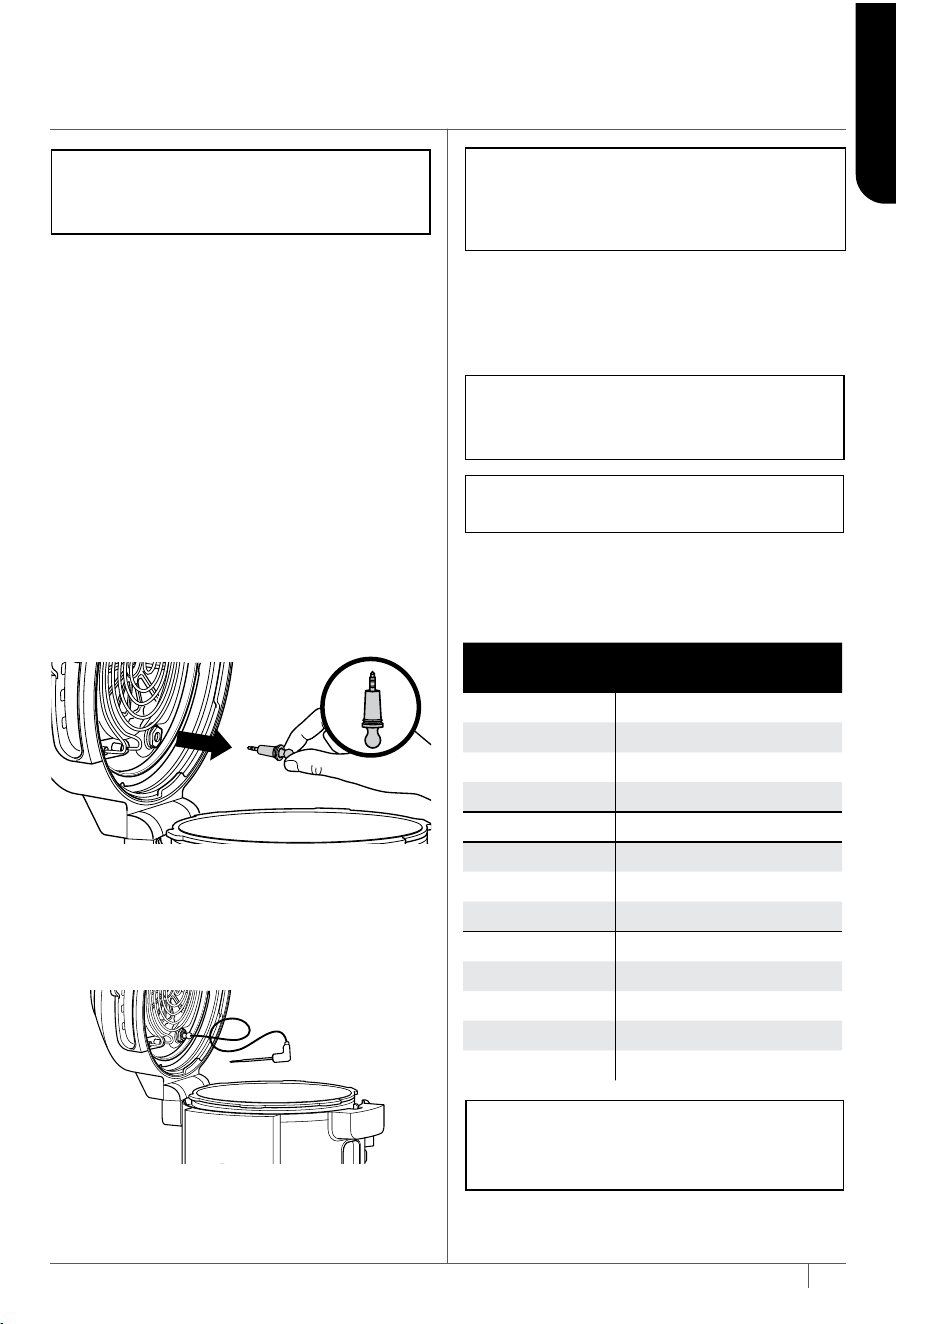
1 Press the bottom of the storage
compartment on the right side of the unit
to release it. Then unwind the cord from the
compartment to remove the probe.
2 Remove the cap from the socket inside
the lid on the bottom right, then plug the
probe into the socket. Push firmly on the
probe until it clicks into place and cannot
go into the socket any further. Place the
cap in the storage compartment and
place the storage compartment back
onto the side of the unit.
DO NOT lose the probe cap; the unit will
not function without it.
3 Once the probe is plugged into the
socket, it will enable and illuminate the
PRESET and MANUAL probe buttons
if available for the selected function.
Select the desired cook function and
temperature.
NOTE: There is no need to set a cook
time, as the unit will automatically turn
off the heating element and alert you
when your food has finished cooking.
4 If using the Preset feature, press PRESET
and use the arrows to the right of the display
to select your desired food type and the arrows
to the left of the display to set the internal
outcome of your food (Rare to Well Done).
If using the Manual feature, press MANUAL
and use the recommended internal cook
temperatures below for functions besides
Pressure Cook.
5 Place the accessory required for your
selected cook function in the unit.
FOOD TYPE: SET OUTCOME TO:
Fish Medium Rare (50˚C)
Medium (55˚C)
Medium Well (60˚C)
Well Done (65˚C)
Chicken/Turkey Well Done (75˚C)
Pork Medium (55˚C)
Medium Well (65˚C)
Well Done (70˚C)
Beef/Lamb Rare (50˚C)
Medium Rare (55˚C)
Medium (60˚C)
Medium Well (65˚C)
Well Done (70˚C)
NOTE: Cooking different meats or the
same ones to a different outcome? Refer to
the next page for details on programming.
NOTE: In pressure cooking mode, you can
only set for "Well" and "Shred" for preset.
IMPORTANT: Digital Cooking Probe and
cord will be hot during and after cooking.
Use caution when removing probe from food.
NOTE: Set outcome for BEEF, FISH and PORK
are lower than normal recommendations
as unit will carry-over cook 5°C.
REMOVING & REINSTALLING
THE ANTI-CLOG CAP
The anti-clog cap protects the inner
valve of the pressure lid from clogging
and protects users from potential food
splatters. It should be cleaned after every
use with a cleaning brush.
To remove it, hold the anti-clog cap
between your thumb and bent index finger,
then rotate your wrist clockwise. To reinstall,
position it in place and press down. Make
sure the anti-clog cap is in the correct
position before using the unit.
NOTE: Prior to each use, make sure
the silicone ring is well-seated in the
silicone ring rack and the anti-clog cap
is mounted properly on the pressure
release valve.
1 Remove and discard any packaging
material, stickers and tape from
the unit.
2 Pay particular attention to operational
instructions, warnings and important
safeguards to avoid any injury or
property damage.
3 Wash the silicone ring, removable
cooking pot, Cook & Crisp Basket,
reversible rack, multi-purpose tin and
condensation collector in warm, soapy
water, then rinse and dry thoroughly.
NEVER clean the cooker base in the
dishwasher.
4 The silicone ring is reversible and can
be inserted in either direction. Insert the
silicone ring around the outer edge of
the silicone ring rack on the underside
of the lid. Ensure it is fully inserted and
lies flat under the silicone ring rack.
5 Use long-handed utensils and protective
hot pads or insulated oven gloves when
removing foods.
INSTALLING THE
CONDENSATION COLLECTOR
To install the condensation collector, slide it
into the slot on the cooker base. Slide it out to
remove it for hand-washing after each use.
NOTE: Make sure to empty out excess
water collected in the condensation
collector after cooking.
BEFORE FIRST USE
USING THE NINJA® FOODI®
DIGITAL COOKING PROBE
ENGLISH
Loading ...
Loading ...
Loading ...