Loading ...
Loading ...
Loading ...
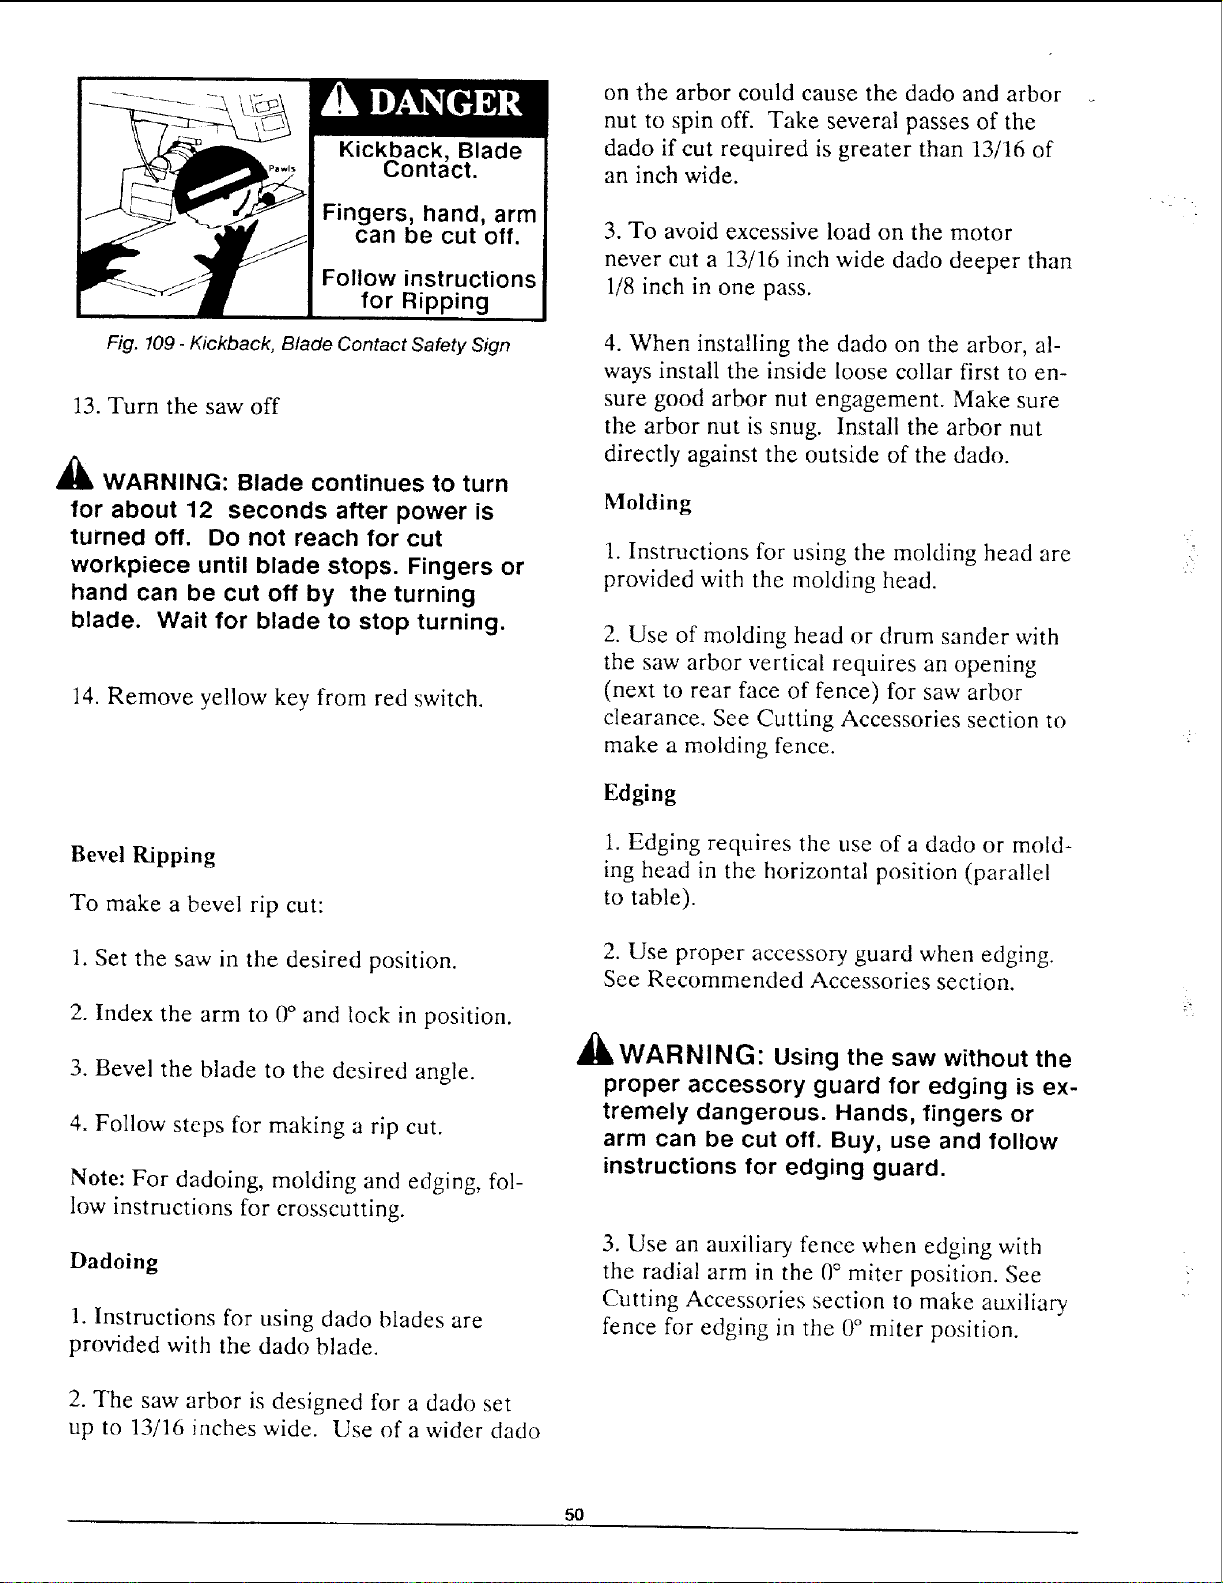
Kickback, Blade
Contact.
Fingers, hand, arm
can be cut off.
Follow instructions
for Ripping
Fig. 109- Kickback, Blade Contact Safety Sign
13. Turn the saw off
_1_ WARNING: Blade continues to turn
for about 12 seconds after power is
turned off. Do not reach for cut
workpiece until blade stops. Fingers or
hand can be cut off by the turning
blade. Wait for blade to stop turning.
14. Remove yellow key from red switch.
Bevel Ripping
To make a bevel rip cut:
1. Set the saw in the desired position.
2. Index the arm to 0° and lock in position.
3. Bevel the blade to the desired angle.
4. Follow steps for making a rip cut.
Note: For dadoing, molding and edging, fol-
low instructions for crosscutting.
Dadoing
!. Instructions for using dado blades are
provided with the dad() blade.
2. The saw arbor is designed for a dado set
up to 13/16 inches wide. Use of a wider dado
on the arbor could cause the dado and arbor
nut to spin off. Take several passes of the
dado if cut required is greater than 13/16 of
an inch wide.
3. To avoid excessive load on the motor
never cut a 13/16 inch wide dado deeper than
1/8 inch in one pass.
4. When installing the dado on the arbor, al-
ways install the inside loose collar first to en-
sure good arbor nut engagement. Make sure
the arbor nut is snug. Install the arbor nut
directly against the outside of the dado.
Molding
1. Instructions for using the molding head are
provided with the molding head.
2. Use of molding head or drum sander with
the saw arbor vertical requires an opening
(next to rear face of fence) for saw arbor
clearance. See Cutting Accessories section to
make a molding fence.
Edging
1. Edging requires the use of a dado or mold-
ing head in the horizontal position (parallel
to table).
2. Use proper accessory guard when edging.
See Recommended Accessories section.
_I, WARNING: Using the saw without the
proper accessory guard for edging is ex-
tremely dangerous. Hands, fingers or
arm can be cut off. Buy, use and follow
instructions for edging guard.
3. Use an auxiliary fence when edging with
the radial arm in the 0 ° miter position. See
Cutting Accessories section to make auxiliary
fence for edging in the 0° miter position.
k
5O
Loading ...
Loading ...
Loading ...