Loading ...
Loading ...
Loading ...
8. Install the pan head bolts through the other
four mounting holes. Put a lockwasher and
hex nut on each bolt and tighten using a
Phillips screwdriver. (Figures 46 & 50)
13. If there is a gap larger than 1_3_. lge]_,
back to step 1 I and repeat, or
If there is a gap less than 1/32 inch, or no gap
at all, go to the next section.
Fig. 50 - Pan Head Bolt
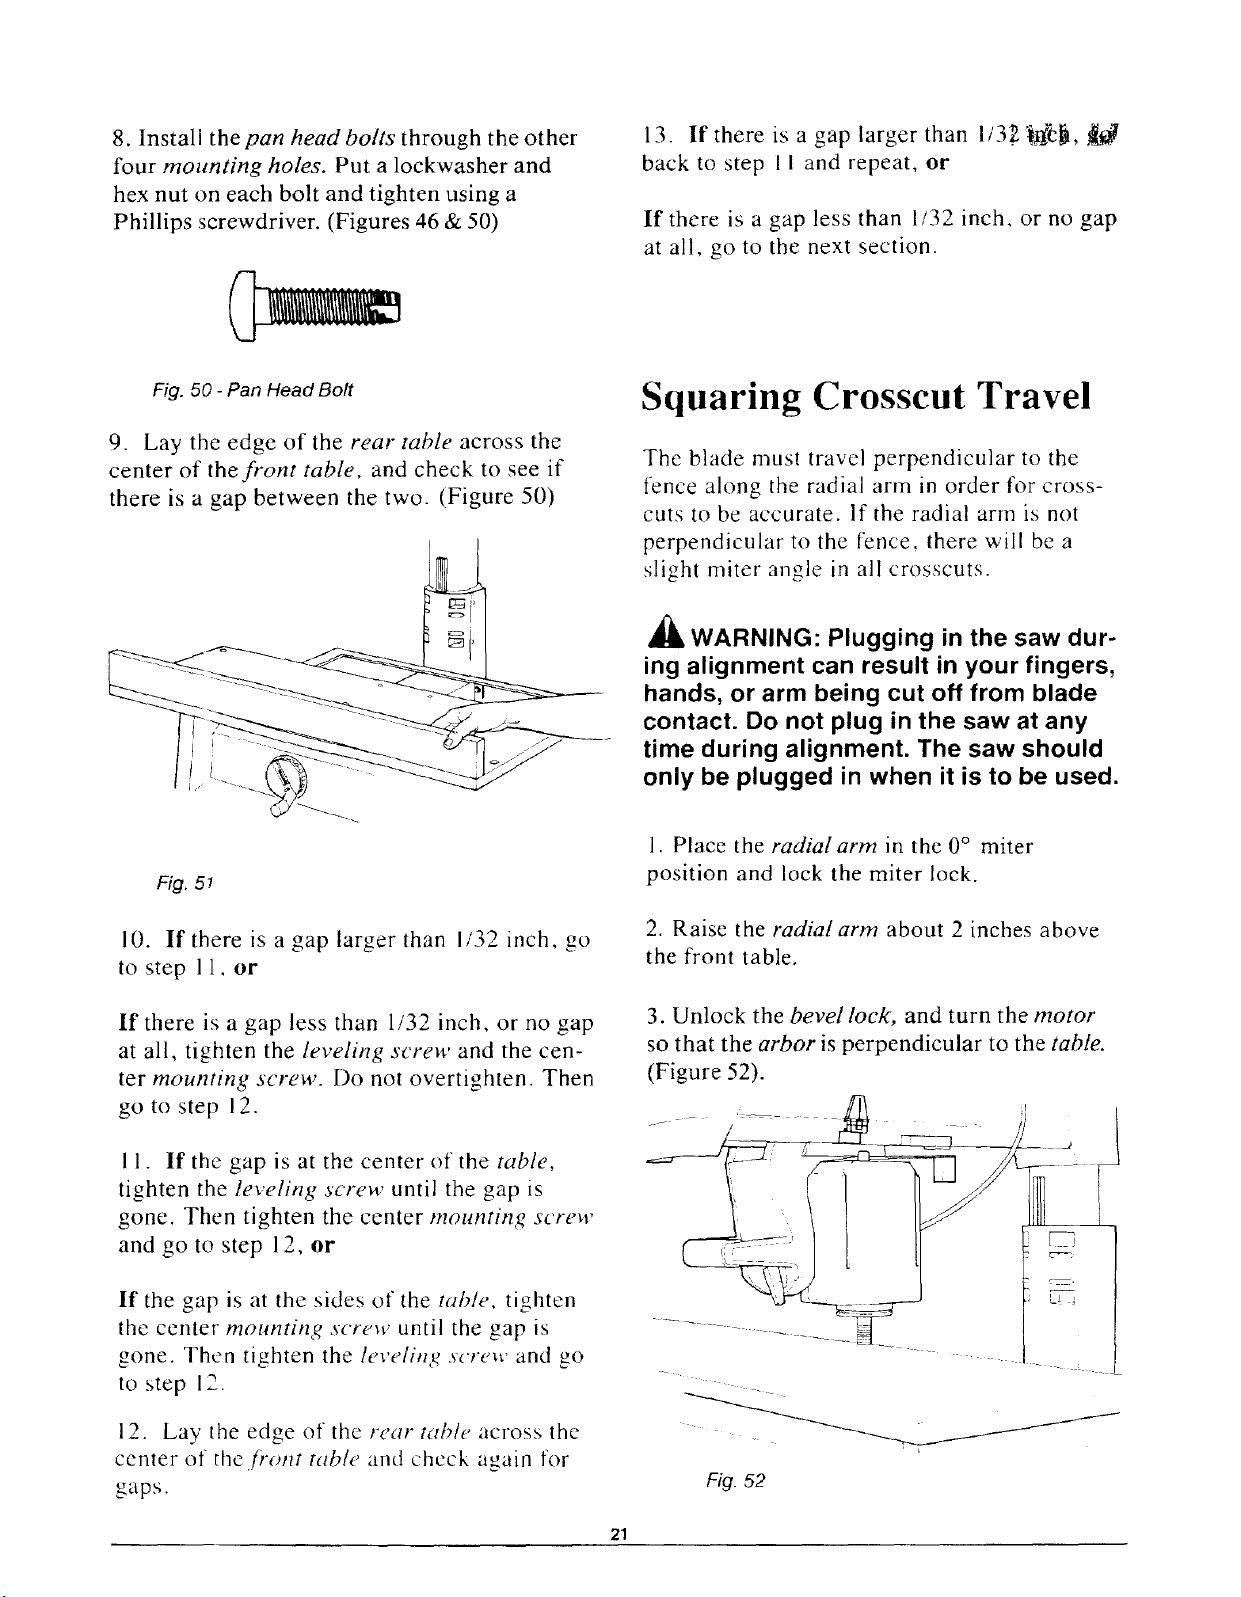
9. Lay tile edge of the rear table across the
center of the front table, and check to see if
there is a gap between the two. (Figure 50)
Fig. 5!
10. If there is a gap larger than 1/32 inch, go
to step 11, or
If there is a gap less than 1/32 inch, or no gap
at all, tighten the leveling screw and the cen-
ter mounting screw. Do not overtighten. Then
go to step 12.
I 1. If the gap is at the center of the table,
tighten the leveling screw until the gap is
gone. Then tighten the center mounting screw
and go to step 12, or
If the gap is at the sides of the table, tighten
tile center mounting screw until the gap is
gone. Then tighten the leveling screw and go
to step 12.
12. Lay the edge of the recu" tabh" across the
center or thc.fi'ont table and check again for
gaps.
Squaring Crosscut Travel
The blade must travel perpendicular to the
fence along the radial arm in order for cross-
cuts to be accurate. If the radial arm is not
perpendicular to the fence, there will be a
slight miter angle in all crosscuts.
_1_ WARNING" Plugging in the saw dur-
ing alignment can result in your fingers,
hands, or arm being cut off from blade
contact. Do not plug in the saw at any
time during alignment. The saw should
only be plugged in when it is to be used.
1. Place the radial arm in the 0 ° miter
position and lock the miter lock.
2. Raise the radial arm about 2 inches above
the front table.
3. Unlock the bevel lock, and turn the motor
so that the arbor is perpendicular to the table.
(Figure 52).
/
Fig. 52
21
Loading ...
Loading ...
Loading ...