Loading ...
Loading ...
Loading ...
EN - 8
4.1.1
1.
attention not to lose components.
2. Consult the documentation in the
box, including these instructions.
3. Remove all the unassembled
parts from the box.
4. Remove the machine from the box.
5.
compliance with local regulations.
4.2 ASSEMBLY OF THE GUIDE
BAR AND TOOTHED CHAIN
Always wear heavy duty gloves when
handling the bar and chain. Mount the
bar and chain very carefully so as not to
impair the safety and eciency of the
machine. If in doubt, contact your dealer.
Perform all operations after
removing the battery.
Before assembling the bar, check that
the chain brake is not engaged (par. 5.4).
1. Using the supplied wrench, unscrew
the nut (Fig. 3.A) and remove the
chain guard (Fig. 3.B), to access
the drive pinion and bar seat.
2.
bolt (Fig. 4.B) in the groove (Fig. 4.C) and
3.
corresponding hole in the bar; otherwise
use a screwdriver to tighten the chain
tension adjuster screw (Fig. 4.E), until
4.
5. Mount the chain (Fig. 6.A) around the
the bar guide (Fig. 6.C) being careful
to follow the sliding direction.
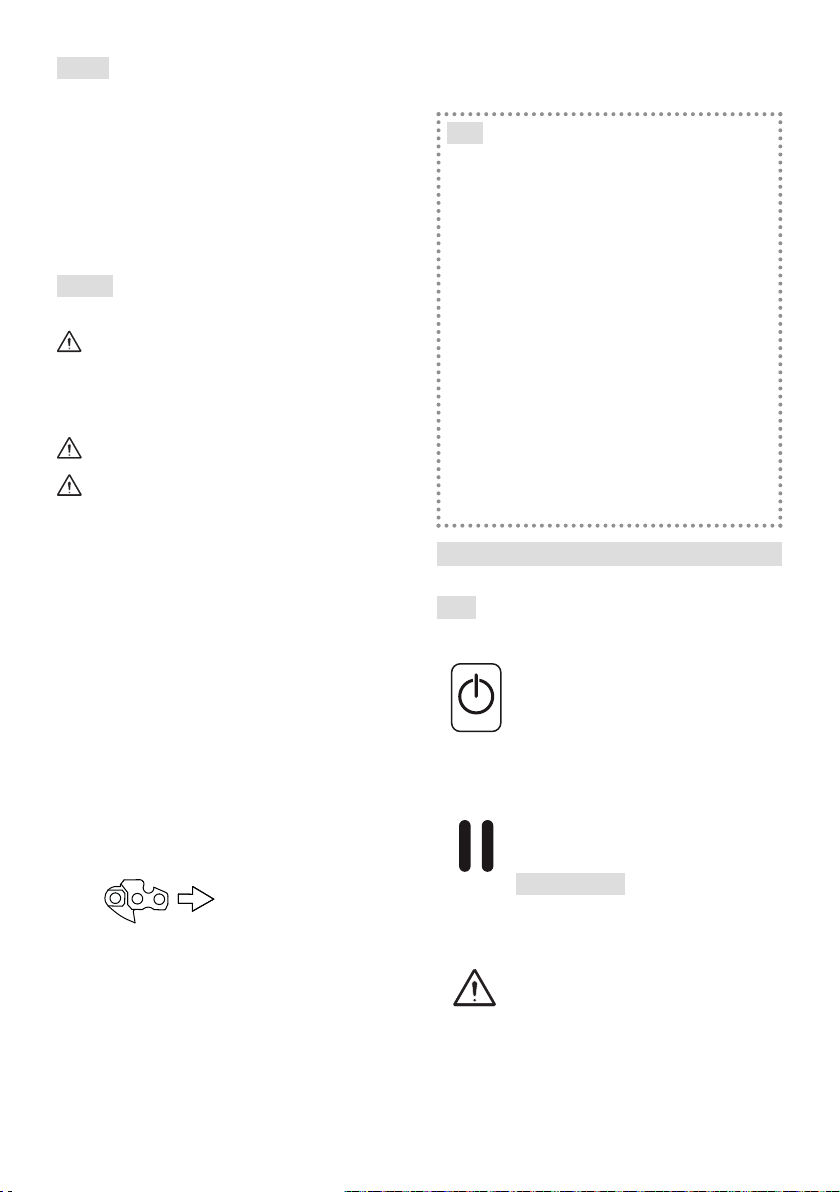
Direction in which
the chain runs
6. If the tip of the bar is equipped with a nose
7.
8. Turn the chain tension adjuster screw
(Fig. 9.A) to achieve the desired
tension (Fig. 10) (par. 6.1.3).
9. Raise the bar and tighten the
wrench supplied (Fig. 11.A).
4.3 BATTERY BACKPACK
assembled (Fig.1.N) and can be
detached from the harness holder
the two top buttons (Fig. 12.A).
•
•
• a USB port for charging other devices
(e.g. mobile phones) (Fig. 14.C)
In order to avoid the presence of loose
cables, there are slots positioned on
used to run the power cable through.
5. CONTROLS
5.1
/
Press this button (Fig. 15.A)
to activate and deactivate the
machine's electrical circuit. The
relevant LED lights up (Fig. 15.B).
• One LED on: the machine's
electrical circuit is activated.
• Both LEDs on: the
machine is in action.
•
IMPORTANT Do not keep
your finger on the button when
moving the machine to avoid
accidentally enabling the machine.
The “Attention” icon (Fig. 15.C)
lights up in case of mechanical
failure of the machine (see the
Troubleshooting table, par. 14).
Loading ...
Loading ...
Loading ...