Loading ...
Loading ...
Loading ...
87
Using other functions
10
p ! This can be set when MANUAL is selected for V.SPs.
! You can’t use the Virtual Wide mode when the headphones are connected to this receiver or when any of the stereo, Front
Stage Surround Advance, Sound Retriever Air or Stream Direct modes is selected.
! Excluding VSX-830: You can only use the Virtual Wide mode if the surround speakers are on and the FW setting is set to NO. It
can also not be used when playing signals containing actual front wide channel information.
! VSX-830 only: This setting is available when the surround speaker is on, and Speaker System is 5.2ch.
! This mode is effective for contents with a sampling frequency of 48 kHz or less.
q When neither the top middle, surround back, or front wide speaker is connected, Dolby Atmos does not play.
Setting the Video options
Resolution can be set here. Select the settings according to your preference.
Important
! Note that if an option cannot be selected on the VIDEO PARAMETER menu, it is unavailable due to the current
source, setting and status of the receiver.
! All of the setting items can be set for each input function.
However, with the audio only input function, VIDEO PARAMETER cannot be set.
! Excluding VSX-830: When MAIN/HDZONE is set to HDZONE, the VIDEO PARAMETER menu setting only
affects the HDMI OUT 1 terminal signal.
1 Press MAIN RECEIVER to switch the remote control to the receiver operation mode, and
then press VIDEO P..
2 Use i/j to select the setting you want to adjust.
Depending on the current status/mode of the receiver, certain options may not be able to be selected. Check the
table below for notes on this.
3 Use k/l to set as necessary.
See the table below for the options available for each setting.
4 Press RETURN to confirm and exit the menu.
Video parameter menu
Setting What it does Option(s)
SCAL
(Scaling)
<a>
1080p HDMI input video is up scaled to 4K and output.
AUTO
PURE
SUPER RES
(Super resolution)
<b>
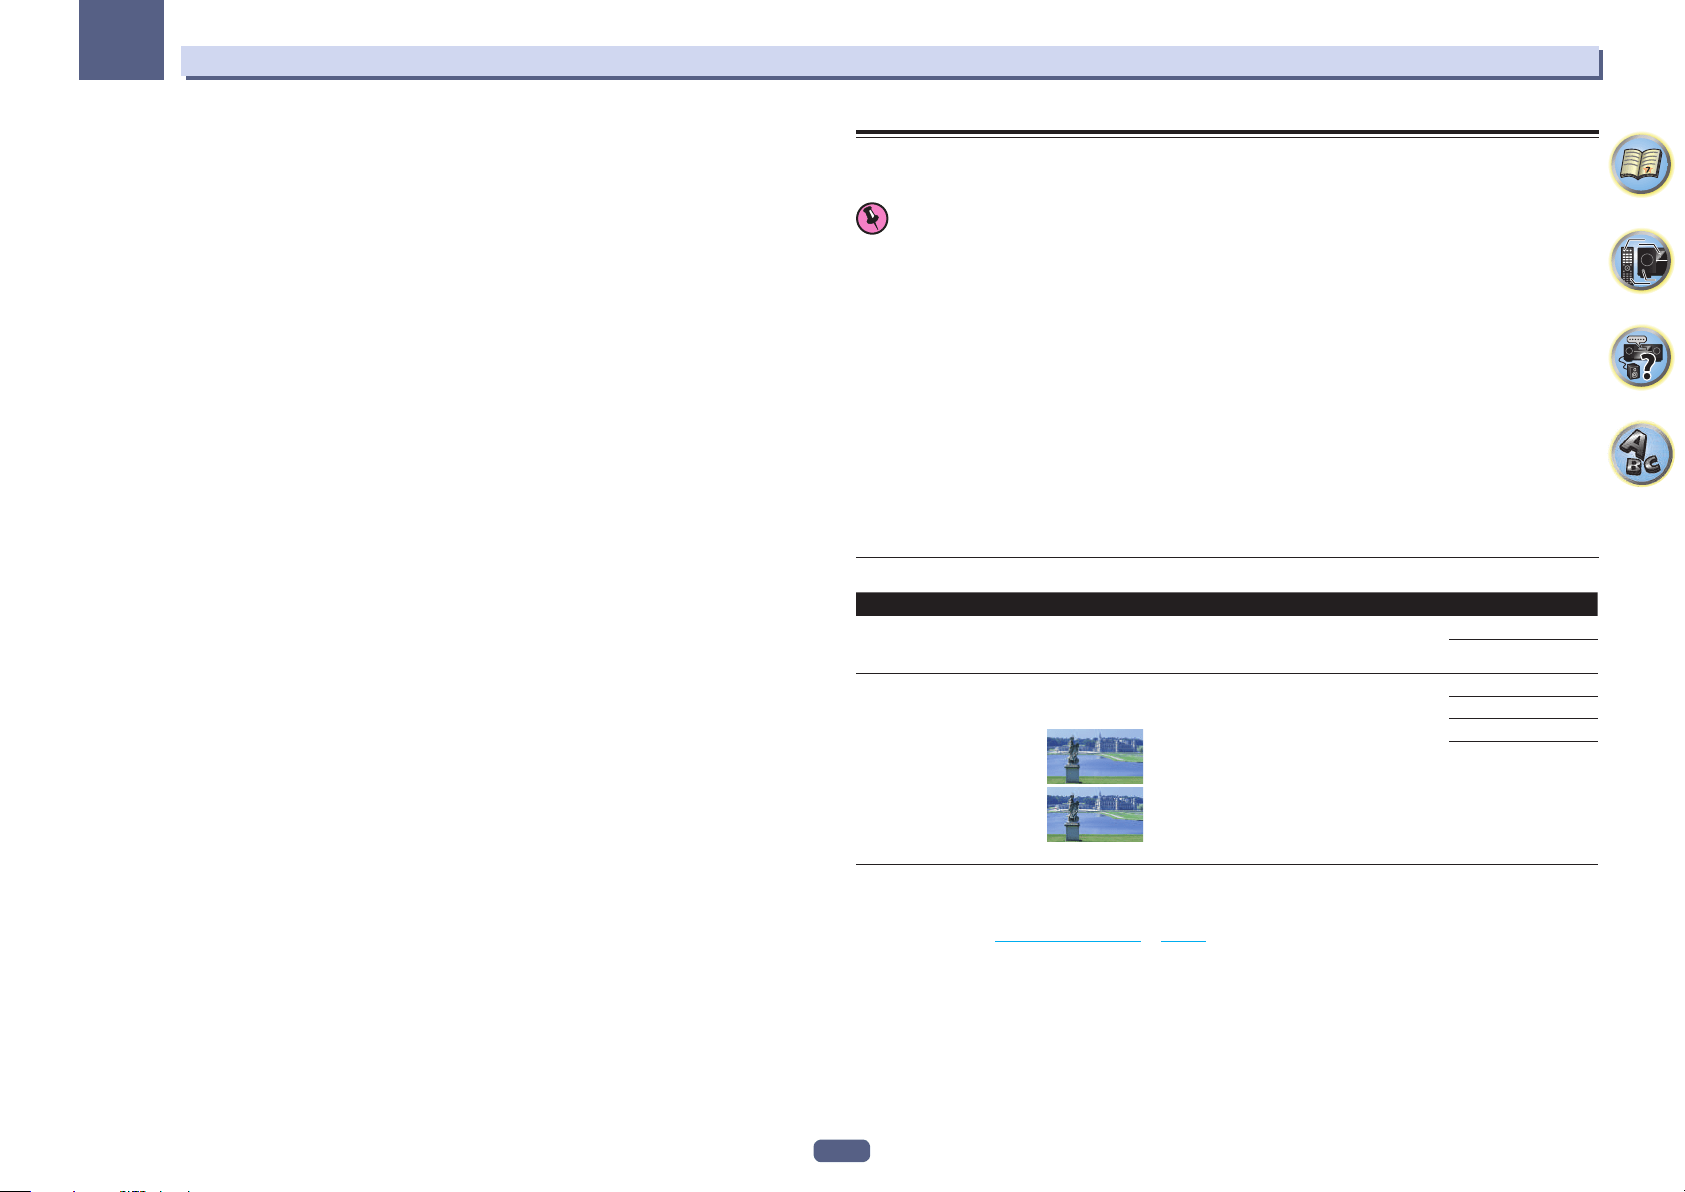
Detailed feel of materials and accurate outlines are reproduced.
Setting is made by selecting one of 0 (Off), +1, +2 or +3 and sharper
images are delivered with greater values.
0
+3
(The image is only an example for checking the effect.)
0
+1
+2
+3
a ! Video may not be output properly depending on the HDMI cable that is upscaling to 4K. In that case, switch to PURE.
! When setting the AUTO when connected to a television that is 4K compatible, 1080p/60 is up-scaled to 4K/60p and 1080p/24
is up-scaled to 4K/24p. Input video other than HDMI is output as the input resolution. Also, when selecting PURE, the input reso-
lution is output as is (About the video converter on page 26 ).
! When PURE is selected and the input signal is 480i, the on-screen display cannot be displayed.
b You can perform this setting only when AUTO is selected with SCAL. This is effective when up-scaling 1080p to 4K.
Loading ...
Loading ...
Loading ...