Loading ...
Loading ...
Loading ...
44 CP4 STAGE/CP40 STAGE Owner’s Manual
Quick Start Guide
Using with a Computer
Although your stage piano is exceptionally powerful and
versatile all by itself, connecting it to a computer allows
for even greater convenience and flexibility. For example,
when connected in this way, you can integrate the
instrument with DAW applications and other music
creation software.
NOTE DAW is an abbreviation of digital audio workstation, and
DAW applications such as Cubase, Logic, SONAR, and
Digital Performer can be used to record, edit, and mix audio
on a computer.
Some of the options available to you with your stage
piano connected to a computer are as follows:
• Use the instrument as an external sound source and/or
MIDI keyboard for a DAW application.
• Use an audio interface or the like to record yourself
playing the stage piano in audio format on a DAW
application.
• Record yourself playing the stage piano in MIDI format
on a DAW application.
Establishing a connection
In order to connect your stage piano to a computer and
exchange MIDI data, you will need a USB cable and the
correct USB-MIDI driver. The following describes how this
type of connection can be established:
1 Download the latest version of the Yamaha
USB-MIDI driver from the following web page.
Expand the driver package when it has finished
downloading.
http://download.yamaha.com/
NOTE
• Information on system requirements can also be found on the
above web page.
• The USB-MIDI driver may be revised and updated without
prior notice. Before installing, visit the above web page to
confirm the latest related information and ensure that you
have the most up-to-date version.
2 Install the USB-MIDI driver on your computer.
For instructions, refer to the Installation Guide
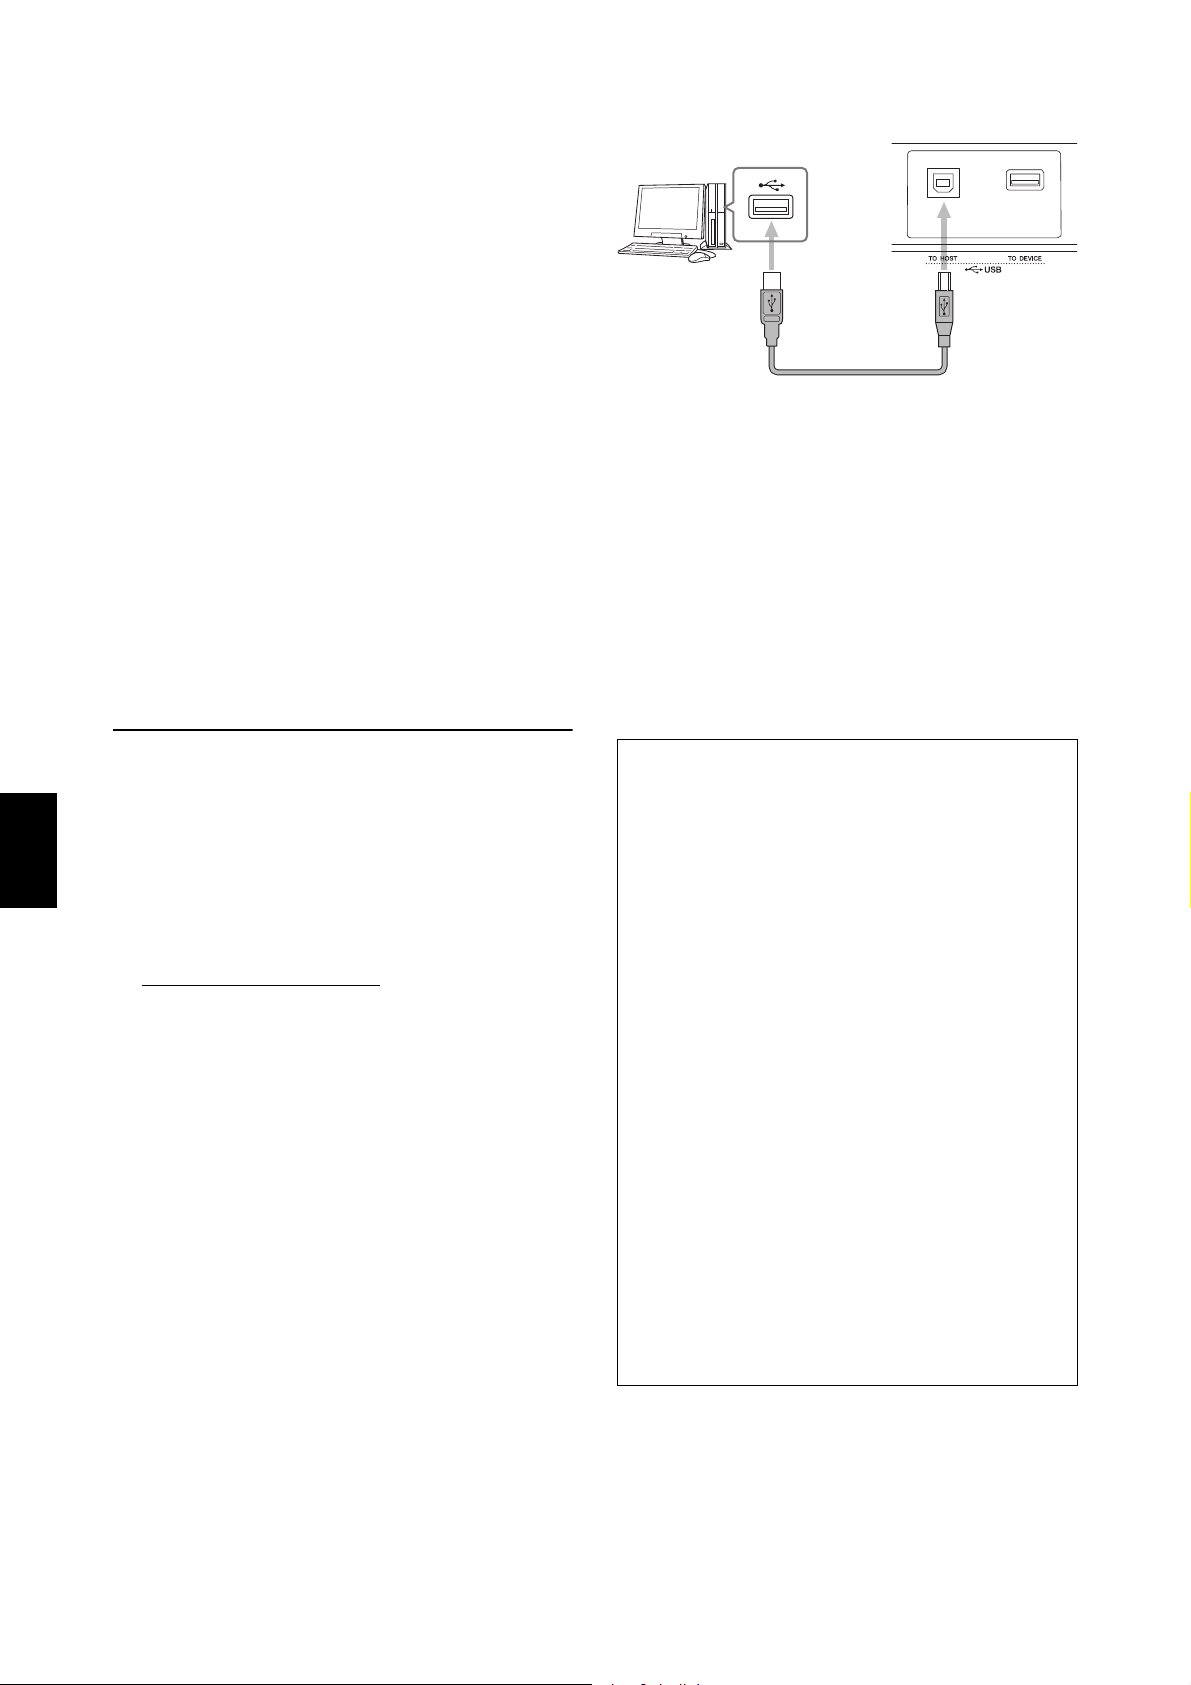
included in the downloaded driver package. When
asked to connect the [TO HOST] USB terminal on
your instrument to the computer using a USB cable,
do so as shown at the top-right.
3 Setup your stage piano to allow MIDI data to
be exchanged via the [TO HOST] USB
terminal.
This setting can be made as follows on the MIDI
screen from the Utility area.
Press [UTILITY]; select 02: MIDI using [u] and [d];
press [ENTER]; set IN/OUT to “USB”.
4 Press the [STORE] button to store this
setting.
NOTE Refer to the installation guide that came with your DAW
application for details on how it should be installed on
your computer.
Precautions when using the [TO HOST] USB
terminal
When connecting your stage piano to a computer via
the [TO HOST] USB terminal, be sure to observe the
following precautions. Failing to do so risks freezing
your computer and corrupting or losing data. If your
stage piano or computer should freeze, try restarting
the application being used, rebooting the computer,
and turning off the stage piano once and then back
on.
NOTICE
• Use a USB A-B cable. Do not use a USB 3.0 cable.
• Before connecting to a computer via the [TO HOST]
USB terminal, restore it from any power-saving mode
(such as Suspend, Sleep, or Standby).
• Connect the computer via the [TO HOST] USB terminal
before turning on your stage piano.
• Be sure to always perform the following steps before
turning on or off the stage piano and either plugging in
or unplugging a USB cable.
- Quit all applications.
- Ensure that no data is being sent from the stage
piano. (Note that even playing a key causes data to be
sent.)
• When connected to a computer, allow at least six
seconds to pass between turning on and off the stage
piano and plugging in and unplugging the USB cable.
Stage piano’s rear panel
USB cable
Loading ...
Loading ...
Loading ...