Loading ...
Loading ...
Loading ...
30 CP4 STAGE/CP40 STAGE Owner’s Manual
Quick Start Guide
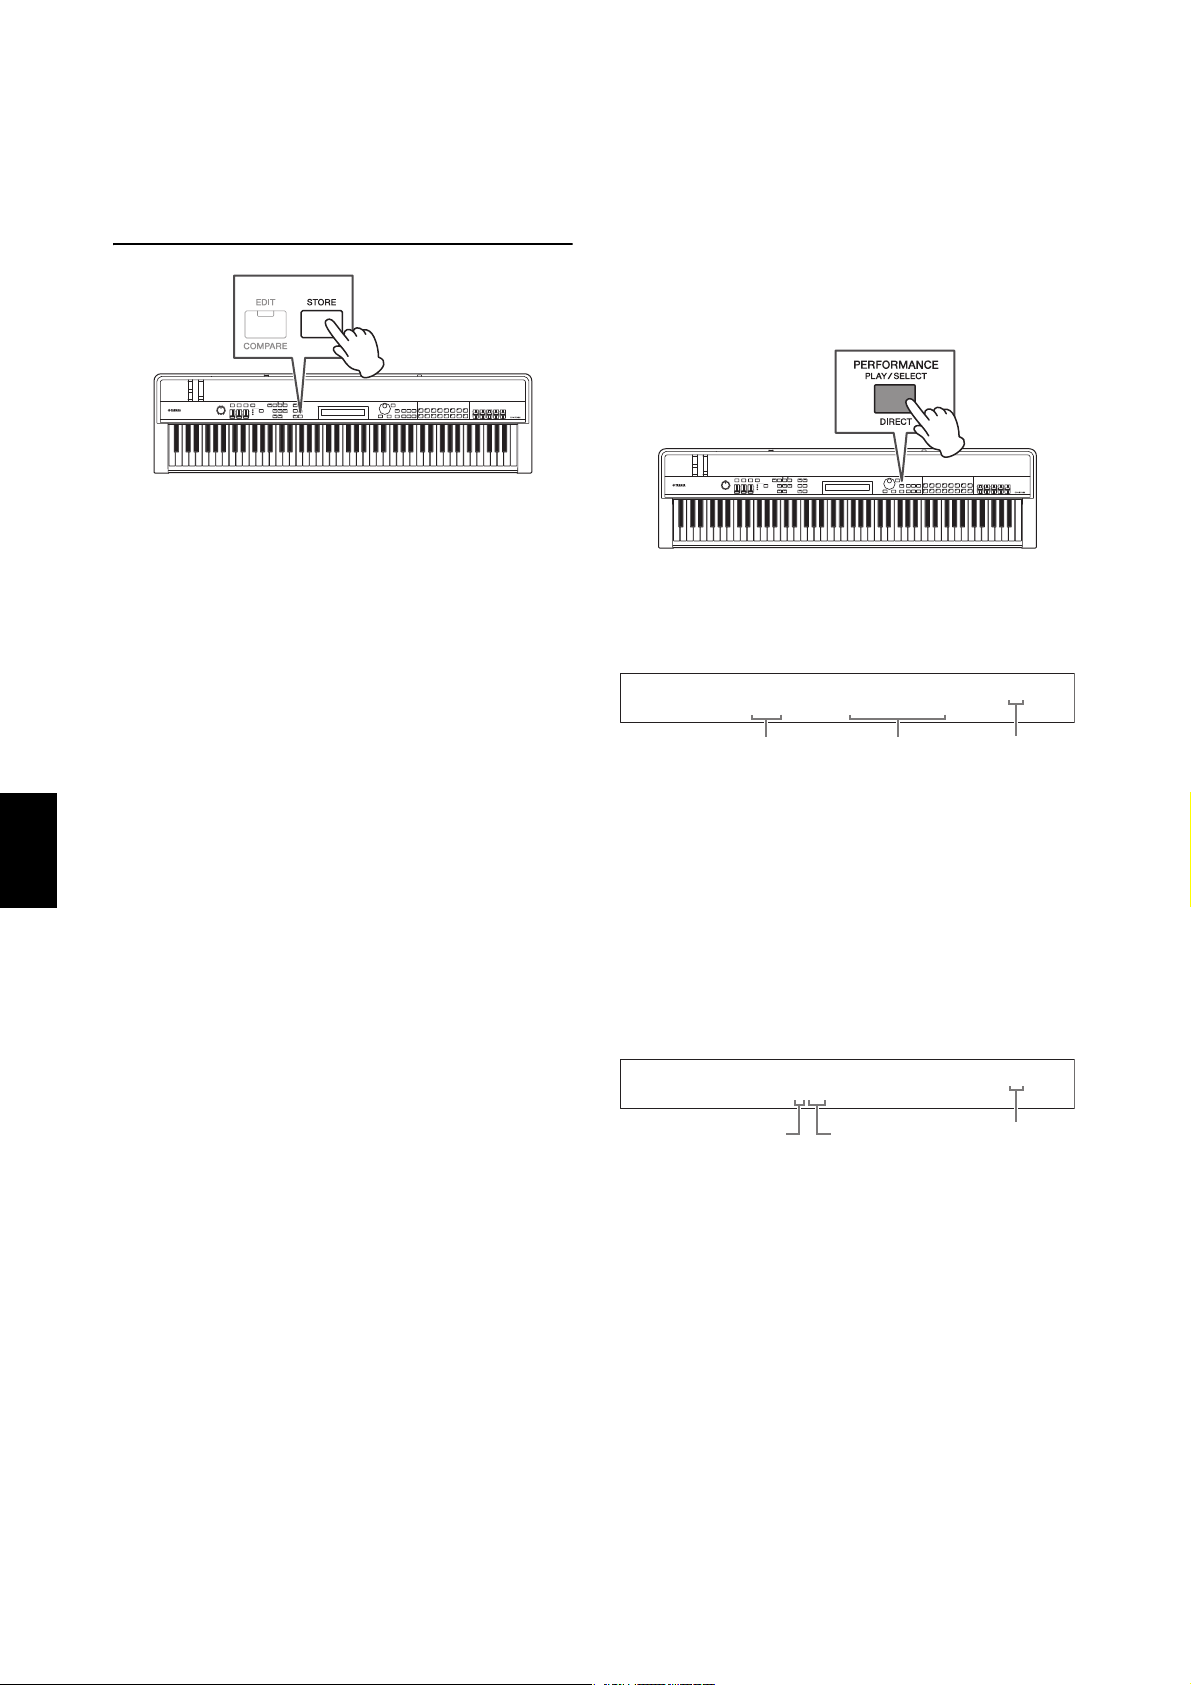
Storing Settings
[STORE] button
Of the settings we have made so far,
• Part on/off status;
• Changes to Voices;
• Metronome time signature, tempo, and volume; and
• Parameter levels adjusted using the Part sliders
in addition to
• Effect on/off statuses set using the [CHORUS] and
[REVERB] SYSTEM EFFECT buttons and [A] and [B]
PART EFFECT buttons (page 34)
can be stored as part of a Performance (page 21). Stored
settings will be maintained when the stage piano is
turned off.
The following procedure shows how to store your settings
in the instrument’s first Performance (No. 001):
NOTICE
The Performance selected as the destination for storing in
the following procedure will be overwritten and all of its data
will be replaced.
Press [STORE]; press [ENTER]; press [+1/YES] when
asked “Are you sure?”.
Press [-1/NO] if you do not wish to proceed.
NOTE
• For more details regarding storing, refer to Storing a Performance
(page 34).
• The setting made using the [-] and [+] TRANSPOSE button and
the on/off status of the [MASTER COMP] button can be stored by
first pressing the [UTILITY] button and then the [STORE] button.
• Gain adjustments made using the MASTER EQ sliders and the
on/off status of the [PANEL LOCK] button cannot be stored.
Selecting a Performance
When you turn on the instrument in its default condition,
the first Performance (No. 001) will be loaded. Why not
take a moment now to select and play other
Performances using the following procedure:
1 Press the [PERFORMANCE PLAY/SELECT]
button.
The Performance Select screen will be displayed and
the button will start to flash.
Performance Select screen
NOTE The Parts currently turned on are shown at the right of
the screen. The cursor indicates the Part whose Voice is
currently selected for editing.
2 Select a different Performance using the
[-1/NO] and [+1/YES] buttons or the Data Dial.
The selected Performance will be displayed on-
screen.
NOTE
• A full list of your stage piano’s Performances can be found in
the Data List (pdf).
• On the CP4 STAGE, Performances are arranged into groups
of 16; on the CP40 STAGE, each group contains eight
Performances. To skip between different groups on the
Performance Select screen, use the [-1/NO] and [+1/YES]
buttons or the Data Dial with the [SHIFT] button held down.
• By pressing a Voice Category button (from the bottom row in
the case of the CP40 STAGE) with the [SHIFT] button held
down, you can select the corresponding Performance from
the current group.
3 Play the keyboard to hear how the selected
Voice sounds.
PERFORMANCE SELECT
R001(A01):
CFX Grand
RM
Performance
number
Performance
name
Part name
(on-screen
abbreviation)
M: MAIN Part
L: LAYER Part
S: SPLIT Part
PERFORMANCE SELECT
R004(A04):
S6+Pad 1
RML
Group
Number
within group
Selected
Part
Loading ...
Loading ...
Loading ...