Loading ...
Loading ...
Loading ...
Front Suspension Adjustments
94
Adjustments for Competition
Front Suspension Adjustments
Refer to Safety Precautions on page 19.
The front suspension can be adjusted for the rider’s
weight and riding conditions by using one or more
of the following methods:
• Oil volume — The effects of higher or
lower fork oil level are only felt during the
final 3.9 in (100 mm) of fork travel.
• Compression damping — Turning the
compression damping screw adjusts how
quickly the fork compresses.
• Rebound damping — Turning the rebound
damping screw adjusts how quickly the fork
extends.
• Fork springs — Optional springs are
available in softer and stiffer types than the
standard rate (page 144).
Air is an unstable gas which builds up pressure as
it is worked (such as in a fork). Air pressure acts as
a progressive spring and affects the entire range of
fork travel. This means the fork action on your
CRF will get stiffer during a race. For this reason,
release built-up air pressure in the fork legs
between motos. Be sure the fork is fully extended
with the front tire off the ground when you release
the pressure.
The standard air pressure is 0 psi (0 kPa,
0 kgf/cm
2
).
You may relieve
accumulated air pressure in the fork legs
by using the fork air pressure release
screws. The front wheel should be off the
ground before you release the pressure.
The air pressure should be adjusted according to
the altitude and outside temperature.
1. Place an optional workstand under the engine,
so that the front wheel is off the ground.
Do not adjust air pressure with the front wheel
on the ground as this will give false pressure
readings.
2. Remove the fork air pressure release screw (1).
3. Check that the O-ring (2) is in good condition.
4. Install and tighten the fork air pressure release
screw to the specified torque:
1.0 lbf·ft (1.3 N·m, 0.1 kgf·m)
• If your CRF is brand-new, put enough part-
throttle break-in time (about 1 hour) on it to
ensure that the suspension has worked in.
• For optimum performance, and extended fork
life, the fork should be completely
disassembled and cleaned after the first 3 hours
of riding. See the Service Manual or your
dealer for this service.
1. Place your CRF on an optional workstand or an
equivalent support with the front wheel off the
ground.
2. Loosen the fork bridge upper pinch bolts (1)
(before loosening the fork caps to avoid
damaging the fork caps).
3. Loosen the fork caps (2), but do not remove
them yet.
NOTICE
Using an adjustable wrench to loosen the fork
caps may damage them.
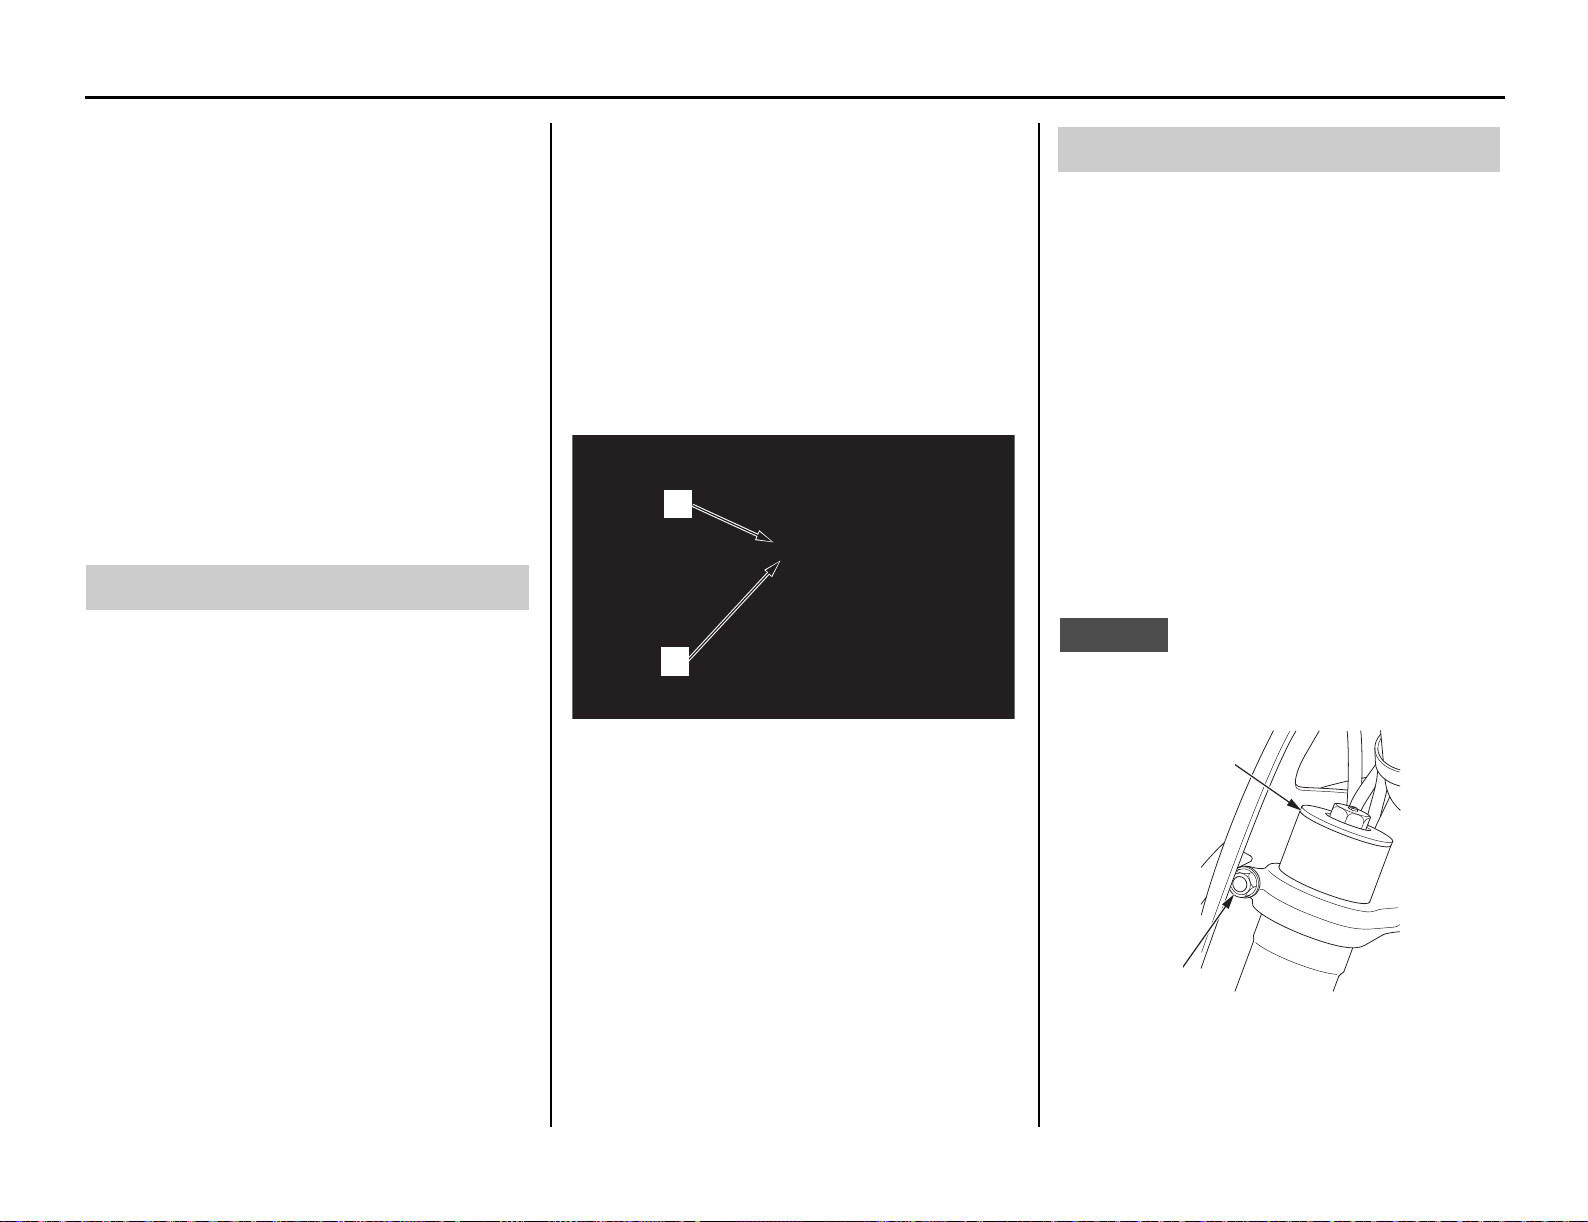
Front Suspension Air Pressure
(1) fork air pressure release
screw
(2) O-ring
(2)
(1)
Front Suspension Oil Level
(1) fork bridge upper pinch bolt (2) fork cap
(2)
(1)
31KSE7100_NA.book 94 ページ 2019年4月9日 火曜日 午後1時13分
Loading ...
Loading ...
Loading ...