Loading ...
Loading ...
Loading ...
98 Troubleshooting (cont’d)
Symptom Remedy
D
V
D
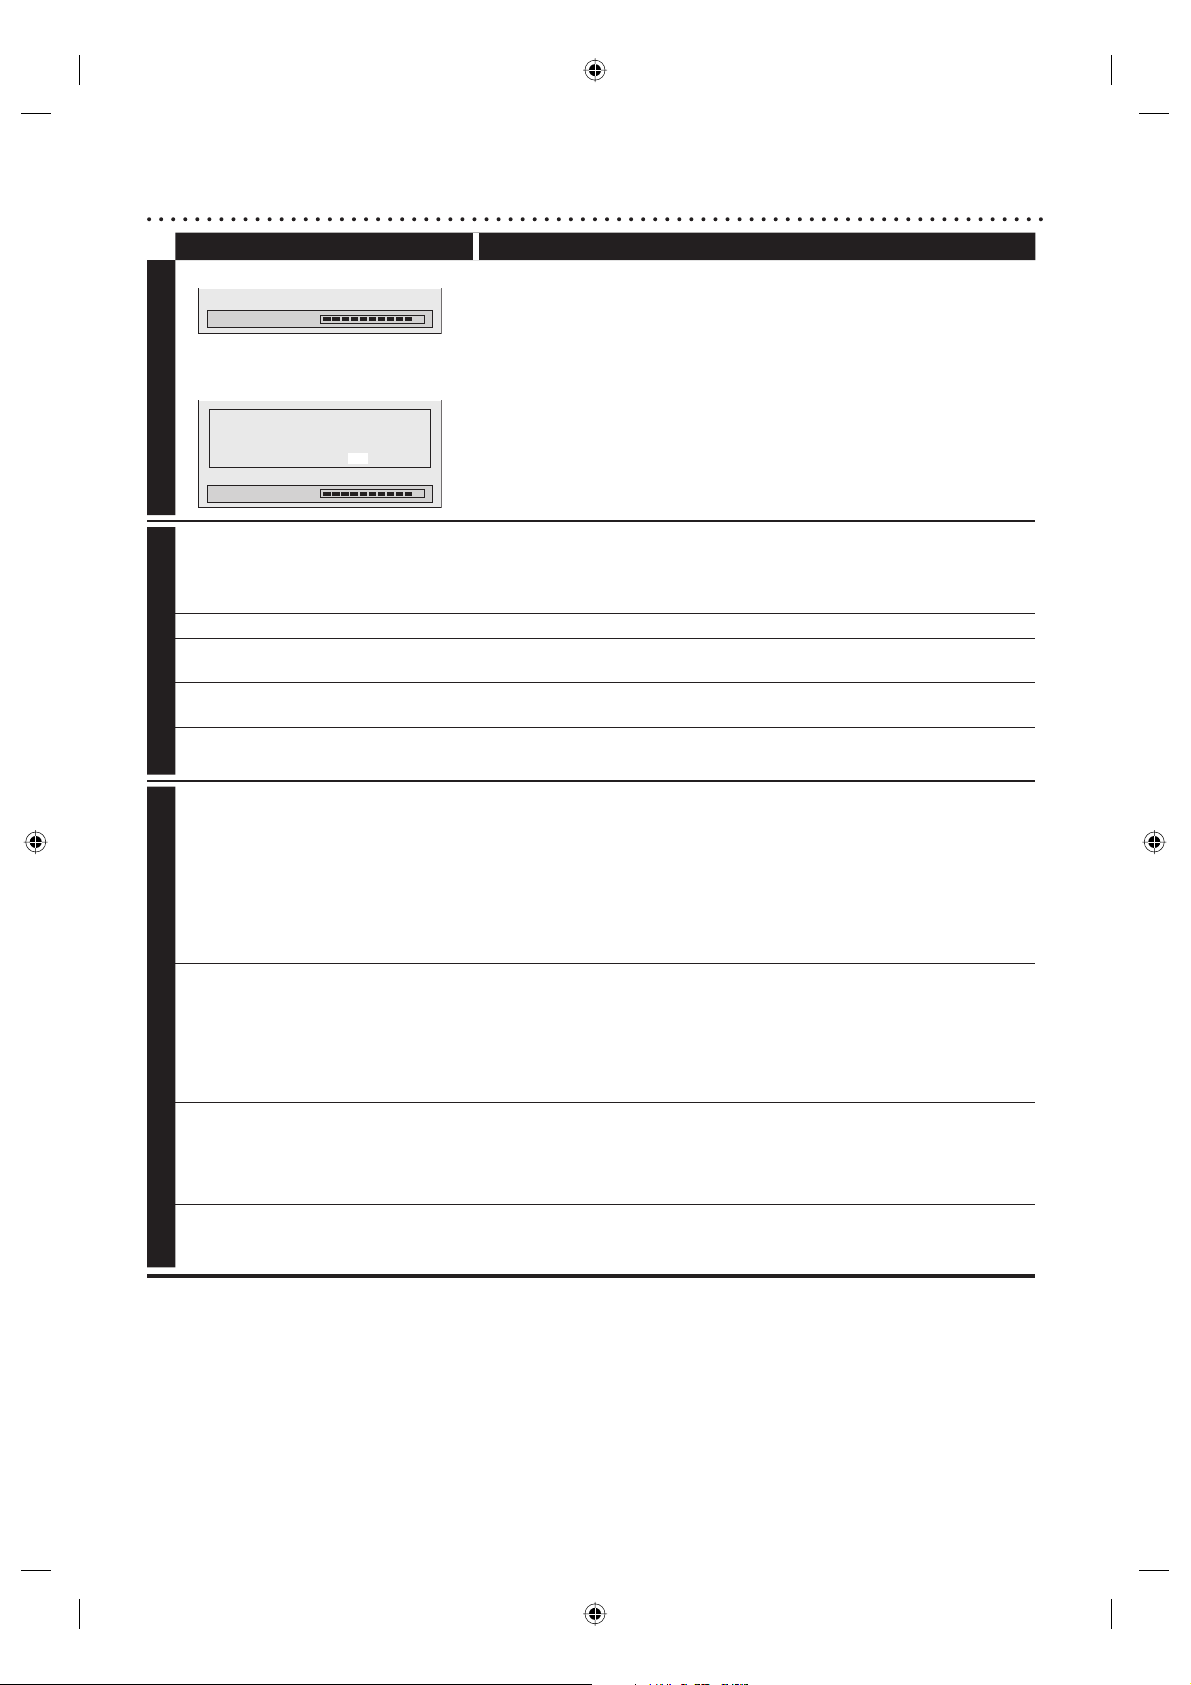
“Repairing” appears on the TV screen.
Repairing
In a case you intend to cancel the
Repairing process.
Repairing
Do you want to cancel a repairing process ?
When selecting “Yes”, the disc may not be
usable.
Yes No
• If there is a power failure or unplugging during recording, finalizing,
formatting or editing (even after “Wait for a moment.” message is
disappeared), a Repairing process will begin automatically just after
turning the unit on again.
It may take several minutes up to about four hours.
• If you intend to cancel the Repairing process, press
[OPEN/CLOSE A] on the front panel, then select “Yes” with
[{ / B] and press [OK]. After that, the disc tray will automatically
open. In case the Repairing process is canceled, the disc MAY
NOT work.
V
C
R
Picture noise appears. • Head cleaning for VCR may be necessary. Refer to “AUTO HEAD
CLEANING” on page 5.
• Adjust tracking control for better picture by pressing [CHANNEL L / K]
on this unit or [CH
+
/
-
] while you are playing a videotape.
The tape does not play. • No videotape is inserted.
Recording does not start immediately
after you press [VCR REC I].
• Make sure the videotape has a record tab when you record to a
videotape. If needed, cover the hole with cellophane tape.
The remote control does not
function.
• Check if a videotape is in this unit.
The motor rotates even when
playback / recording is stopped.
• The motor may rotate for the duration of approximately 5 minutes for
efficient operation. This is not a malfunction.
D
V
DV signal cannot be input. • Before connection, turn on the power supplies for both this unit and the
DVC, and make sure that these units have stopped.
• Only a “DVC-SD” signal can be input from the DVC to this unit. Other
types of signals are not supported.
• Do not connect any device other than the DVC. Even if a recorder or
PC with another DV terminal is connected, the DV function will not
operate.
• If the DVC is not recognized after connection, turn off the power supply
for the unit and re-connect the DVC.
The DVC cannot be operated with
this unit.
• Signal input or DVC operation from this unit may be disabled depending
on the type of DVC.
• If a DVC signal cannot be input, use an external input (EXT1/EXT2) for
analog connection via AV cable.
• DVC control may be disabled depending on the type of DVC, even in a
mode other than camera mode. In this case, switch to DVD control and
execute the normal recording procedure while operating the DVC.
Certain functions of the unit cannot
operate.
• Some functions may not operate depending on the type of DVC. For
example, if the DVC does not support slow playback mode, the slow
playback function is disabled.
• With E3(DV-IN), the disc display menu does not appear unless disc
playback is executed.
DV audio signal cannot be switched. • For recording with the DVC, the recording audio signal can be set to 12
bits or 16 bits. However, when 16-bit recording mode is selected, audio
signal cannot be switched. To record an audio signal, set it to 12 bits.
E9A90UD_EN.indb 98E9A90UD_EN.indb 98 6/12/2006 4:23:36 PM6/12/2006 4:23:36 PM
Loading ...
Loading ...
Loading ...