Loading ...
Loading ...
Loading ...
Emergencies
Wheel change
Preparation work
–
If you have a flat tyre or puncture, park the
vehicle as far away from the flow of traffic
as possible. Choose a location that is as
level as possible.
–
All vehicle occupants should leave the ve-
hicle. They should wait in a safe area (for
instance behind the roadside crash barri-
er).
–
Switch the engine off. Switch the hazard
warning lights on and place the warning tri-
angles in position.
–
Apply the handbrake
firmly.
–
En
g
age the first gear, or put the selector
lever to position P for those vehicles with
an automatic gearbox.
–
If you are towing a trailer, unhitch it from
your vehicle.
–
Take the vehicle tools and the spare wheel
out of the luggage compartment.
WARNING
●
Switch on the hazard warning lights and
place the warning triangles in position. This
is for your own safety and also warns other
road users.
●
If you change the wheel on a slope, block
the wheel on the opposite side of the car with
a stone or similar to prevent the vehicle from
moving.
Changing a wheel
Change the wheel as described below:
–
Remove the hub caps or the integral trim.
–
Slac
ken the wheel bolts.
–
Raise the vehicle with the jack at the corre-
spondin
g area.
–
Remove the wheel and put on the spare
one.
–
Lower the vehicle.
–
Tighten the wheel bolts firmly with the box
spanner.
–
Replace the hub cap.
After changing a wheel
–
Put the tools back in their storage location.
–
Place the wheel with the defective tyre in
the luggage compartment and secure it.
–
Check the tyre pressure of the newly fitted
tyre as soon as possible.
–
Have the tightening torque of the wheel
bolts checked as soon as possible with a
torque wrench. The prescribed torque must
be 120 Nm.
Note
●
If you notice that the wheel bolts are corro-
ded and difficult to turn when changing a
wheel, they must be replaced before having
the wheel bolt tightening torque checked.
●
For safety reasons, drive at moderate
speeds until the wheel bolt tightening torque
has been checked.
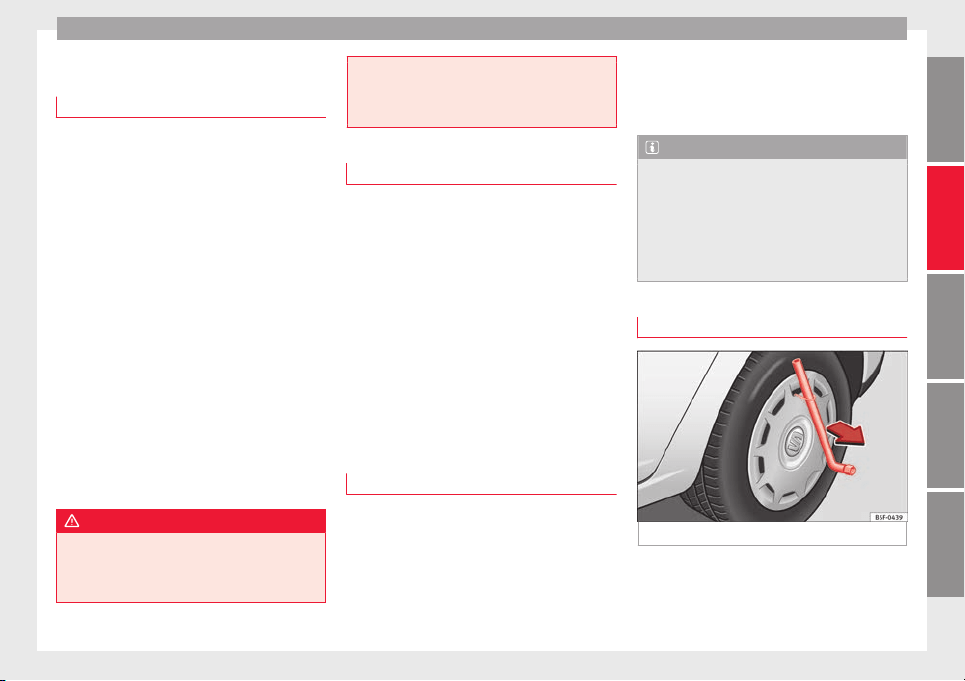
Wheel covers*
Fig. 158
Remove the wheel cover.
The wheel covers must be removed for access
to the wheel bolts.
»
183
Technical specifications
AdviceOperationSafetyThe essentials
Loading ...
Loading ...
Loading ...