
Loading ...
Loading ...
Loading ...
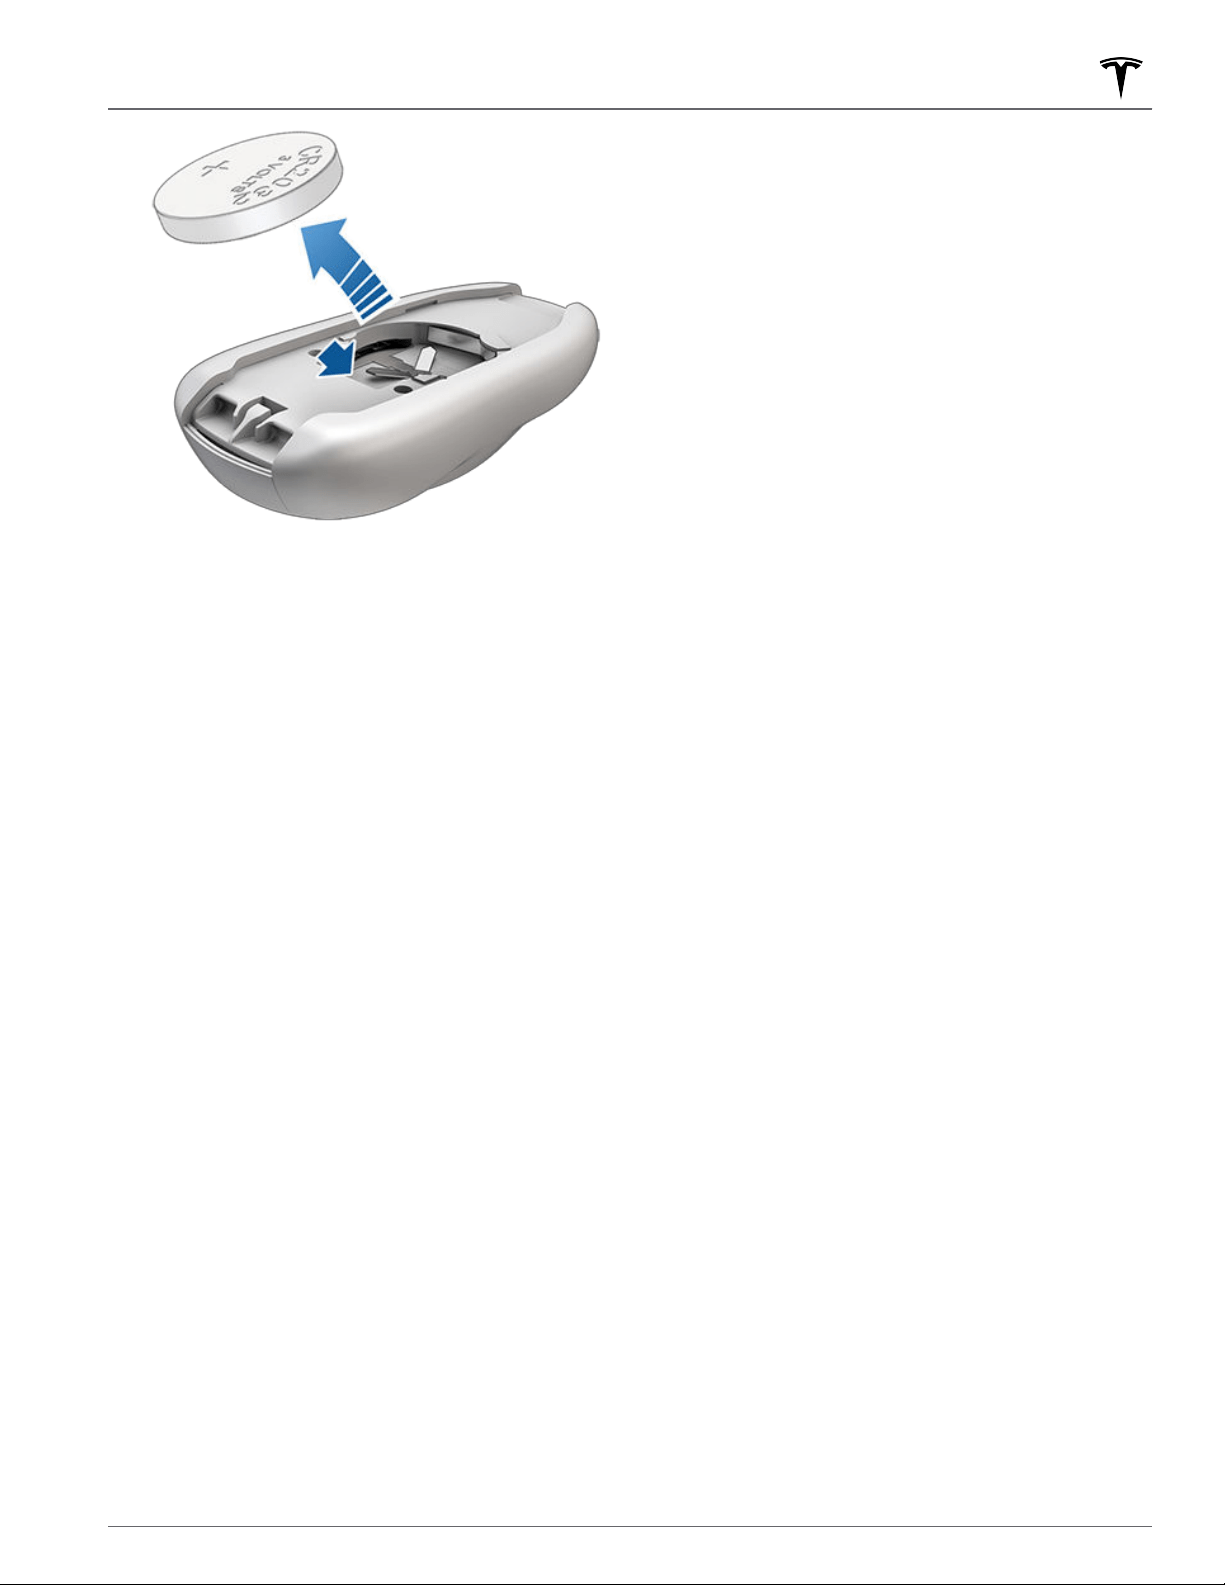
3. While avoiding touching the battery's flat surfaces,
insert the new battery (type CR2032) with the ‘+’
side facing up.
NOTE: CR2032 batteries can be purchased through
online retailers, local supermarkets, and drug stores.
4.
Holding the bottom cover at an angle, align the tabs
on the cover with the corresponding slots on the key
fob, then press the cover
firmly onto the key fob until
it snaps into place.
5.
Test that the key fob works by unlocking and locking
your vehicle.
Attaching a Lanyard
To attach a lanyard, release the bottom cover as
described above. Place the lanyard over the pin located
between the slots on the widest side of the key fob. Re-
align the cover and snap into place.
Managing Keys
To display a list of all keys (phones, key cards, and key
fobs) that can access your Model 3, touch Controls >
Locks. An icon displays next to each key to indicate
whether the key is a phone, key card, or key fob. Use this
list to manage keys that have access to your vehicle. To
add or delete keys, see
Adding and Removing Keys on
page 11.
NOTE: You can use the same key for more than one
Model 3. This prevents you from having to deal with
multiple keys when you switch vehicles. If you customize
the name of an authenticated key card or key fob on one
Model 3 (by touching the pencil icon), any other Model 3
to which the key card or key fob is authenticated also
displays the same customized name.
NOTE: Model 3 supports up to 19 keys. When you reach
this limit, you must delete a key before adding a new
one.
Adding and Removing Keys
Adding a new key card or key fob:
NOTE: If adding a key fob, ensure the key fob is at room
temperature. Pairing may be unsuccessful if the key fob
is cold.
1. On the touchscreen, touch Controls > Locks then
touch + in the Keys section.
2. Scan your new key card or key fob on the key reader
behind the cup holders on the top of the center
console. After the new key card or key fob is
recognized, remove it from the key reader.
3. Scan an already-authenticated (i.e. already has access
to the vehicle) key card or key fob on the key reader
behind the cup holders on the top of the center
console.
4. When complete, the key list on the touchscreen
displays the newly-authenticated key. You can
customize its name by touching the associated pencil
icon.
Adding a new phone key:
NOTE: To add a new phone key, Bluetooth must be
enabled and the phone must have the Tesla mobile app
installed and connected to the vehicle’s Tesla account.
1.
While sitting in the vehicle, open the Tesla mobile app
and select the appropriate vehicle (if there are
multiple vehicles associated with the account), then
touch
Phone Key > Start.
2.
Scan an already-authenticated key card or key fob on
the key reader behind the cup holders on the top of
the center console.
3.
When the mobile app notifies you that the pairing
was successful, touch Done. The key list on the
touchscreen (Controls > Locks) displays the new
phone key. The name of the phone key is determined
by the name used in the phone’s settings.
Removing a key:
When you no longer want a key to access your vehicle
(for example, you lost your phone or key card, etc.), you
can remove the key.
1.
On the touchscreen, touch Controls > Locks.
2. Find the key that you would like to delete in the key
list, then touch the key’s associated trash icon.
3.
When prompted, scan an already-authenticated key
card or key fob on the key reader behind the cup
holders on the top of the center console to confirm
the deletion. When complete, the key list no longer
includes the deleted key.
Keys
11Opening and Closing
Loading ...
Loading ...
Loading ...