Loading ...
Loading ...
Loading ...
36
ENGLISH
1
Enter into the [EI] menu
• Click the [EI] menu to enter.
NOTE
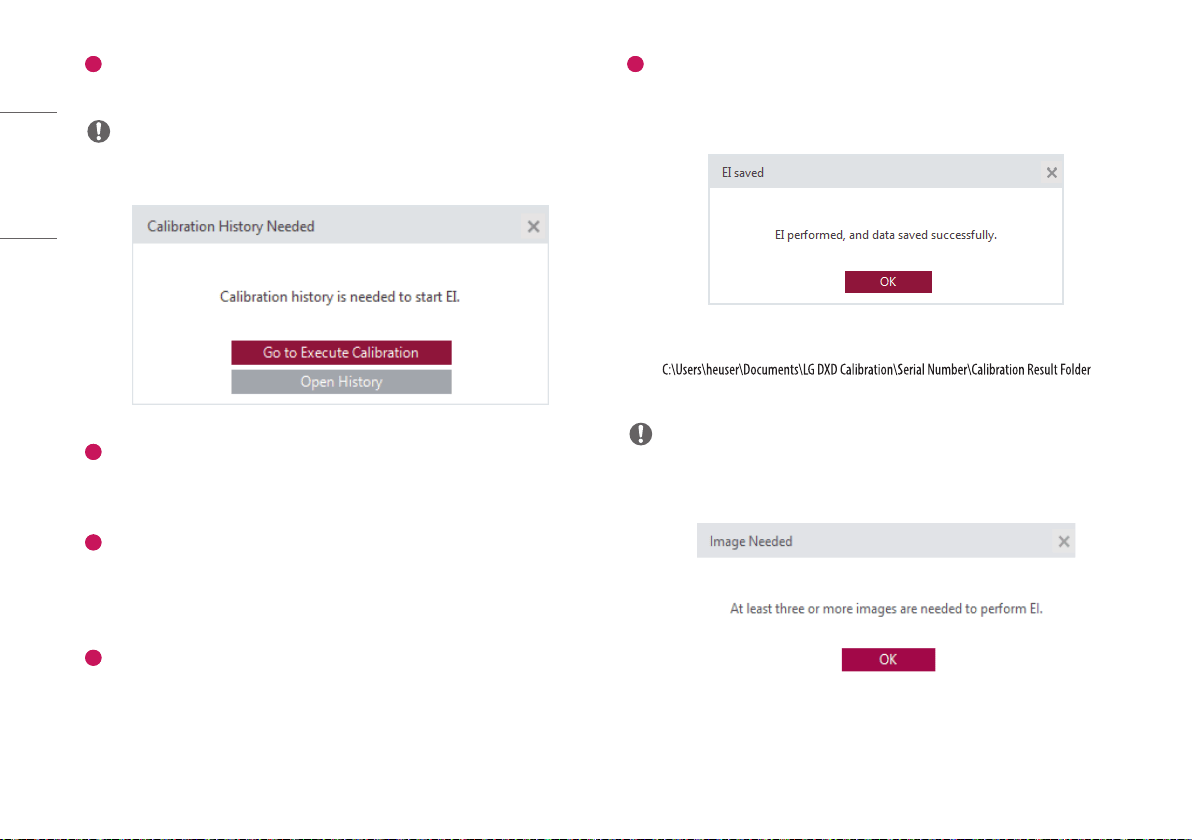
• The following pop-up appears when entering into the menu without completing the [Calibration].
2
Check the History file
• Check if the [History] name created from the [Calibration] matches the name shown in the current
[History] window.
3
Acquire Images
• Click the [Acquisition] button and acquire a Bright Image. The image name will be shown in the
[Image(s)] list.
• The information about the image will be shown below the image view.
4
Enter Dose Values
• The Dose values must be entered in the Dose field when X-ray irradiation is performed. (Unit: uGy)
• The EI value will be calculated based on the data entered.
• Dose values must be entered in numbers only. Texts will not be accepted by default.
5
[Measure & Save]
• Once image acquisition and dose value input are completed, click the [Measure & Save] button to save
the result value and show a pop-up message as follows:
• The EI result file will be saved in the same location as the Calibration result file.
(e.g. (date-
time) heuser: the user's name)
NOTE
• Repeating [Measure & Save] will update the result file.
• The following pop-up appears when the minimum requirement (3 images) is not met.
Loading ...
Loading ...
Loading ...