Loading ...
Loading ...
Loading ...
255Practical information
Changing a wheel
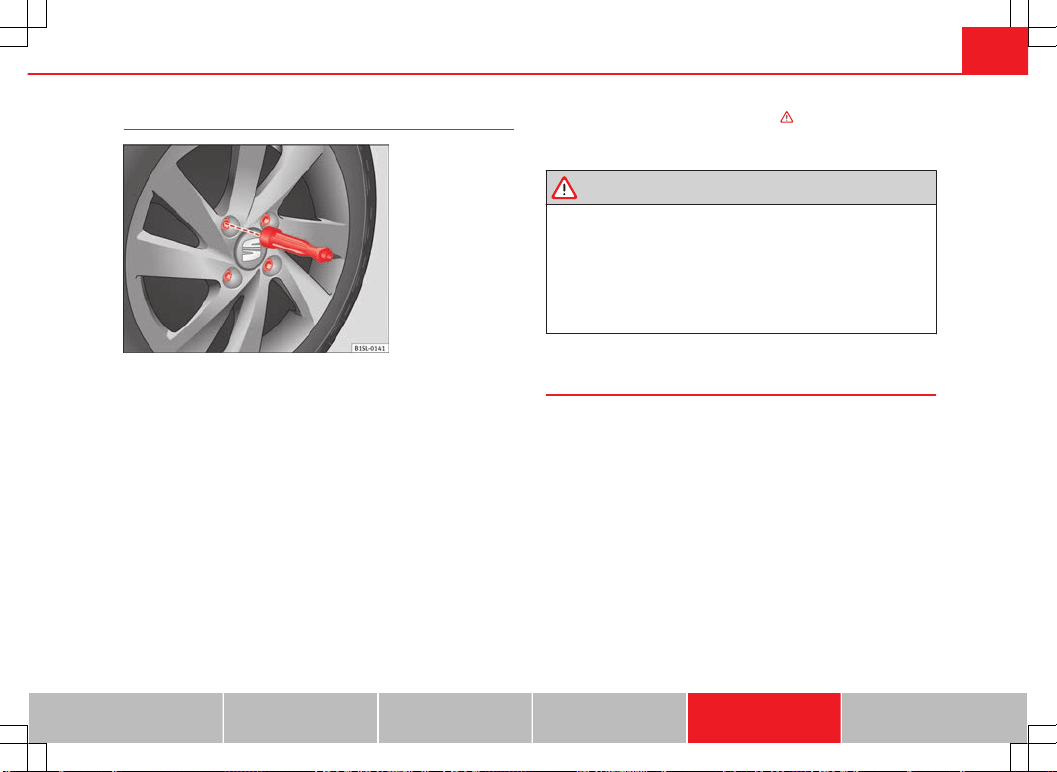
Fig. 145 Changing the
wheel: loosen wheel
bolts with the socket at
the end of the wheel
brace
Removing the wheel
● Please observe the check list ⇒ page 251.
● Loosen the wheel bolts ⇒ page 251.
● Jacking up the vehicle ⇒ page 253.
● Using the hexagonal socket in the wheel brace ⇒ Fig. 145, unscrew the
slackened wheel bolts and place them on a clean surface.
● Take off the wheel.
How to use the spare wheel or temporary spare wheel
Check the direction of rotation of the tyre ⇒ page 218, Tyre code.
● Place the spare wheel or temporary spare wheel into position.
● Replace the wheel bolts and tighten slightly using the hexagonal socket
on the end of the wheel brace.
● To tighten the anti-theft locking wheel bolts use the corresponding
adaptor.
● Lower the vehicle with the jack.
● Tighten all of the wheel bolts clockwise ⇒
. Tighten the bolts in diago-
nal pairs (not in a circle).
● Put the caps, trim or full hubcap back on ⇒ page 248.
WARNING
If the wheel bolts are not treated suitably or not tightened to the correct
torque then this could lead to loss of vehicle control and to a serious ac-
cident.
● All the wheel bolts and hub threads should be clean and free of oil
and grease. The wheel bolts should be easily tightened to the correct tor-
que.
● The hexagonal socket in the wheel brace should be used for turning
wheel bolts only. Do not use it to loosen or tighten the wheel bolts.
After changing the wheel
● Clean the vehicle tools, if necessary and put them away in the luggage
compartment foam holder ⇒ page 246.
● Store the spare wheel, the temporary spare wheel or the changed wheel
securely in the luggage compartment.
● Have the tightening torque of the wheel bolts checked as soon as possi-
ble with a torque wrench ⇒ page 252.
● Have the flat tyre replaced as quickly as possible.
Vehicle diagram Prior to a journey... While driving Care, cleaning and mainte-
nance
If and when Technical Data
Loading ...
Loading ...
Loading ...