Loading ...
Loading ...
Loading ...
16
©
2024 DJI All Rights Reserved.
DJI Modify User Manual
1. Click Create Project and ll in the project information. Enter the project name, choose the
storage location, and select the location of the project-related folders, including B3DM, PLY,
and AT XML les and undistorted images. Items marked with a red asterisk (*) are required.
2. After all required information is lled in, click OK to enter the model editing screen.
• Undistorted images can project textures onto the holes in the model. Importing
these images can help users achieve improved hole-lling eects. Users can nd the
undistorted images of a project in the reconstruction output folder of DJI Terra (path:
models\pc\0\.temp\ImageCorrection\undistort).
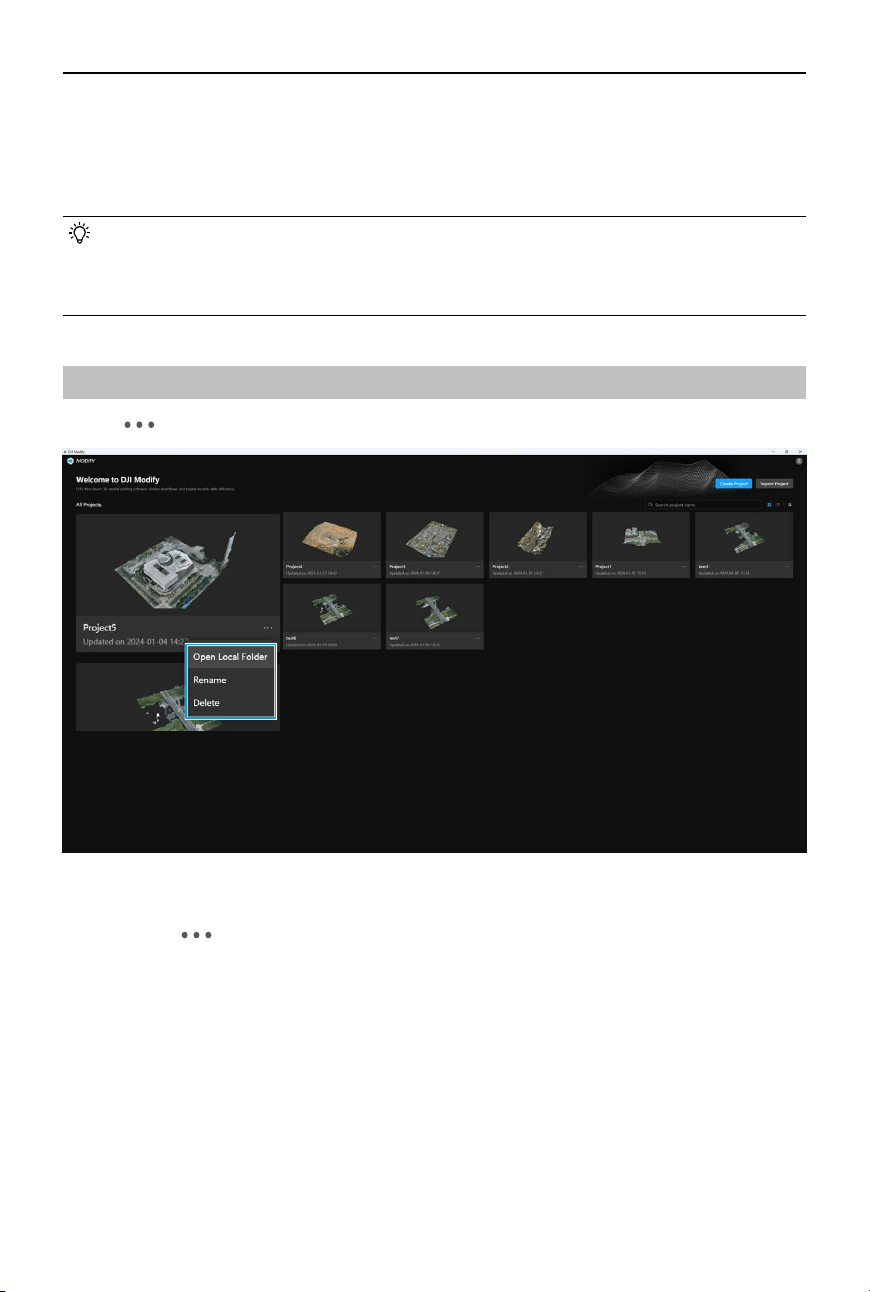
Managing a Project
Click on
at the lower right corner of a project to open local folder, rename, or delete the project.
Opening the Local Folder
Users can click and select Open Local Folder to nd the project les. With this option, users
can precisely identify the path of the project les, enabling them to eciently locate and share
project les.
Renaming a Project
After a project is created or imported, users can still modify the project name by renaming it.
Deleting a Project
DJI Modify supports deleting projects. Deleted projects will be removed from the home screen,
and the folders where the projects are located will also be deleted. The deleted models cannot
be recovered. Exercise caution when deleting.
Loading ...
Loading ...
Loading ...