Loading ...
Loading ...
Loading ...

29
English
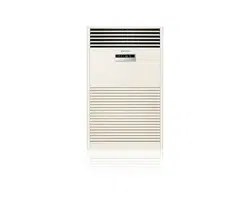
INSTALLATION PARTS
You must check the model names of the indoor and outdoor units.
Preparation for installation
Indoor · outdoor unit type and combination
Capacity(kJ/h) Type Model name
79
Indoor unit
Aߢߩߪ9ĘťU9A
Outdoor unit
Aߢߩߪ9ǹťU²A
101
Indoor unit
Aߢ߫ߨ9ĘťU9A
Outdoor unit
Aߢ߫ߨ9ǹťU²A
Moving the outdoor unit
• Select the moving path in advance.
• Be sure that moving path can support weight of the outdoor unit.
• Uͱͱϩϑɇϩϩ˵ʪΧθͱʒЇʀϩͱθʪϩ˵ɇߤߡઑи˵ʪʀɇθθц˝ϩࢋ࣍Uͱͱϩɇцϩ˵ʪΧθͱʒЇʀϩʒͱиϑʒʪиɇцϑࢋ࣎
• Surface of the heat exchanger is sharp. Be careful not to get injured while moving the product.
• If you need to ensure the outdoor unit from falling, use wires to
fix it firmly.
ࣕ Loosen the 4 screws from the top cover of the outdoor unit.
ࣕ Put the wire around the screws and fasten the screws.
ࣕ Fix the wire on the ground.
NOTE
• When the outdoor unit is not firmly fixed, it may fall and cause personal injury or property damage.
• When the outdoor unit is installed in water-proofed rooftop, fix the wires on the wall.
WARNING
• Should adopt bar type louver. Don’t use a type of rain resistance louver.
[Bar type louver] [Rain resistance louver]
• Louver specifications.
ࣕ Angle criteria : less than 20°
ࣕ Opening ratio criteria : greater than 80%
ki]_TXX^ZXjTWWpiptwhjGz{jluUGGGY` YWYYTW[TW_GGG㝘㤸G`aXYa[]
Loading ...
Loading ...
Loading ...