Loading ...
Loading ...
Loading ...
17
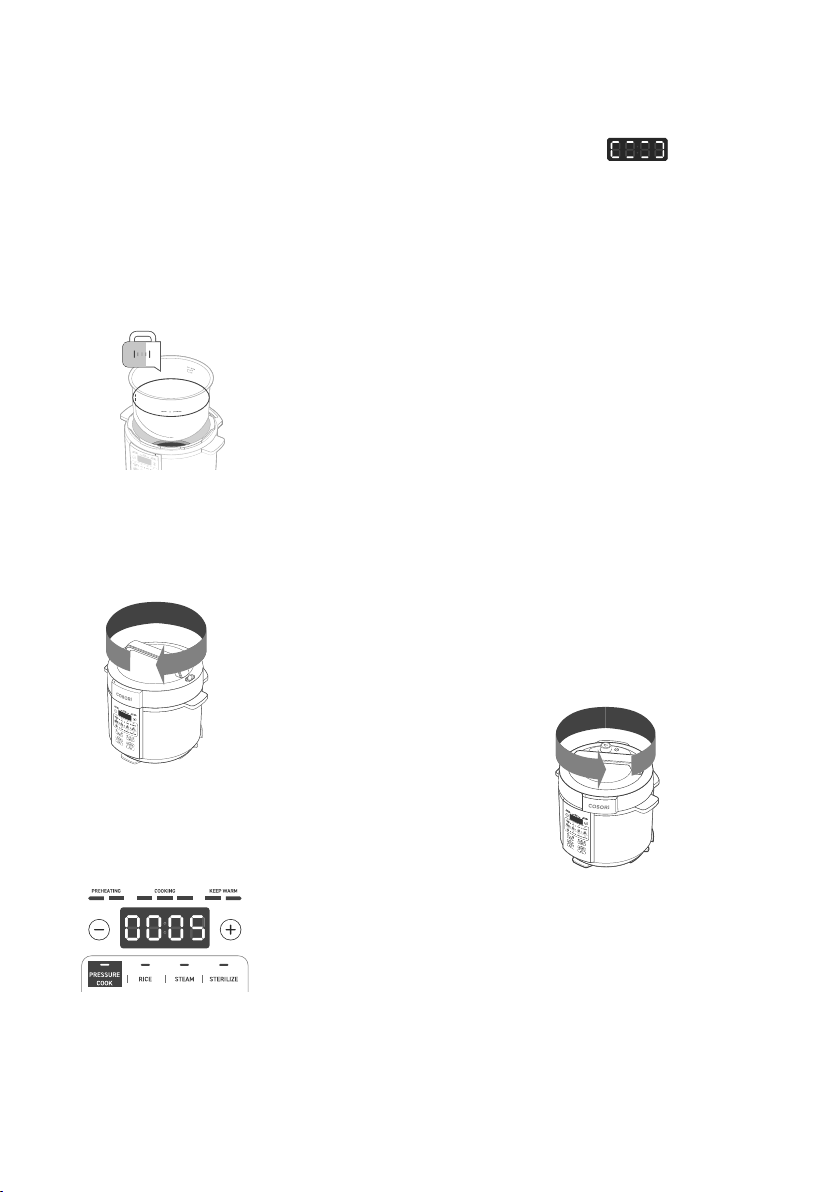
1. Make sure the inner pot is clean and
empty.
2. Add 3 cups / 750 mL of water to the
inner pot. [Figure 3.1]
Test Run
Make sure you perform a Test Run before
using your pressure cooker. This will help
you learn how to use the cooker, and make
sure it’s working properly.
Note: KEEP WARM is on by default.
Figure 3.4
3. Place the lid on the pressure cooker and
turn clockwise to secure. The pressure
cooker will make a sound to indicate the
lid is locked. [Figure 3.2]
4. Select PRESSURE COOK and press the
– or + buttons to set the cook time for 5
minutes. [Figure 3.3]
5. Press PRESSURE to select HIGH pressure.
6. Press KEEP WARM to turn o automatic
KEEP WARM.
Note: All pressure cookers may have a plastic smell
from the manufacturing process. This is normal. If
the plastic smell does not decrease after a test run,
contact Customer Support (see page 34).
Figure 3.1
Figure 3.2
Figure 3.3
7. Press START to begin cooking. The
pressure cooker will beep once, then
start pre-heating. The progress bar will
light up under ‘PREHEATING’ and the
display will show .
8. Once done preheating, the progress bar
will light up under ‘COOKING’ and the
timer countdown will begin.
9. When the test run ends, the display will
show ‘End’ and the pressure cooker
will beep 5 times to indicate cooking is
finished.
10. The pressure cooker will begin to
naturally release the pressure. Once the
pressure has been completely released,
the float valve will drop.
• Optionally, you can quick release or
timed natural release the pressure
before opening the lid. See Releasing
Pressure (page 14).
• The lid will unlock when the float valve
drops down.
11. Twist the lid counterclockwise. The
pressure cooker will make a sound
to indicate the lid is unlocked. Lift to
remove. [Figure 3.4]
12. Use oven mitts to carefully remove the
inner pot. Discard the water.
13. Allow the inner pot to cool, then dry
using a soft towel.
Loading ...
Loading ...
Loading ...