Loading ...
Loading ...
Loading ...
En
23
Advanced Operation
5 MASTER LEVEL control
6 MASTER CUE button
7 Master level indicator
8 BOOTH MONITOR control
9 MASTER OUT COLOR control
a OSC SAMPLER SELECT button
b OSC SAMPLER VOLUME control
c OSC SAMPLER PARAMETER control
d SOURCE selector switch
e HEADPHONES LEVEL control
f HEADPHONES MIXING control
g SOUND COLOR FX buttons
h MIC COLOR control
i SAMPLER SYNC button
j SAMPLER CUE button
k SAMPLER VOLUME control
l EQ (HI, LOW) controls
m MIC2 control
n MIC1 control
o CD, USB selector switch
p LINE, PHONO, USB selector switch
q FX 1 assign button
r FX 2 assign button
s Channel Level Indicator
t TRIM control
u ISO (HI, MID, LOW) controls
v COLOR control
w Headphones CUE button
x Channel fader
y Crossfader assign selector switch
z Crossfader
A FEELING ADJUST adjustment hole
Front panel
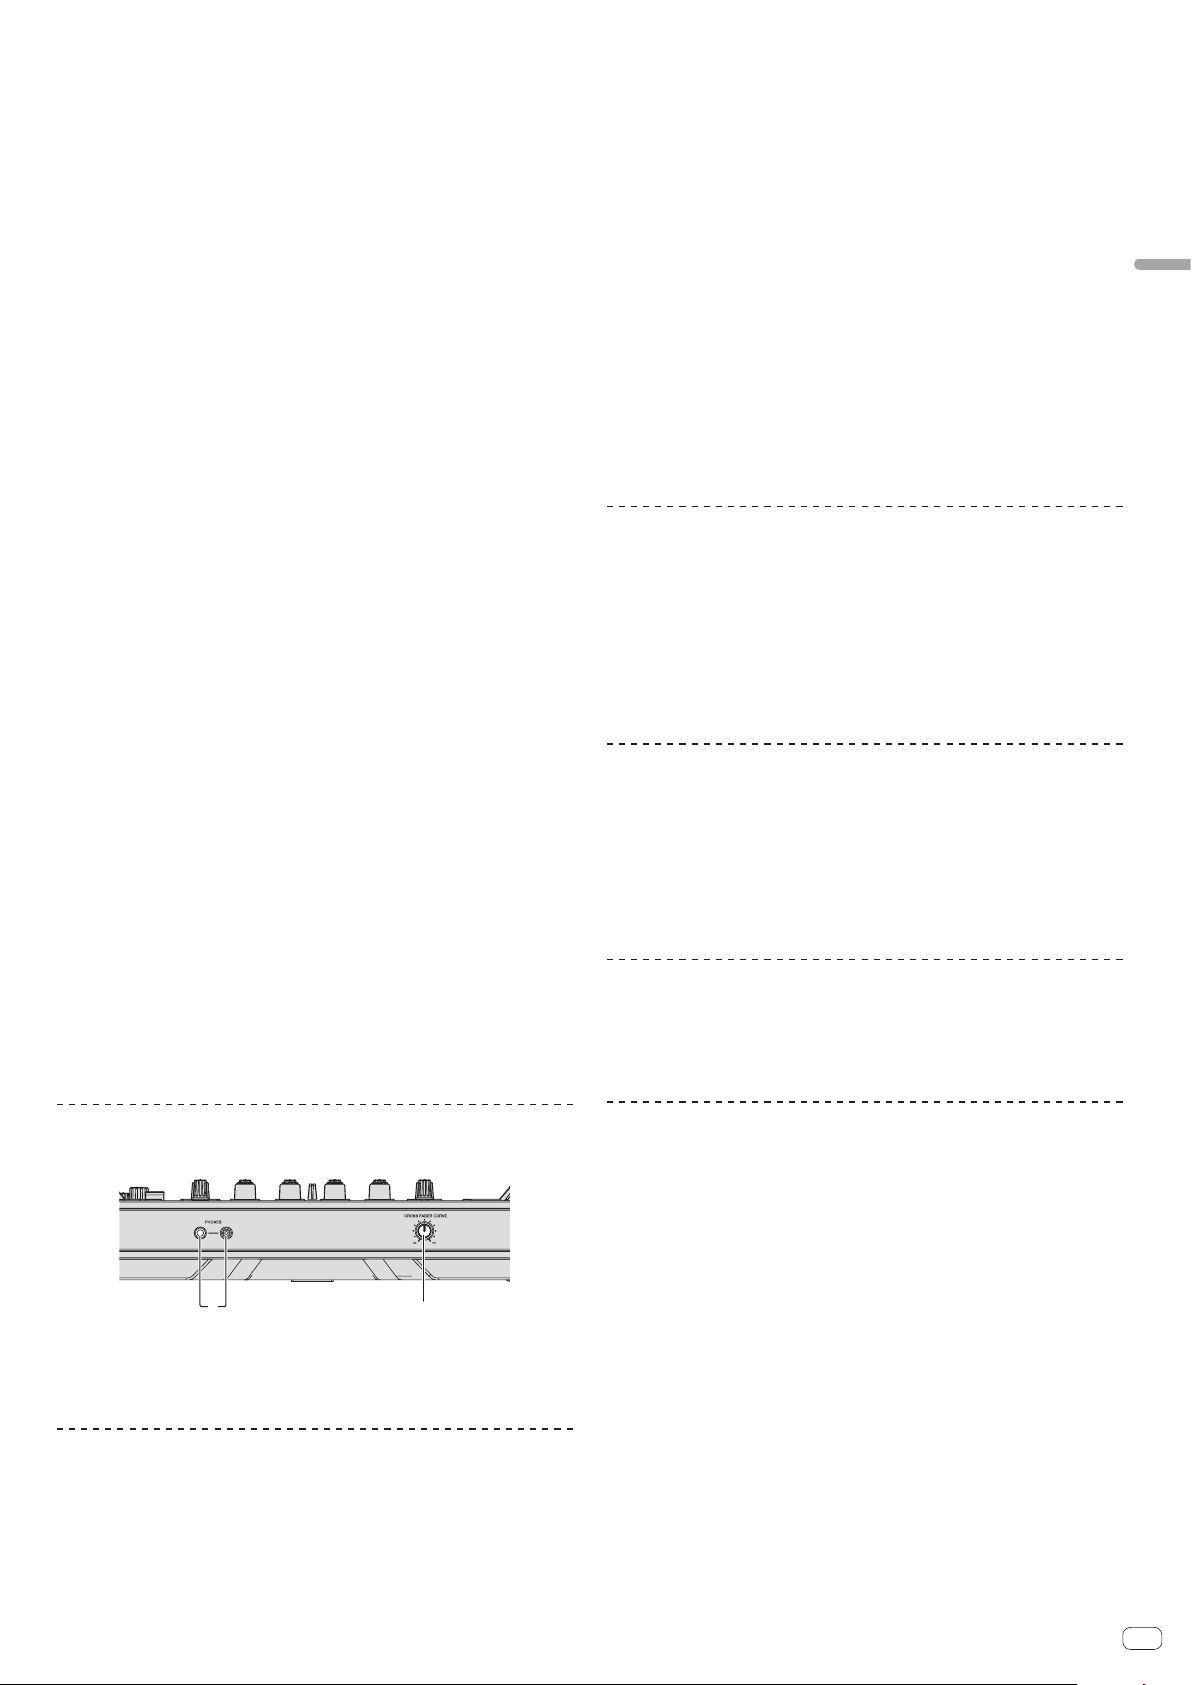
12
1 PHONES jacks
2 CROSS FADER CURVE selector switch
Using a microphone
1 Connect a microphone to the [MIC1] or [MIC2] terminal.
2 Set the [OFF, ON, TALK OVER] selector switch to [ON] or
[TALK OVER].
— [ON]: The indicator lights.
— [TALK OVER]: The indicator flashes.
! When set to [TALK OVER], the sound of channels other than the [MIC1] channel
is attenuated by 18 dB (default) when a sound of –10 dB or greater is input to the
microphone.
! The sound attenuation level while [TALK OVER] is selected can be changed in
utility mode. For the method to effect that change, see Changing the talk over
function level on page 26 .
! The talk over mode can be switched to the normal mode or the advanced mode.
For instructions on changing it, see Changing the talk over function setting on
page 25 .
3 Turn the [MIC1] or [MIC2] control.
Adjust the level of the sound output from the [MIC1] channel.
! Pay attention that rotating to the extreme right position outputs a very loud
sound.
4 Input audio signals to the microphone.
Adjusting the sound quality
Turn the [EQ (HI, LOW)] controls.
The adjustable ranges for the respective controls are as shown below.
! HI: –12 dB to +12 dB (10 kHz)
! LOW: –12 dB to +12 dB (100 Hz)
Mixing the sound of a DJ player, etc.
1 Connect the DJ player or other line level output device to
the [CD] or [LINE] terminals.
2 Set the [LINE, PHONO, USB] selector switch or [CD, USB]
selector switch to [LINE] or [CD].
3 Operate the [TRIM] control and channel fader to adjust the
sound level output from each channel.
Mixing the sound of an analog turntable, etc.
1 Connect the analog player or other phono level (for MM
cartridges) output device to the [PHONO] terminals.
2 Set the [LINE, PHONO, USB] selector switch to [PHONO].
3 Operate the [TRIM] control and the channel faders to adjust
the audio level output from the respective decks.
Using SOUND COLOR FX with external input
The four SOUND COLOR FX types included in the unit can be used with external
input.
For how to operate SOUND COLOR FX, see Using the SOUND COLOR FX function on
page 21 .
Using the oscillator function with external input
The four oscillator types included in the unit can be used with external input.
For how to operate the oscillator, see Using the oscillator function on page 22 .
Loading ...
Loading ...
Loading ...