
Loading ...
Loading ...
Loading ...
16 17
14
UTENSILS
•
Glass baking dishes absorb heat. Reduce oven temperature 25°F (15°C) when
baking in glass.
•
Use pans that produce the desired browning. The type of finish on the pan will
help determine the amount of browning that will occur.
- Shiny, smooth metal or light non-stick / anodized pans reflect heat, resulting in
lighter, more delicate browning. Cakes and cookies require this type of utensil.
- Dark, rough or dull pans will absorb heat resulting in a browner, crisper crust.
Use this type for pies.
•
Do not cook with the empty broiler pan in the oven, as this could affect
cooking performance. Store the broil pan outside of the oven.
HIGH ALTITUDE BAKING
When cooking at high altitude, cooking times may be extended.
OVEN RACKS
IMPORTANT: To avoid permanent damage to the porcelain finish, place
food or bakeware on an oven rack. Do not place food or bakeware directly
onto the oven door or oven bottom.
•
The oven shelves can be placed in any of the five height positions with the oven.
•
Position racks before turning on the oven.
•
Make sure each shelf is inserted between two wire supports that are the
closest together.
•
Make sure the oven racks are level.
•
Oven shelves have a stop to keep them from being unintentionally
withdrawn fully.
To Remove Oven Racks:
•
Pull rack out to the stop position, raise the front edge, and then lift out.
To Replace Oven Racks:
•
Place oven rack on the wire supports along the sides of the oven. Tilt the front
edge up slightly, and slide rack to the rear until it clears the stop position.
Lower the front and slide the rack into the oven.
OVEN DOOR
To avoid oven door glass breakage:
•
Do not close the oven door if the racks are not fully inserted into the oven cavity
or if bakeware extends past the front edge of an oven rack.
•
Do not set objects on the glass surface of the oven door.
•
Do not hit glass surfaces with bakeware or other objects.
•
Do not wipe down glass surfaces until the oven has completely cooled.
Oven Use
15
OVEN VENTS
Blocking or covering the oven vents will cause poor air circulation, affecting
cooking, cleaning and cooling results.
•
Both the upper and lower oven vent(s) allow fresh air to enter the
cooling system.
•
The lower oven vent also allows hot air to be expelled from the cooling system.
COMPONENT COOLING FAN
Activates during any cooking or self-cleaning mode to cool inner components
and outer door surfaces. This air is exhausted through the vent located above
the oven door. It continues to run until components have cooled sufficiently.
The cooling fan operates at double speed (or RPM’s) in self-clean and
whenever the internal components temperature becomes high.
OVEN CONDENSATION AND TEMPERATURE
•
It is normal for a certain amount of moisture to evaporate from the food during
any cooking process. The amount depends on the moisture content of the food.
•
The moisture may condense on any surface cooler than the inside of the
oven, such as the control panel.
•
Your new oven has an electronic temperature sensor to help maintain an
accurate temperature. Your previous oven may have had a mechanical
thermostat that drifted gradually over time to a higher temperature. It is
normal that you may need to adjust your favorite recipes when cooking in a
new oven.
OVEN TEMPERATURE CONTROL
The oven provides accurate temperatures; however, it may cook faster or
slower than your previous oven, so the temperature calibration can be
adjusted. It can be adjusted in degrees Fahrenheit or Celsius.
A minus sign means the oven will be cooler by the displayed amount. The
absence of a minus sign means the oven will be warmer by the displayed
amount.
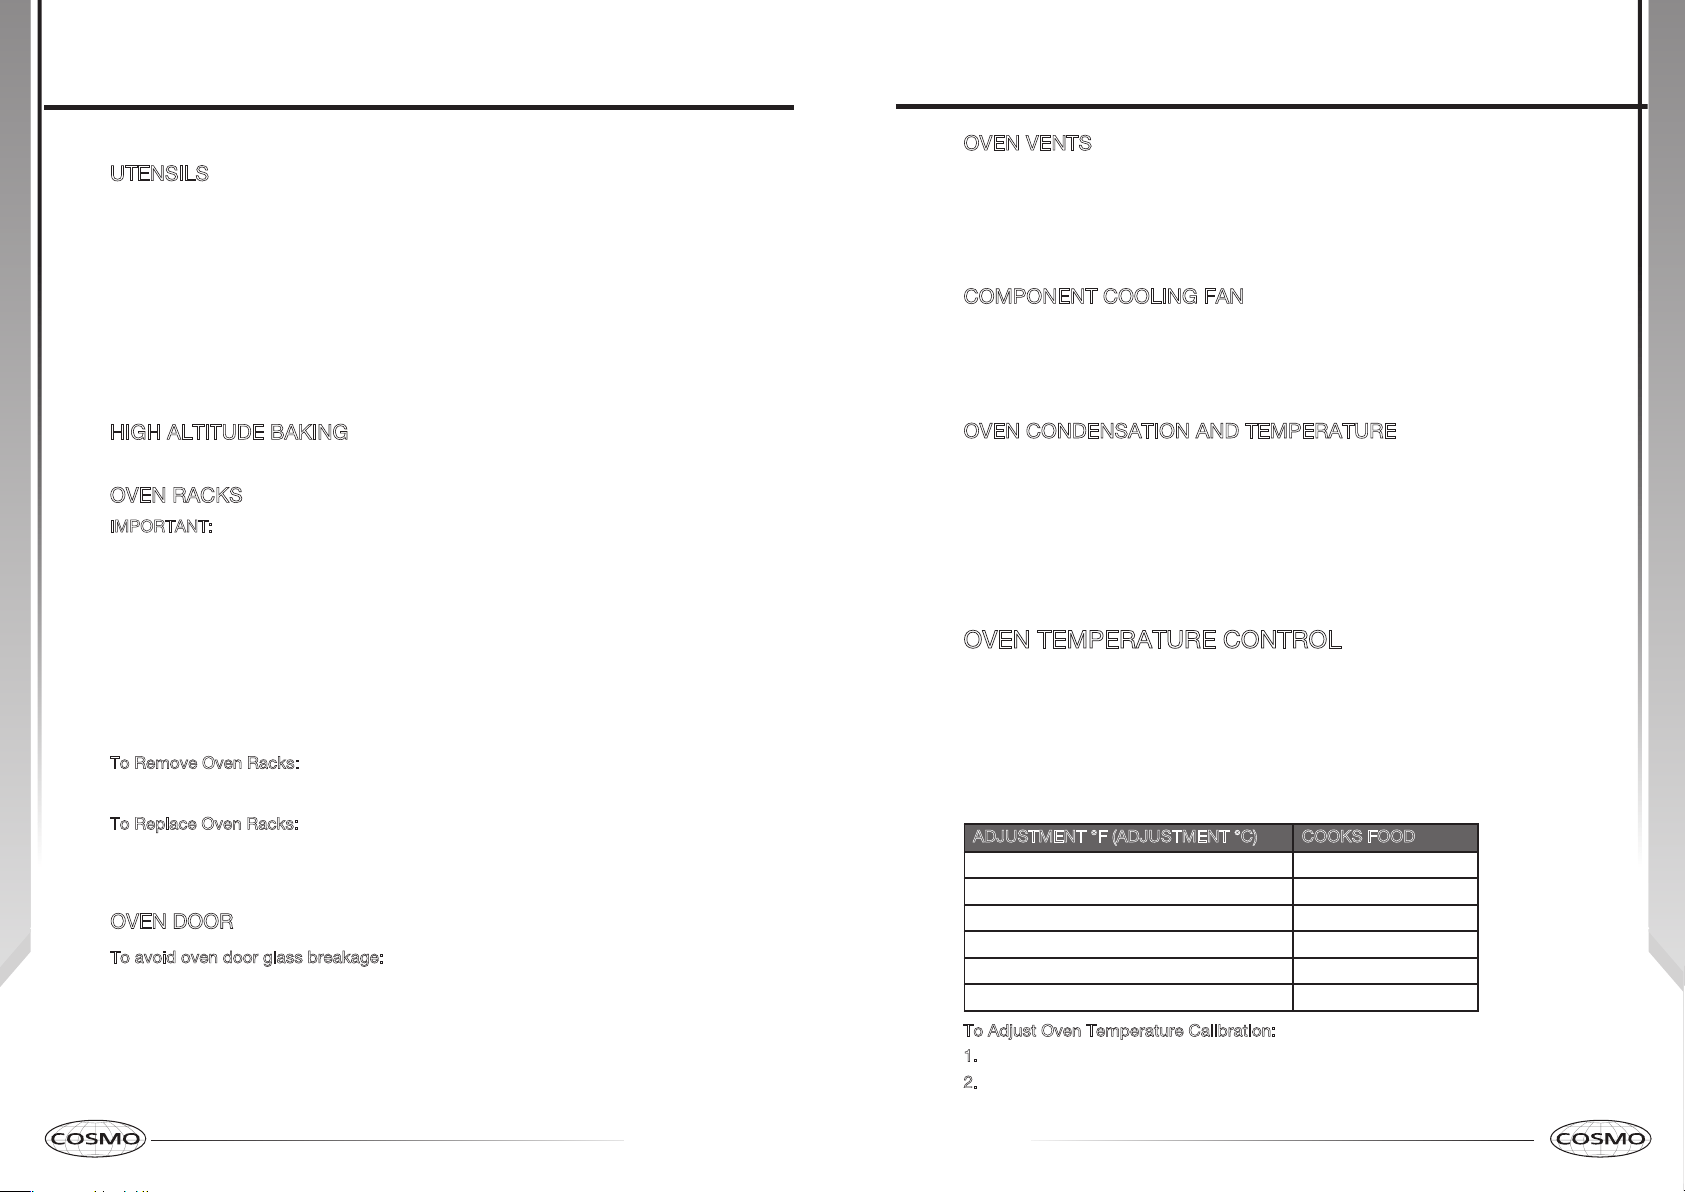
Use the following chart as a guide:
ADJUSTMENT °F (ADJUSTMENT °C) COOKS FOOD
10°F (6°C) a little more
20°F (12°C) moderately more
30°F (17°C) much more
-10°F (-6°C) a little less
-20°F (-12°C) moderately less
-30°F (-17°C) much less
T
o Adjust Oven Temperature Calibration:
1. Press SETTINGS. The various Options will appear in the display.
2
. Press number 9 on the keypad. “CALIBRATION” “PRESS 3 TO INCREASE/
PRESS 6 TO DECREASE” will scroll across the display.
Oven Use
Loading ...
Loading ...
Loading ...