Loading ...
Loading ...
Loading ...
En
21
Advanced operation
3 Press the [4 BEAT LOOP/EXIT] button.
Loop playback is canceled and playback starts from the current position
playing in the background playback.
! Press the [SLIP] button again to cancel slip mode.
Using the fader start function
Using the channel fader start function
1 Set a cue point.
Pause playback at the position where you want to set a cue point (play-
back start point), and press the [CUE] button for the corresponding deck.
! Cue points can also be set by moving the channel fader from the
back to the position nearest you while pressing the [SHIFT] button in
the pause mode.
2 Move the channel fader from the position nearest
you towards the back while pressing the [SHIFT] button.
Playback of the track starts from the set cue point.
! When the channel fader is moved back to the position nearest you
while pressing the [SHIFT] button during playback, the track moves
back to the set cue point and playback is paused (back cue).
If a cue point is not set, playback starts from the beginning of the
track.
When the channel fader is moved from the back to the position near-
est you while pressing the [SHIFT] buttonwhen a cue is in standby,
playback starts from the set cue point.
Using the crossfader start function
To use the crossfader start function, set the crossfader assign selector
switch of the channel to [A] or [B].
1 Set a cue point.
Pause playback at the position where you want to set a cue point (play-
back start point), and press the [CUE] button for the corresponding deck.
! Cue points can also be set by moving the crossfader to the far left or
the far right while pressing the [SHIFT] button in pause mode.
2 Move the crossfader to the far-left or far-right
position.
Set the crossfader to the far end of the channel to be used with the fader
start function.
3 Move the crossfader to the opposite direction while
pressing the [SHIFT] button.
Playback of the track starts from the set cue point.
! When the crossfader is returned to the original position while press-
ing the [SHIFT] button during playback, the track moves instanta-
neously back to the set cue point and pause mode is set (Back Cue).
If a cue point is not set, playback starts from the beginning of the
track.
When the crossfader is moved from the left edge to the right edge (or
from the right edge to the left edge) while pressing the [SHIFT] but-
ton when a cue is in standby, playback starts from the set cue point.
Using effects
This product is equipped with two types of effect functions, BEAT FX and
SOUND COLOR FX.
For details on operating these effects using the performance pads, see
Using the pad FX
(p. 18 ).
Using the BEAT FX function
You can set various effects according to the tempo (BPM = Beats Per
Minute) of the track currently playing using the BEAT FX function.
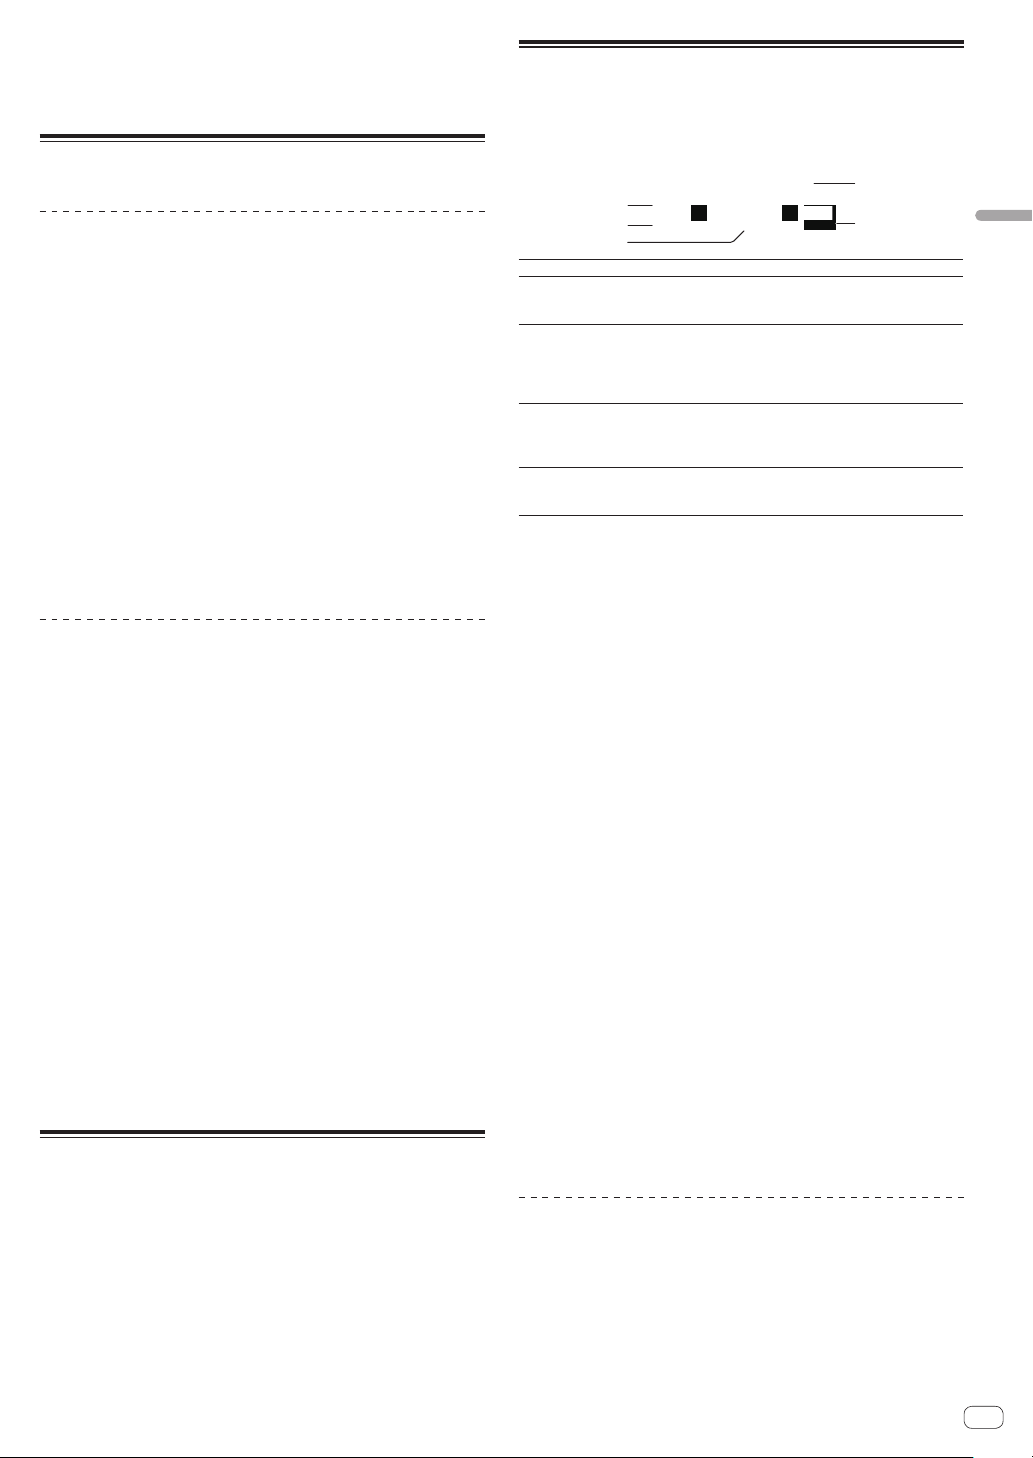
Main display
1
5
2
3
4
1
Effect name Displays the name of the selected effect.
2
AUTO (TAP)
When the BPM measurement mode is auto mode,
[AUTO] is displayed. When it is manual input mode,
[TAP] is displayed.
3
BPM value dis-
play (3 digits)
Displays the automatically detected BPM in auto mode.
If the BPM cannot be detected, the previously detected
BPM value flashes.
Displays the manually input BPM value in manual input
mode.
4
Beat/parameter
display section
Displays the selected number of beats.
Displays parameters when the [BEAT c, d] buttons are
pressed for some effects. Blinks when outside the param-
eter limits.
5
Selected
channel display
section
Displays the channel to which the effect is to be applied.
Displays SP (SAMPLER), MIC, CH 1, CH 2, CH 3, CH 4, or
MST (MASTER), depending on what is selected.
1 Press the [BEAT c] or [BEAT d] button while pressing
the [SHIFT] button.
Select the BPM measurement mode.
— [AUTO]: Press the [BEAT c] button while pressing the [SHIFT]
button.
The BPM is automatically measured from the input audio signal.
— [TAP]: Press the [BEAT c] button while pressing the [SHIFT] but-
ton.
Enter the BPM manually. For information on manual input, refer
to Inputting the BPM manually (p. 21 ).
! The BPM measurement range for the [AUTO] setting is 70 to 180.
BPM cannot be correctly measured for some tracks. If the BPM
cannot be measured, the BPM value on the display flashes. In such
cases, use the [TAP] button to input the BPM manually.
2 Rotate the [BEAT FX SELECT] control.
Selects the type of effect.
! For information on the types of effects, refer to Types of BEAT FX
(p. 22 ).
3 Rotate the [BEAT FX CH SELECT] control.
Selects the channel to apply the effect to.
— [SP]: Applies the effect to the sound of [SAMPLER] for rekordbox.
— [MIC]: Applies the effect to the sound of the [MIC] channel.
— [1] – [4]:Applies the effect to the sound of the respective channel.
— [MST]: Applies the effect to the sound of the [MASTER] channel.
4 Press the [BEAT c, d] button.
Set the beat fraction to synchronize the effect sound with.
The effect time corresponding to the beat fraction is set automatically.
5 Press the [BEAT FX ON/OFF] button.
The effect is applied to the sound.
The effect’s quantitative parameter can be adjusted by turning the
[BEAT FX LEVEL/DEPTH] control.
The [ON/OFF] button flashes when the effect is on.
! Press the [ON/OFF] button again to turn the effect off.
Inputting the BPM manually
While pressing the [SHIFT] button, tap the [BEAT d]
button more than two times with your finger in time
with the beat (quarter notes) of the sound being played.
The average value of the interval that the [BEAT d] button is tapped
while the [SHIFT] button is pressed is displayed in the BPM (EFFECT)
display section.
! You can return to AUTO mode, press the [BEAT c] button while
pressing the [SHIFT] button.
Loading ...
Loading ...
Loading ...