Loading ...
Loading ...
Loading ...
Shooting
2
63
EN
Creating Movies from Clips
You can create a single movie fi le including multiple short movies (clips). Clips can be
split into multiple groups (“My Clips”). You can also add still pictures to the My Clips
movie (P. 109).
Recording Clips
1
Highlight [Clips] in the movie mode option (P. 60).
2
Press G, use HI to choose the clip length, and press the Q button.
• Use live controls to choose from a movie quality (frame size and rate) options
(P. 84).
3
Press the R button to start shooting.
• Shooting ends automatically when the selected recording time is reached.
• To extend the recording time, press the R button during recording. Recording time
can be extended by up to 16 seconds by pressing the button repeatedly.
• The new clip is added to My Clips.
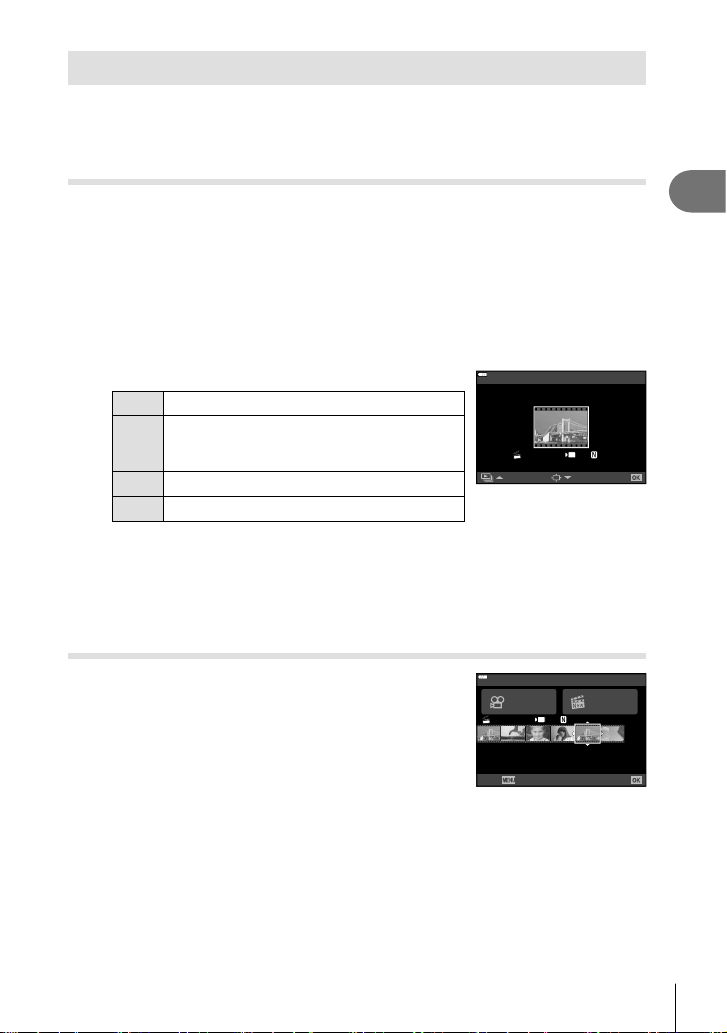
F
Plays back My Clips from the beginning.
G
Changes My Clips to save the clip to and the
position to add the clip to. Use HI to change
the position to add the clip to in the My Clips.
Q
Prepare to record the next clip.
Deletes the shot clip.
Set
1
MOV00:04 FHD 30p
Added to My Clips.
4
Press the R button to shoot the next clip.
• The confi rmation screen will disappear and shooting of the next clip will start.
• The new clip is added to the same My Clips group as the previous clip.
• Movies recorded at different frame sizes or rates are saved to different My Clips
groups.
Creating new My Clips
Press G in Step 3.
Use FG to move the clip to v and press the Q button.
1
MOV11:24 FHD 3 0p
Back Set
Move a clip within a My Clips folder.
Loading ...
Loading ...
Loading ...