Loading ...
Loading ...
Loading ...
Connecting the camera to a computer
6
144
EN
6
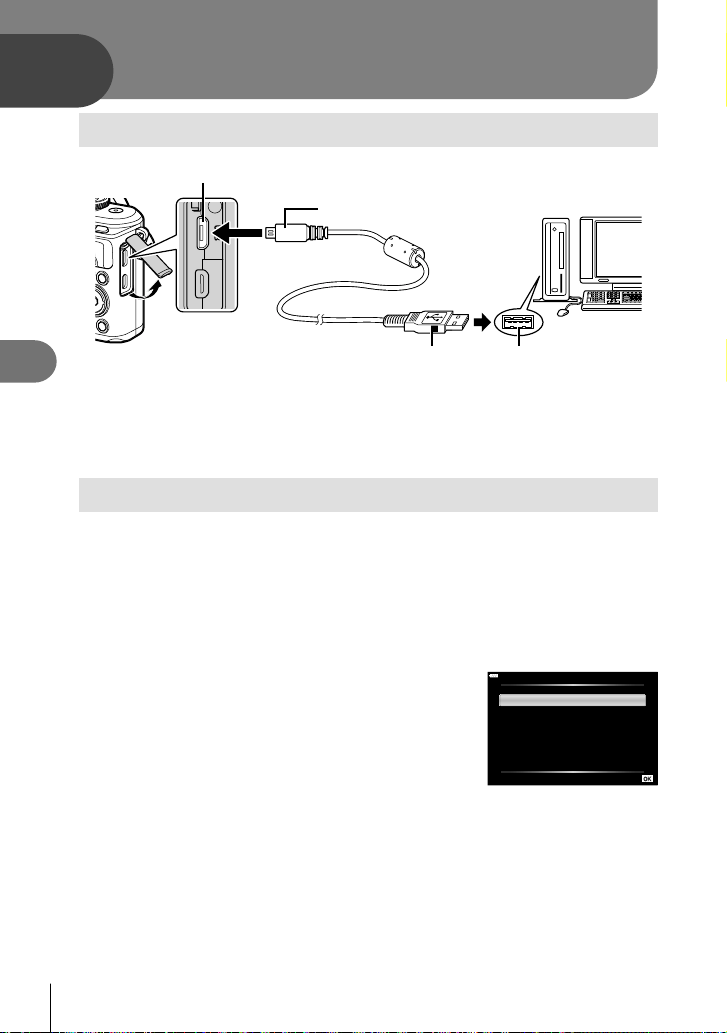
Connecting the camera to a computer
Micro-USB connector
Smaller terminal
USB cable USB port
• When the camera is connected to a computer via USB, a dialog should be displayed
in the monitor prompting you to choose a host. If it is not, select [Auto] for [USB Mode]
(P. 127) in the camera custom menus.
• If nothing is displayed on the camera screen even after connecting the camera to the
computer, the battery may be exhausted. Use a full-charged battery.
Copying pictures to a computer
The following operating systems are compatible with the USB connection:
Windows: Windows 7 SP1/Windows 8/Windows 8.1/Windows 10
Mac: OS X v10.9-v10.11/macOS v10.12-v10.14
1
Turn the camera off and connect it to the computer.
• The location of the USB port varies with the computer. For details, refer to your
computer’s manual.
• The selection screen for the USB connection is displayed.
2
Press FG to select [ Storage]. Press the Q
button.
USB
Storage
Exit
MTP
Set
3
The computer recognizes the camera as a new device.
• Data transfer is not guaranteed in the following environments, even if your computer is
equipped with a USB port.
Computers with a USB port added by means of an extension card, etc., computers
without a factory-installed OS, or home-built computers
• Camera controls cannot be used while the camera is connected to a computer.
• If the dialog shown in Step 2 is not displayed when the camera is connected to a
computer, select [Auto] for [USB Mode] (P. 127) in the camera custom menus.
Connecting the camera to a computer
Loading ...
Loading ...
Loading ...