Loading ...
Loading ...
Loading ...
Preparation
1
22
EN
4
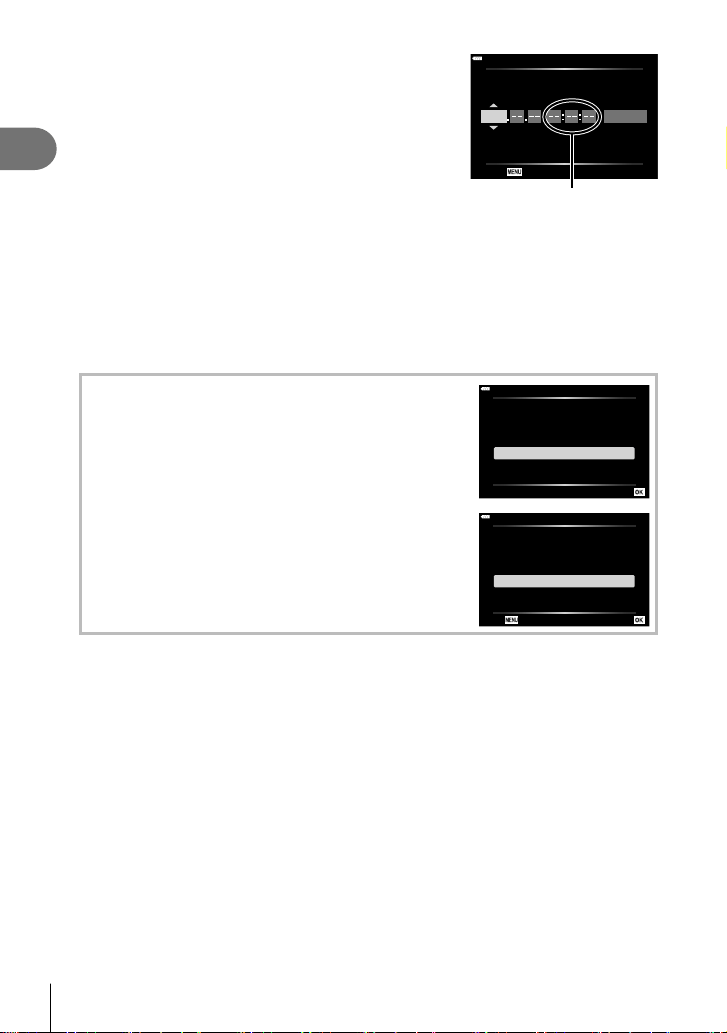
Set the date, time, and date format.
• Use the HI buttons on the arrow pad to highlight
items.
• Use the FG buttons on the arrow pad to change
the highlighted item.
• The clock can be adjusted at any time from the
e setup menu. g [X] (P. 124)
X
2019
YMD Time
Y/M/D
Cancel
The time is displayed using
a 24-hour clock.
5
Complete the initial setup.
• Press the Q button to set the clock.
• If the battery is removed from the camera and the camera is left for a while, the date and
time may be reset to the factory default setting.
• You may also need to adjust the frame rate before shooting movies. g [Video Frame
Rate] (P. 119)
Turning the camera off
Press the ON/OFF button to turn the camera off. See
page 138 for information on how to proceed if the camera
displays the dialog shown in the illustration.
Power-off Standby
Activate Wi-Fi/Bluetooth Power-off
Standby so images can be imported
while power is off?
Yes
No
Set
Power-off Standby:On
Confirm whether or not to activate
Power-off Standby every time power
is turned off? This setting can be
changed from the menu anytime.
Confirm every time
Don't show this screen again
Back Set
Loading ...
Loading ...
Loading ...