Loading ...
Loading ...
Loading ...
English 15
Overview
Clock
You must set the clock correctly to ensure the automatic features work properly.
This product supports two time formats: 12-hour (default) and 24-hour.
01 02
03
04
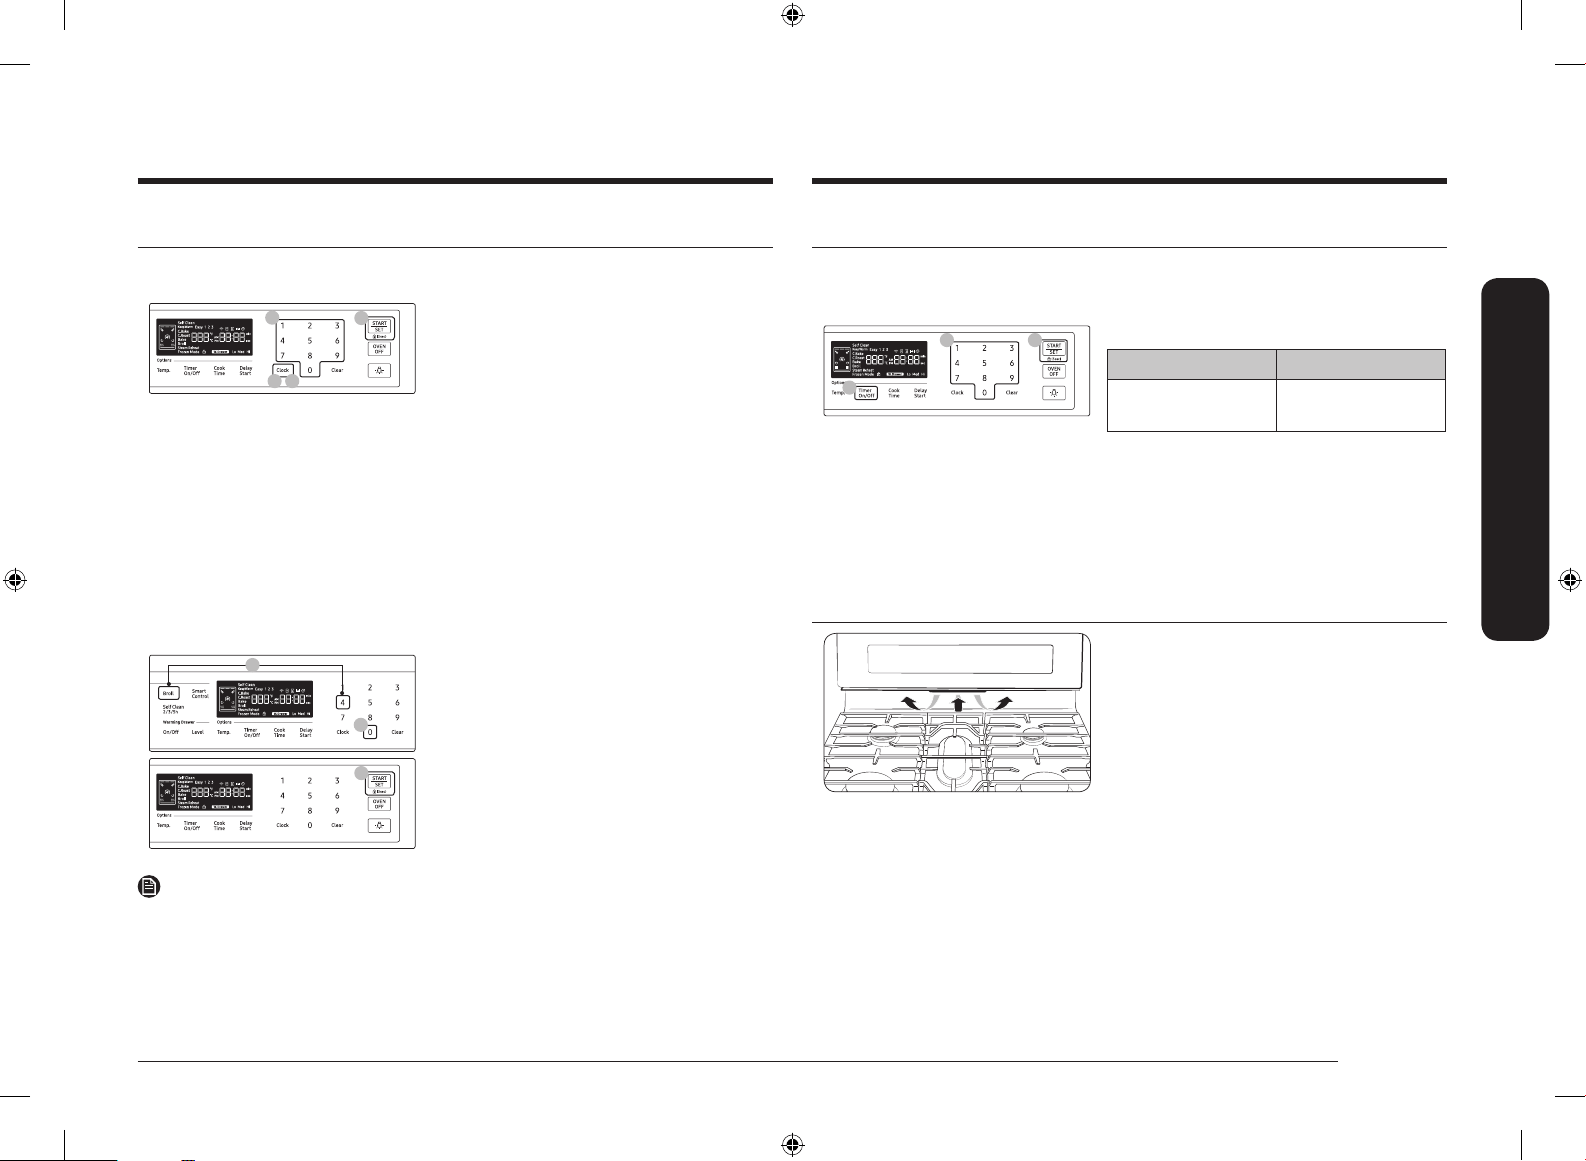
To set the clock time
1. Press the Clock pad.
2. Set AM or PM by pressing the Clock
pad. Press the START/SET pad for the
next step.
3. Enter the current time by pressing
the number pad. If the value is wrong,
press Clear to return to Step 2. If the
value is correct, press the START/SET
pad.
4. Press the START/SET pad to conrm the
settings.
5. When the Cooking time, Delay start, or
Timer feature is in use, press the Clock
pad to display the current time.
01
02
03
To change the time format (12hr/24hr)
1. Press and hold the Broil and 4 pads
simultaneously for 3 sec.
2. Press the 0 Pad to toggle between the
12-hour and 24-hour display setting.
3. Press the START/SET pad to change the
clock display mode.
NOTE
You can set/change the clock or the kitchen timer before you start a cooking mode
or while most cooking modes are operating. However, you cannot set or change
the time if a time based function is operating (Time Bake, for example) or the
Sabbath option is enabled.
Kitchen timer
The kitchen timer gives you an extra timer you can use to time cooking tasks such
a boiling eggs. It does not, however, start or stop any cooking operation. You can
set the timer from 1 minute to 9 hours and 59 minutes.
01
02 02
1. Press the Timer On/Off pad.
Press Once Press Twice
To set Hours/
Minutes
To turn off or
cancel the timer
2. Press the number pads to enter the
amount of time you want in minutes or
hours and minutes. After pressing the
number pads, press the START/SET pad
to start the timer, or press the Clear pad
to undo.
Oven vent / Cooling vent
The oven vent is located under the oven
Control panel. Proper air circulation
prevents oven burner combustion problems
and ensures good performance.
• Do not block the vent or the area
around the vent.
• Use caution when placing items near
the vent. Hot steam can cause them to
overheat or melt.
NX5000M_NX58M6650WS_AA_DG68-00993A-04_EN+MES+CFR.indb 15 2018-12-18 6:57:16
Loading ...
Loading ...
Loading ...