Loading ...
Loading ...
Loading ...
Function
24
SCREEN Menu Options
• Select Rear when projecting from the back of the transparent screen purchased
separately.
• Select Ceiling when installing the product on the ceiling.
• When PJT Mode is Rear/Ceiling, the left/right of the speaker changes automatically.
• You can use this function through the MENU button.
• Press the BACK button to exit the menu screen.
To Change PJT Mode
* This function turns the projected image upside down or flips horizontal.
Press the RATIO button to select a desired screen size.
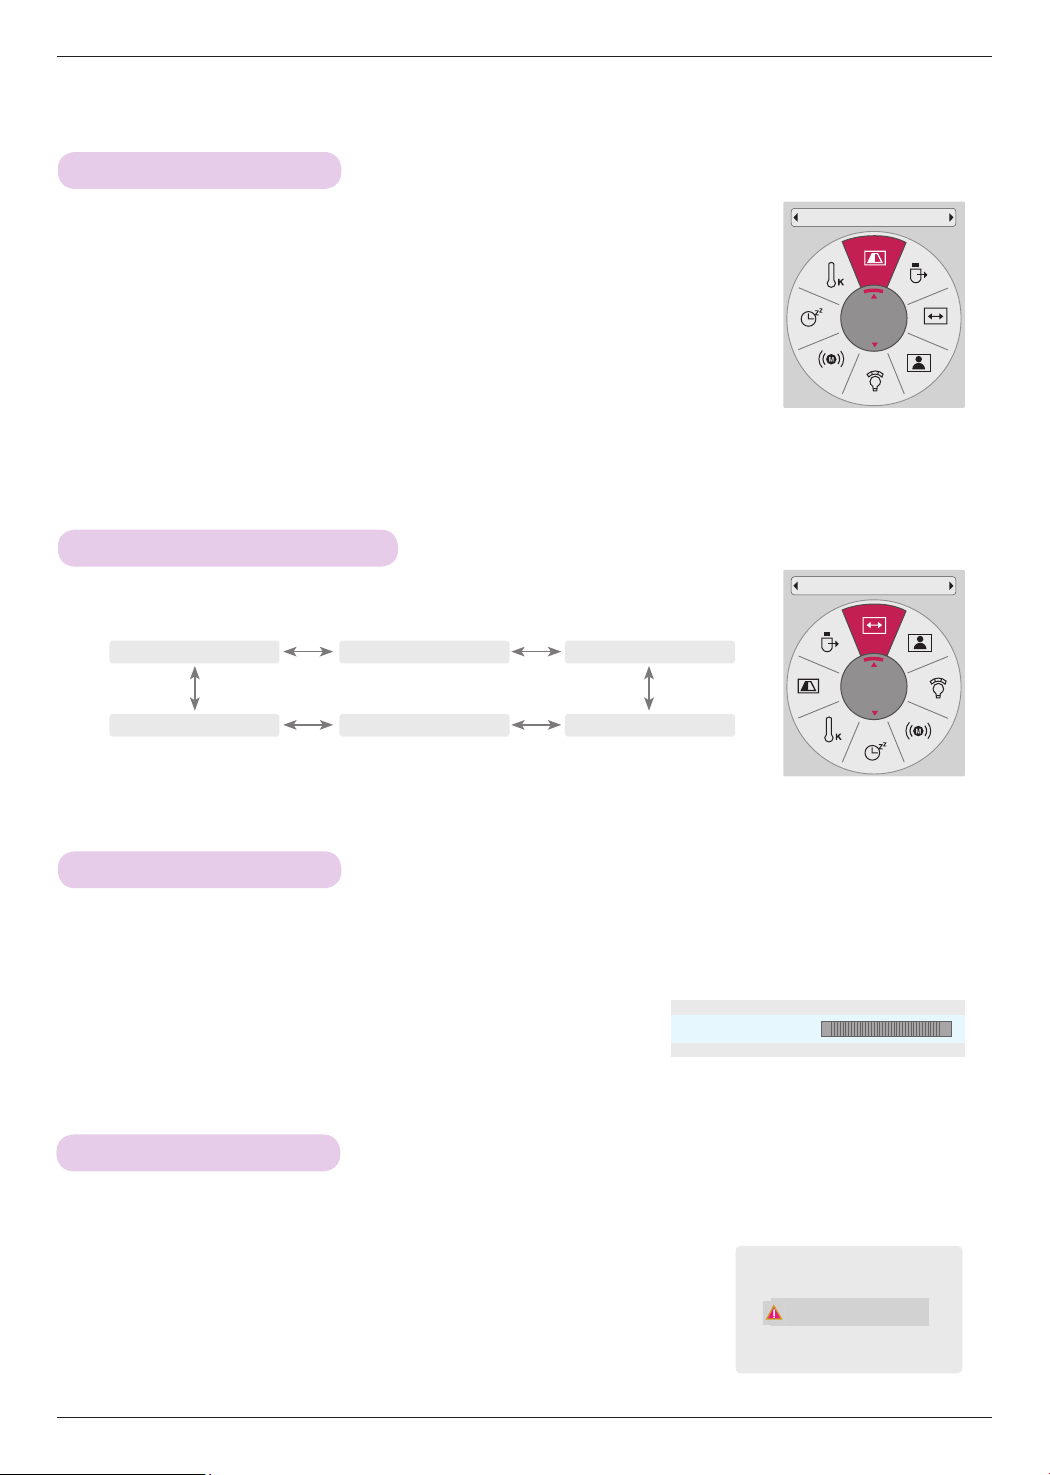
Using Aspect Ratio Function
• Some options may not be available depending on input signals.
• You can use this function through the MENU button.
• Press the BACK button to exit the menu screen.
4:3
Just Scan
Set By Program
Cinema Zoom1
Zoom
16:9
1. Press the KEYSTONE button of remote control.
2. Press the <, > button to adjust the screen condition as you want.
• Keystone can be adjusted from -40 to 40.
• You can use this function through the MENU button.
• Press the BACK button to exit the menu screen.
Using Keystone Function
* Use this function when the screen is not at a right angle to the projector and the image is a trapezoid shape.
* Only use the Keystone function when you can’t get the best angle of projection.
•Keystone 0
ꔗ
ꔃ
ꔉOK
- +
PJT Mode
Front
Aspect Ratio
16:9
1. Press the Q.MENU button on the remote control.
2. Press the <, > buttons to move to PJT Mode.
3. Press the ∧, ∨ button to select a desired item.
Press the AUTO button of the remote control.
• If you execute screen adjustment for a video from PC graphic signal, optimal
state may not be found. Execute the Auto Config. function for a still image.
• You can use this function through the MENU button.
Auto Configure Function
* This function assures you of getting the best video quality by automatically adjusting the horizontal size and
synchronization of the image.
* Auto configure function works in RGB PC input only.
Auto config.
Loading ...
Loading ...
Loading ...