Loading ...
Loading ...
Loading ...
Lights and visibility
The driver should always adjust the rear vi-
sion mirr
or t
o permit adequat
e visibility
through the rear window.
Manual anti-dazzle function for interior
rear vision mirror
●
Basic position: point the lever at the bottom
of the mirror forwards.
●
Pull the lever to the back to select the anti-
dazzle function
›››
Fig. 117.
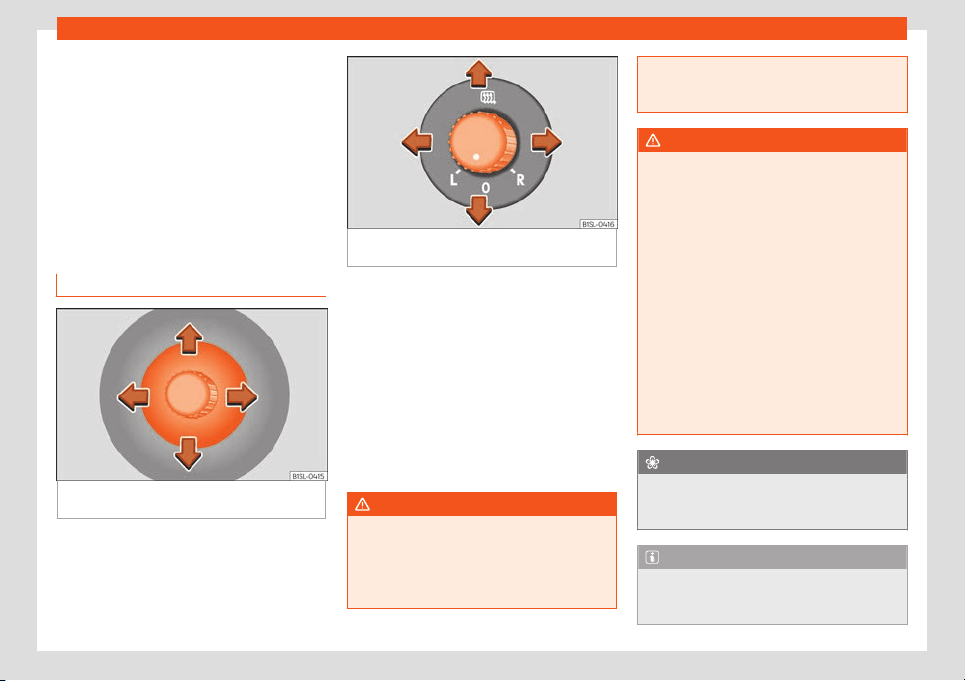
Exterior mirrors
Fig. 118 On the front doors: button to adjust
the mechanical e
xt
erior r
ear vision mirror
Fig. 119 On the driver door: rotating control for
electric windows.
Read the additional information carefully
›
›
›
page 15
Adjust the exterior mirrors by pressing the ad-
just button
›››
Fig. 118 or the rotary control*
›››
Fig. 119.
Folding in the exterior mirrors and returning
them to their original position is possible
through a mechanical system. Carefully fold
the exterior rear vision mirror casing towards
the side window or pull it away from the win-
dow until it clicks into place.
WARNING
Fold and unfold the exterior mirror, taking
care to av
oid injuries.
●
Only fold or unfold the exterior mirror
when there is no-one in the way of the mir-
ror.
●
When moving the mirror
, take care not to
trap fingers between the mirror and the
mirror bracket.
WARNING
Failure to correctly estimate the distance
of the v
ehicle behind coul
d lead to serious
accident.
●
Rear-view convex or aspheric mirrors in-
crease the field of vision, however objects
appear smaller and further away in the mir-
rors.
●
The use of these mirrors to estimate the
distance to the next vehicle when changing
lane is imprecise and could result in serious
accident.
●
If possible, use the rear vision mirror to
estimate distances to vehicles behind you
or in other circumstances.
●
Make sure that the rear visibility is ade-
quate.
For the sake of the environment
The exterior mirror heating should be
switched off when it is no l
onger needed.
Otherwise, it is an unnecessary fuel waste.
Note
In the event of a fault, the electric exterior
mirrors can be adjusted manually by pr
ess-
ing the edge of the mirror surface.
111
Loading ...
Loading ...
Loading ...