Loading ...
Loading ...
Loading ...
Caution:
Never use the paper feed knob to adjust the top-of-form position; this may damage the printer or cause it to
lose the top-of-form position.
When you send more data, the paper automatically feeds back to the loading position.
Top
Removing a printed document from the push tractor
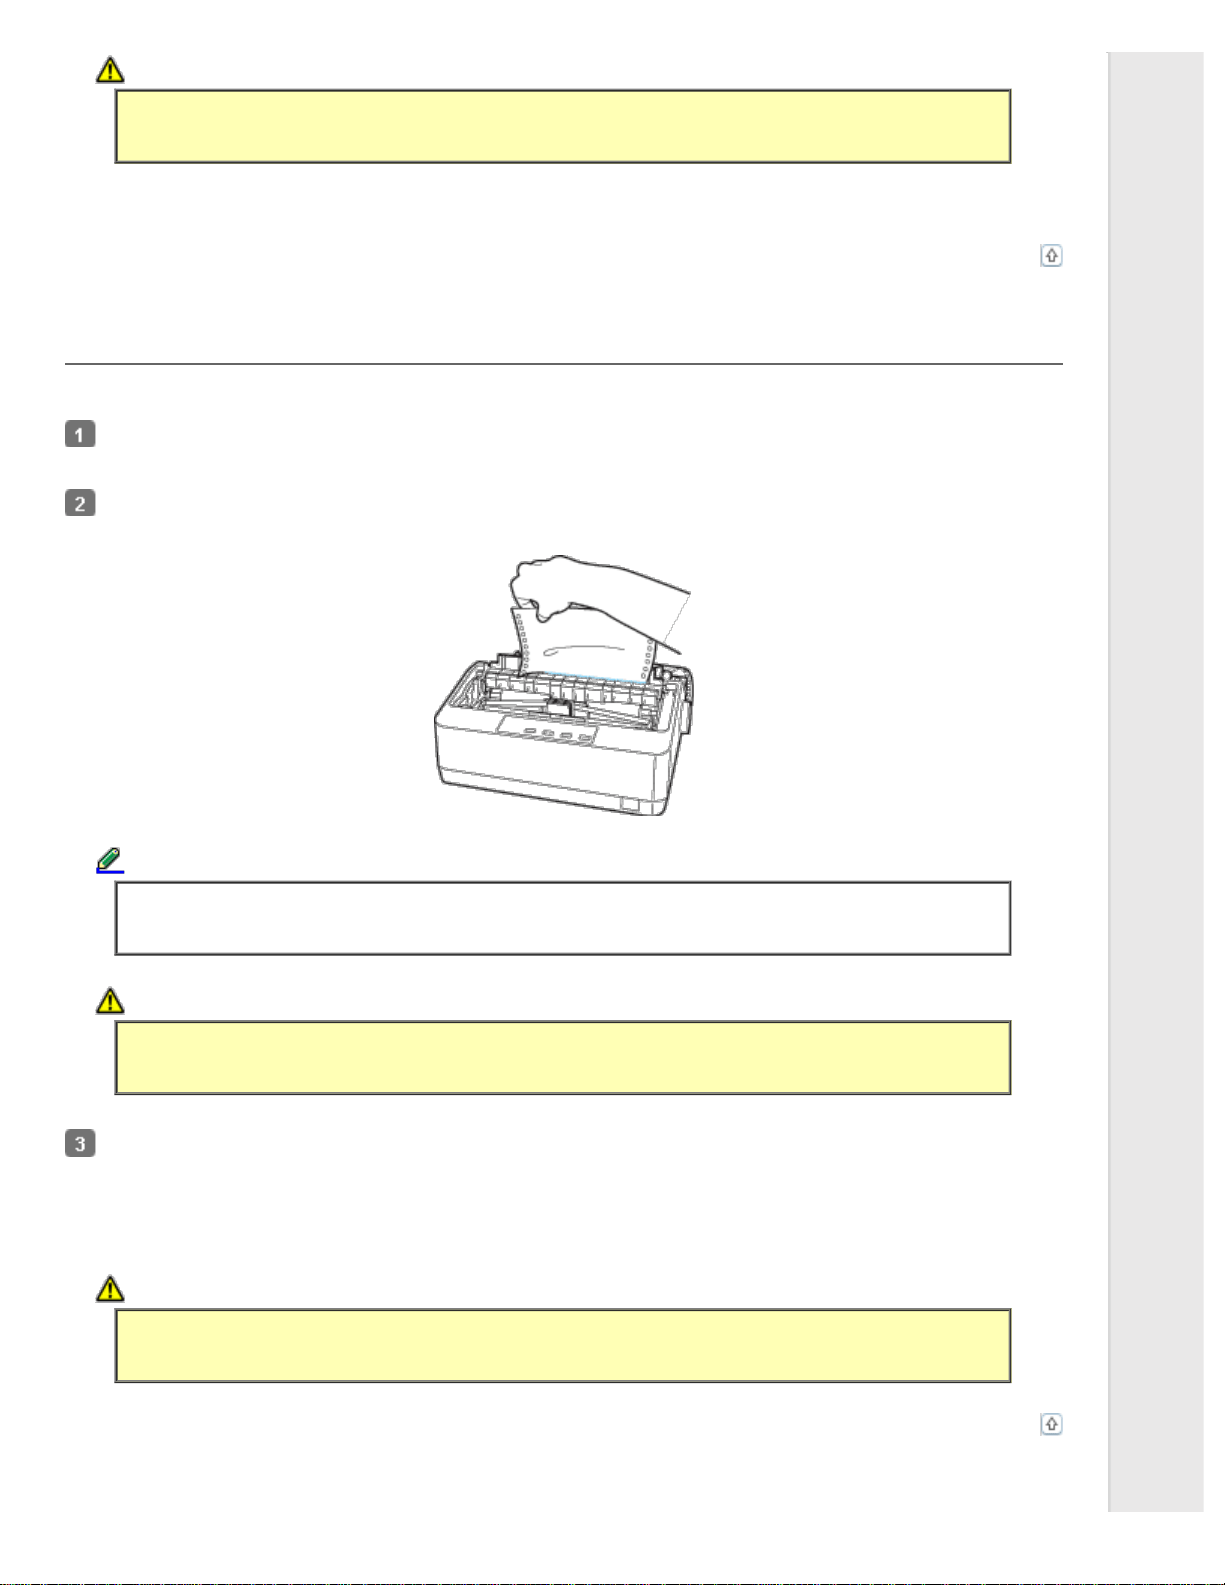
Follow these steps to remove the printed document:
Press the Tear Off (Font) button. Make sure the Tear Off (Font) light is flashing. (This indicates that your paper is at
the current tear-off position.)
Open the paper guide cover, then tear off the printed document using the tear-off edge of the paper tension unit.
Note:
If your paper’s perforation is not properly aligned with the tear-off edge, you can adjust the tear-off position
using the Micro Adjust feature. See Adjusting the tear-off position.
Caution:
Never use the paper feed knob to adjust the tear-off position; this may damage the printer or cause it to lose
the tear-off position.
Close the paper guide cover.
When you resume printing, the printer automatically feeds the paper back to the top-of-form position and starts printing.
To feed continuous paper to the standby position where you can remove the paper, press the Load/Eject button. Then open
the sprocket covers of the tractor and remove the paper.
Caution:
Always tear off your printed document before you press the Load/Eject button. Reverse feeding several
pages at a time may cause a paper jam.
Top
Loading ...
Loading ...
Loading ...