Loading ...
Loading ...
Loading ...
Home > Paper Handling
Printing on Continuous Paper
Printing with the push tractor
Removing a printed document from the push tractor
Switching back to single sheets
Adjusting the top-of-form position
Advancing the paper to the tear-off edge
Your printer can handle continuous paper with the push tractor.
Printing with the push tractor
When using the push tractor, it is a good idea to set the Auto tear off feature in the Default Setting mode to On. See About
Your Printer’s Default Settings.
Follow these steps to load continuous paper using the push tractor:
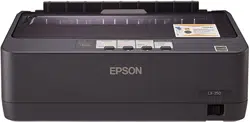
Make sure the printer is turned off. Remove the paper guide and place the paper release lever in the continuous paper
position.
Note:
Printer cover is removed in the illustration to show details; however, there is no need to remove it.
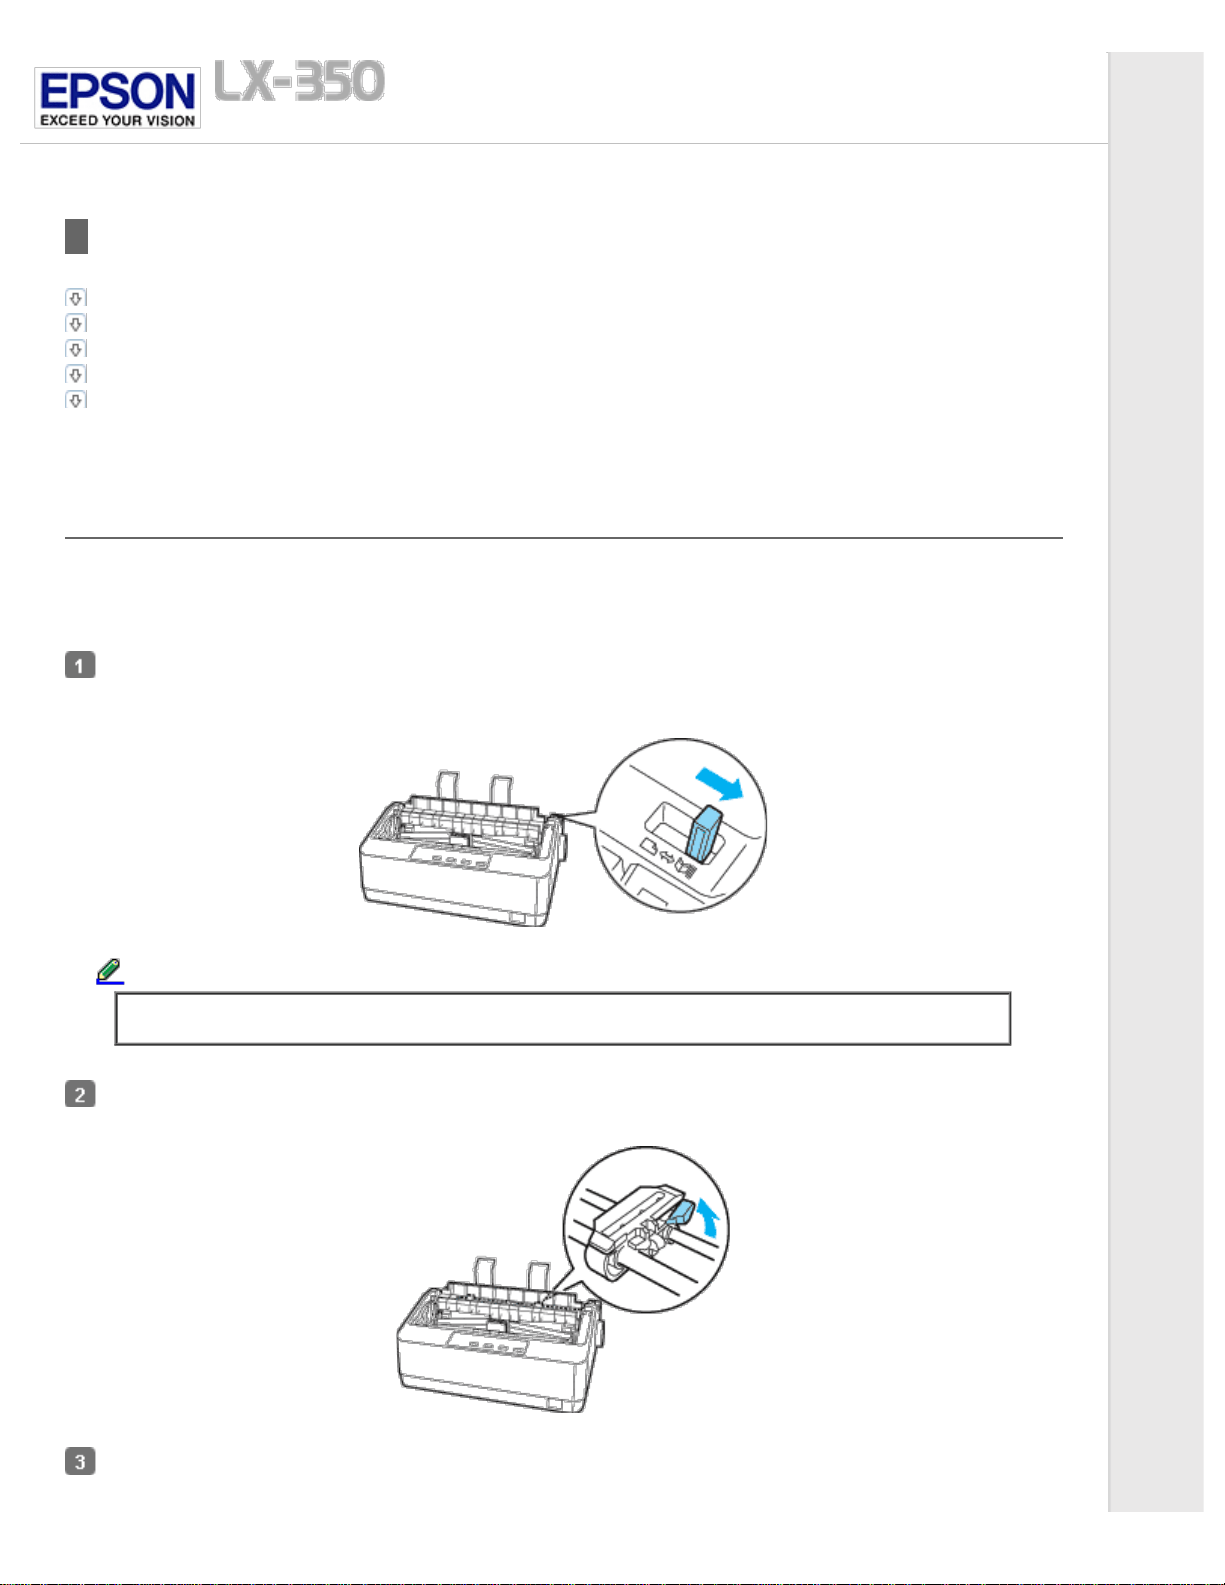
Release the sprocket units by pulling the sprocket locks forward.
Slide the left sprocket using the arrow mark on the printer as a guide. The printer prints to the right of the arrow mark.
Push the sprocket lock lever back to lock it in place. Then slide the right sprocket unit to match the width of your paper,
but do not lock it. Move the paper support so it is midway between the sprocket units.
Loading ...
Loading ...
Loading ...