Loading ...
Loading ...
Loading ...
Help with parking and manoeuvring
Views of the peripheral vision sys-
t
em (modes)
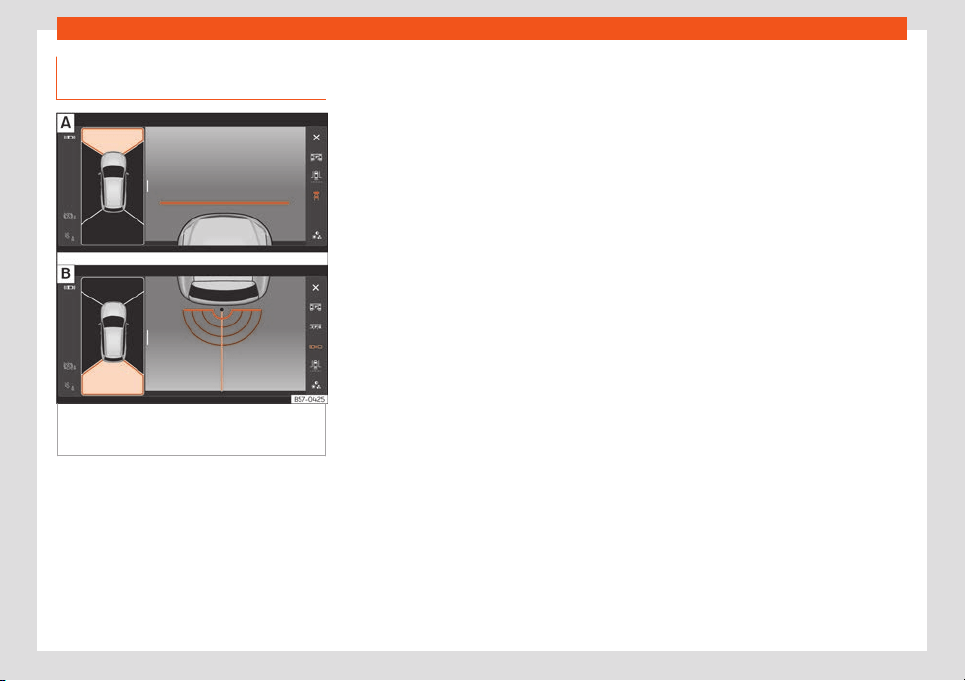
Fig. 199
Display on the top view system
scr
een:
Front camera: off-road view.
Rear
camera: off-road view.
Depending on the equipment: connect-
ing and disconnecting the P
arkPilot
sound.
Exiting the Area View system screen:
Adjust the display: bright, contrast and
colour.
The selected view is displayed on the right
side of the screen. The reduced aerial view
shown on the right side displays the view
framed in yellow. In addition, the right margin
of the screen displays the menu options pos-
sible and the views (the so-called “modes”)
of the camera in question. The active view
(mode) at the time is highlighted.
The red lines are indicate a distance of ap-
prox. 40 cm away from the vehicle.
Aerial views (bird's eye view)
Main mode:
The vehicle and its immediate vicinity
seen from above are shown. Depending
on the equipment, the ParkPilot's path
may also be displayed.
Three-dimensional views:
The vehicle and its vicinity seen from
above are shown.
The vehicle and its vicinity seen from
above are shown obliquely.
The vehicle and its vicinity seen obli-
quely are shown.
Swipe the infotainment system display with
your finger in the direction of the arrows to
change the angle of vision in the three-di-
mensional views of the vehicle and its vicinity.
Front camera views (front view)
Cross traffic. This visualization helps to
monitor traffic to the left, front and right
of the vehicle and can be used, for ex-
ample, when exiting garages or narrow
exits.
Angle parking. The area in front of the
vehicle is shown. Orientation lines are
shown to give guidance.
Off-road. The area directly in front of the
vehicle seen from above is shown. For
example, on a slope, in order to see the
area directly in front of the vehicle.
Side camera views (side view)
Right and left sides. The areas located
directly to the side of the vehicle seen
from above are represented in order to
navigate possible obstacles more pre-
cisely.
The driver’s or passenger's side seen
from above is shown. This makes it
possible to visualize the blind spots
along the vehicle.
Rear camera views (rear view)
Angle parking. The area behind the vehi-
cle is shown. Auxiliary lines are shown to
give guidance.
Parallel parking. The area directly be-
hind the vehicle is shown. The coloured
boxes and auxiliary lines serve as orien-
tation.
Off-road or hitching a trailer function.
The vehicle's rear is presented.
»
285
Loading ...
Loading ...
Loading ...