Loading ...
Loading ...
Loading ...

Home > Fax > Voice Operations and Fax Numbers > Set up Groups for Broadcasting
Set up Groups for Broadcasting
Related Models: MFC-L2710DW/MFC-L2730DW/MFC-L2750DW/MFC-L2750DWXL
A Group, which can be stored in the Address Book (One Touch Dial or Speed Dial in some models) allows you to
send the same fax message to many fax numbers.
First, you must store each fax number in the Address Book. Then you can include them as numbers in the
Group. Each Group uses up an Address Book (a One Touch Dial, or a Speed Dial in some models) number.
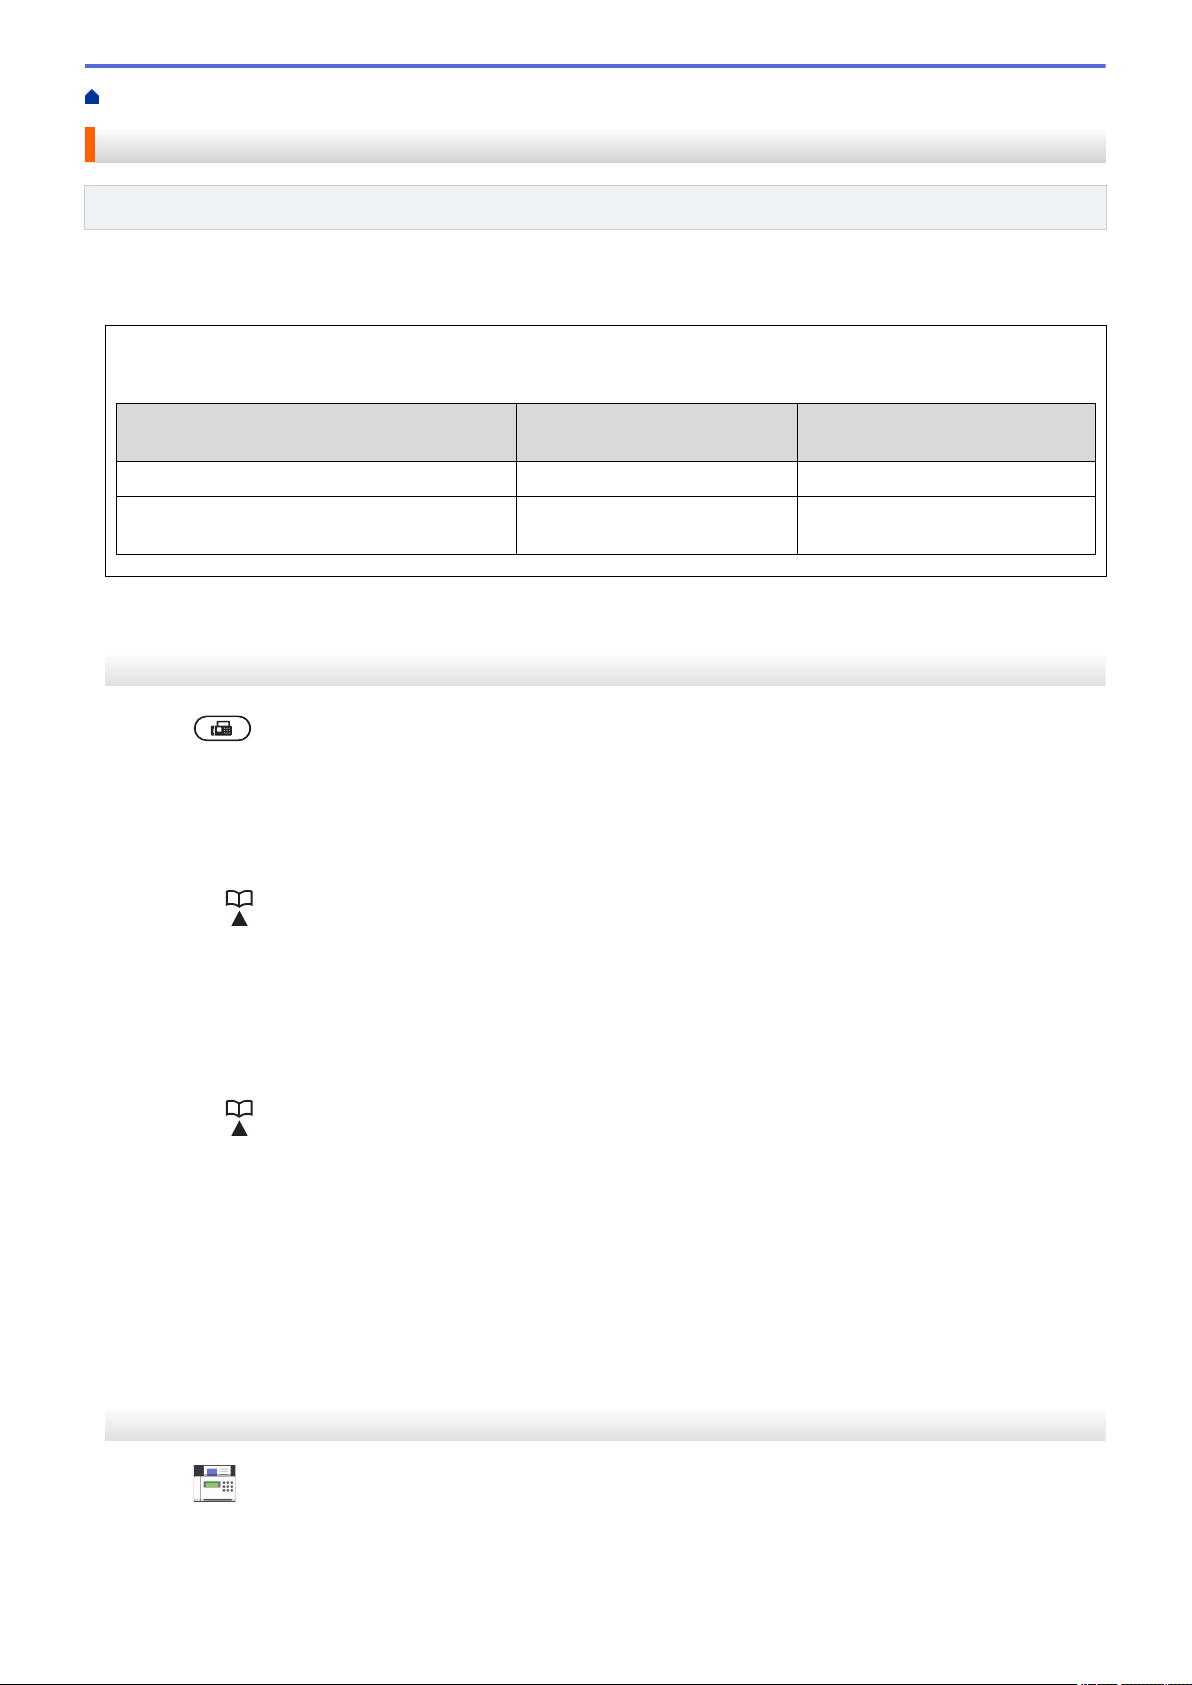
Applicable Models
Maximum number of Group Maximum numbers in a large
Group
MFC-L2710DW 20 groups 207 numbers
MFC-L2730DW/MFC-L2750DW/
MFC-L2750DWXL
20 groups 199 numbers
>> MFC-L2710DW
>> MFC-L2730DW/MFC-L2750DW/MFC-L2750DWXL
MFC-L2710DW
1. Press (FAX).
2. Press a three times.
3. Press a or b to display the [Setup Groups] option, and then press OK.
4. Do one of the following:
• To store a Group in a Speed Dial location
Press
and then enter the three-digit Speed Dial location, and then press OK.
• To store a Group in a One Touch Dial location
Press a One Touch button.
5. Use the dial pad to enter a Group number (01 to 20), and then press OK.
6. Add numbers to the Group:
• To add Speed Dial Numbers
Press
and then enter the three-digit Speed Dial location.
• To add one Touch Dial Numbers
press the One Touch keys one after the other.
The LCD will display selected Speed Dial numbers with a # and One Touch Dial numbers with a * (for
example *006, #009).
7. Press OK when you finish adding numbers.
8. Enter the Group name using the dial pad (up to 16 characters).
9. Press OK.
10. Press Stop/Exit.
MFC-L2730DW/MFC-L2750DW/MFC-L2750DWXL
1. Press
[(Fax)] > [Address Book].
2. Do the following steps:
a. Press [Edit] > [Setup Groups] > [Name].
234
Loading ...
Loading ...
Loading ...
