Loading ...
Loading ...
Loading ...
6
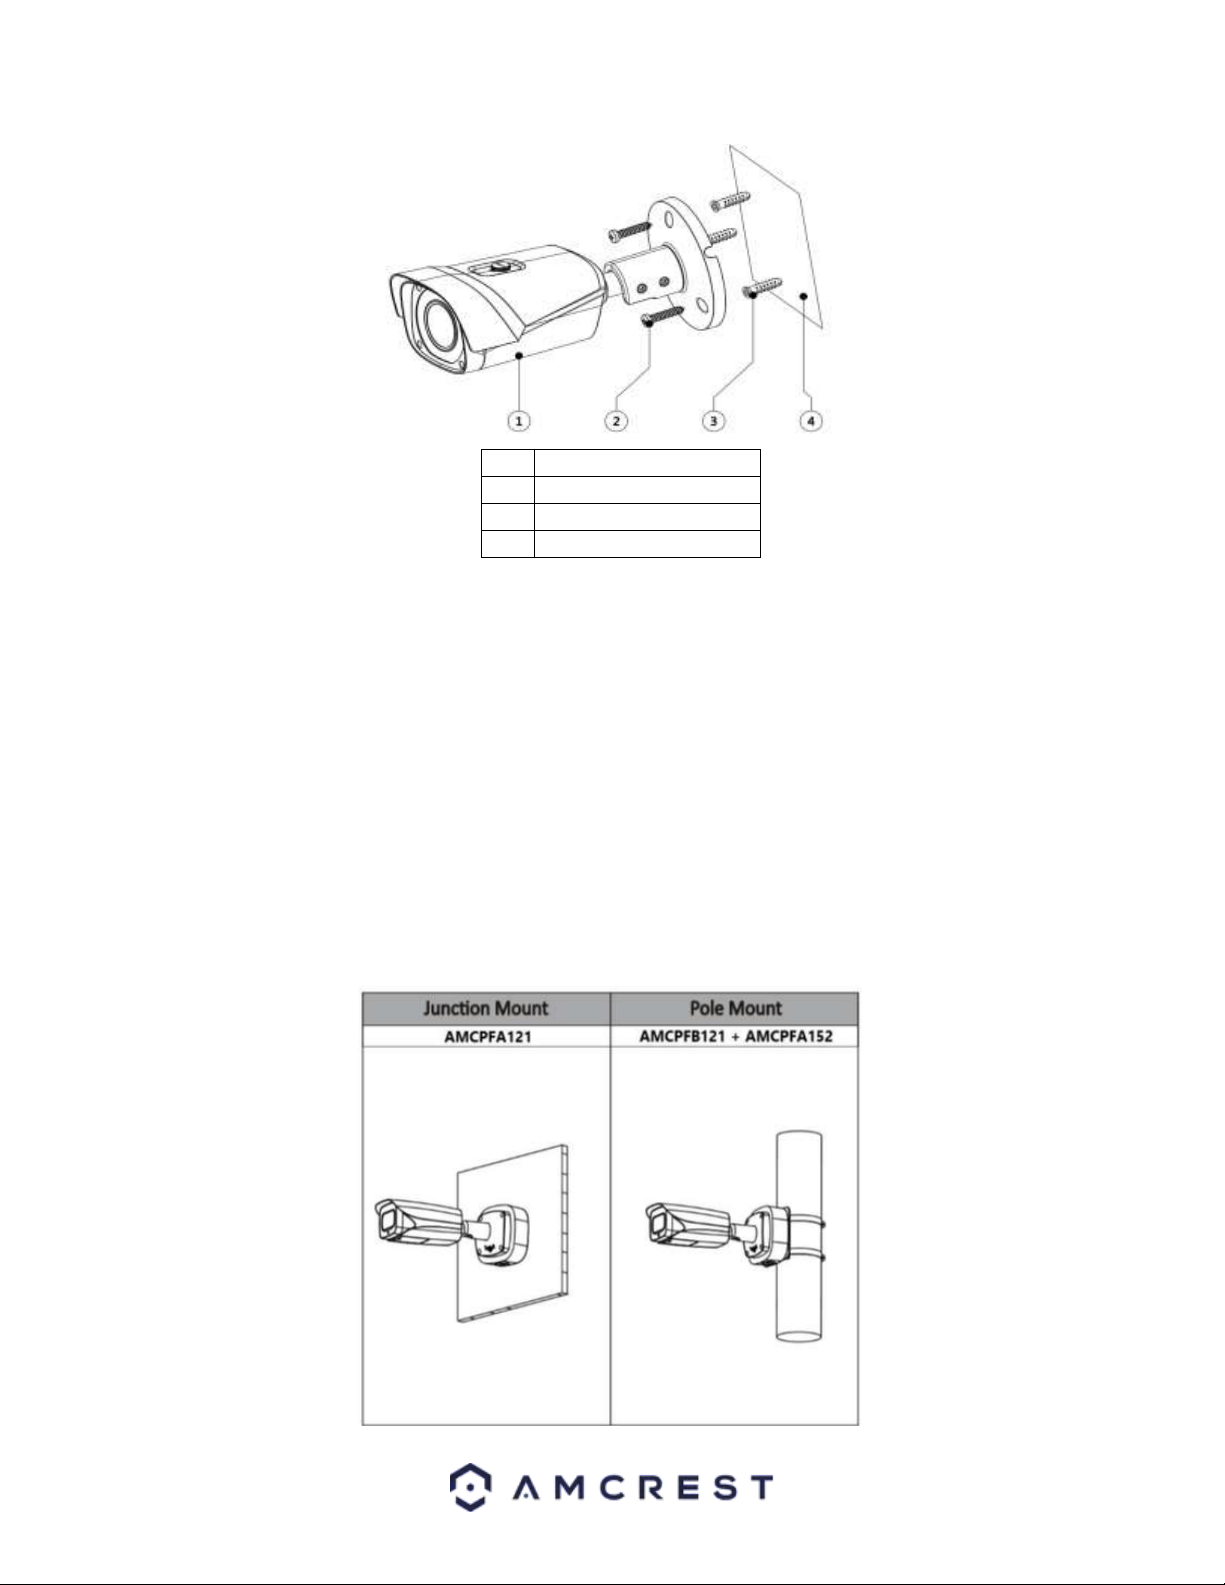
1.
Network Camera
2.
Mounting Screws
3.
Wall Anchors
4.
Install Template
Installation Guide
1. Stick the installation sticker on the installation surface.
2. Drill through the holes provided on the installation sticker. A 1” paddle bit can also be used if installing wires
through an installation surface.
3. Insert the included wall anchors into the newly drilled holes.
4. Align the bottom bracket of the camera to the installation holes. Then using a Phillips head screwdriver, secure the
camera to the installation surface.
5. To adjust the camera up, down, or side to side, use the included torx wrench to loosen the lock and unlock bracket
bolt on the bottom bracket.
6. When adjusted, turn the lock and unlock bolt to secure the camera in place.
Note: If a junction box or pole mount is needed for the installation of your device the camera is compatible with an
AMCPFA121 junction box, or a AMCPFA121 + AMCPFA152 pole mount.
Loading ...
Loading ...
Loading ...