Loading ...
Loading ...
3
9-1/425/32
25-19/32
25-19/32
2. Selecting the installation location
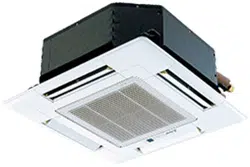
2.1. Indoor unit
• Where airfl ow is not blocked.
• Where cool air spreads over the entire room.
• Where it is not exposed to direct sunshine.
• At a distance 1 m, 3 ft or more away from your TV and radio (to prevent picture
from being distorted or noise from being generated).
• In a place as far away as possible from fl uorescent and incandescent lights (so
the infrared remote control can operate the air conditioner normally).
• Where the air fi lter can be removed and replaced easily.
Warning:
Mount the indoor unit into a ceiling strong enough to withstand the weight of
the unit.
3. Installation diagram
3.1. Indoor unit (Fig. 3-1)
A
Ceiling
B
Grille
C
Obstacle
D
Min. 1000 mm, 40 inch
E
Min. 500 mm, 20 inch (Entire periphery)
If setting the maintenance space for
E
, be sure to leave is a minimum of 700 mm, 28 inch.
Warning:
Mount the indoor unit on a ceiling strong enough to withstand the weight of
the unit.
3.2. Outdoor unit
Refer to the outdoor unit installation manual.
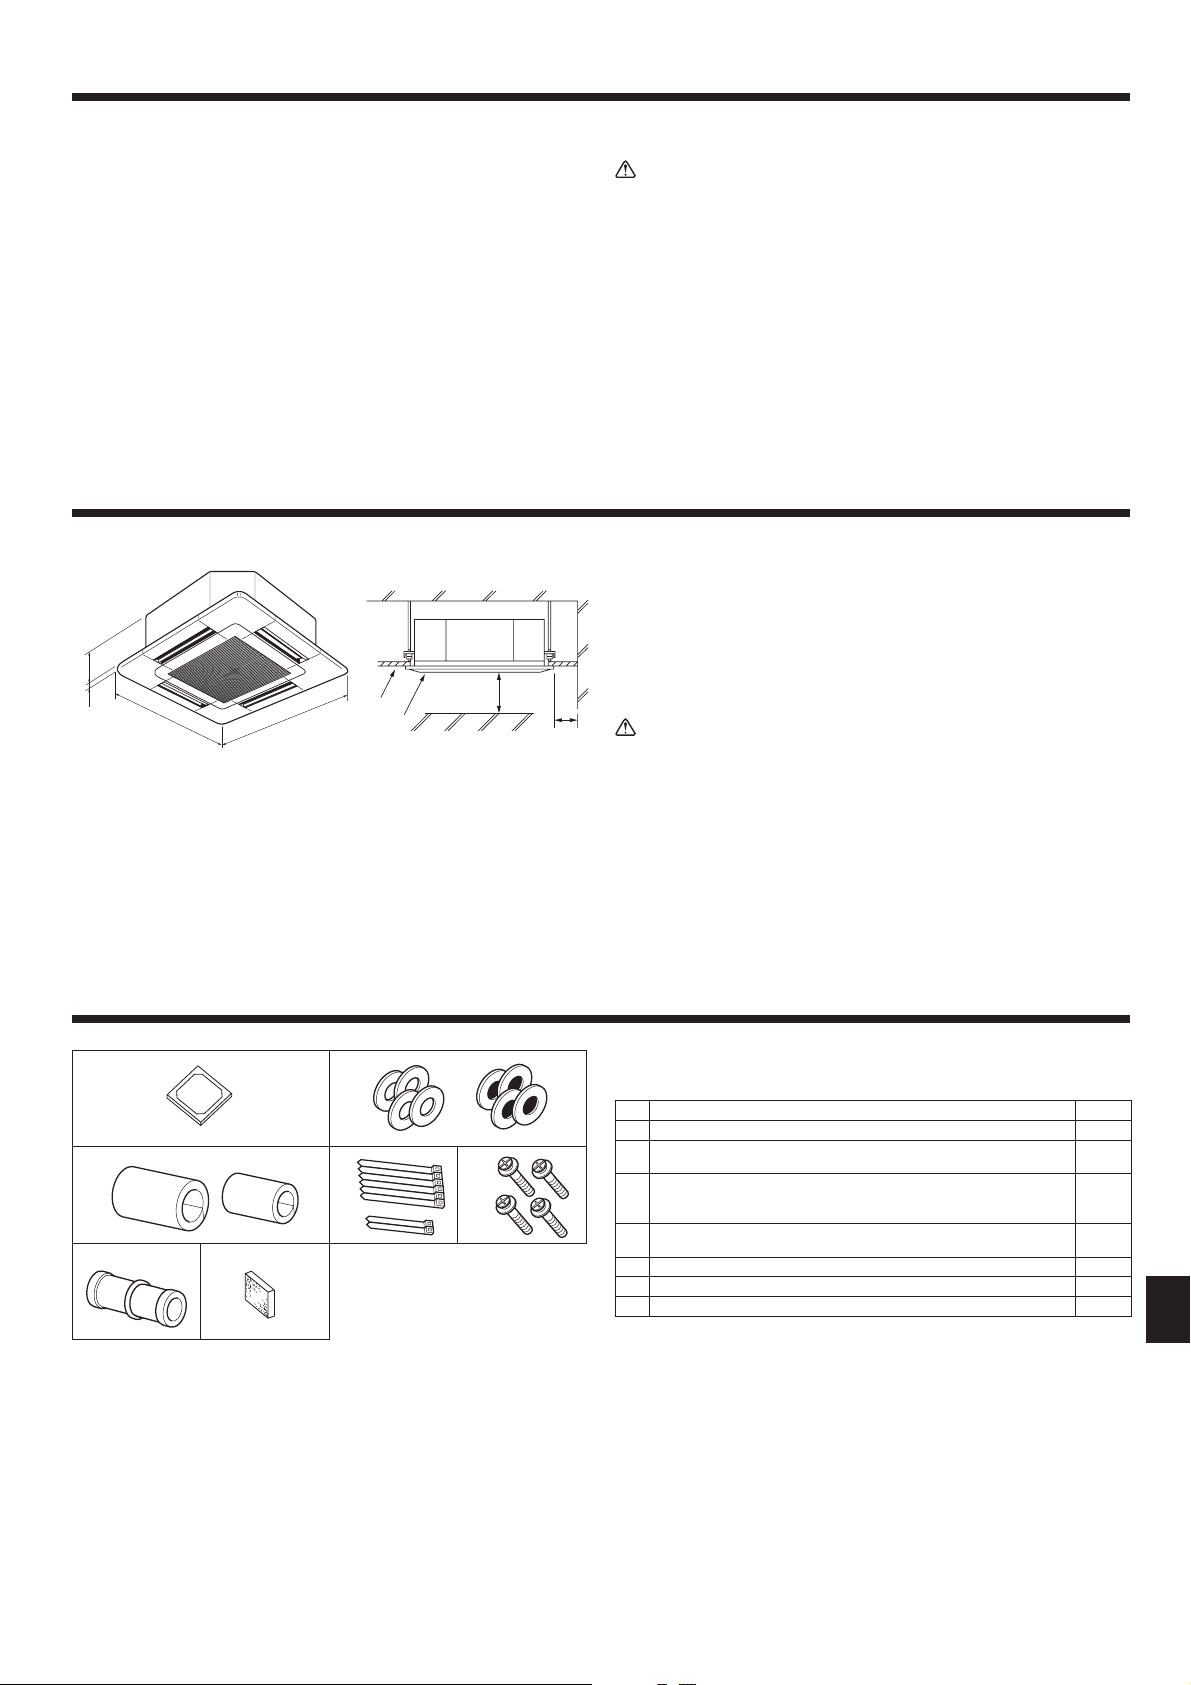
4.1. Check the indoor unit accessories (Fig. 4-1)
The indoor unit should be supplied with the following accessories.
Accessory name Q’ty
1
Installation template 1
2
Washers (with insulation)
Washers (without insulation)
4
4
3
Pipe cover (for refrigerant piping joint)
small diameter (liquid)
large diameter (gas)
1
1
4
Band (large)
Band (small)
6
2
5
Screw with washer (M5 × 25) for mounting grille 4
6
Drain socket 1
7
Insulation 1
(inch)
Fig. 3-1
Fig. 4-1
4. Installing the indoor unit
12
345
67
Loading ...
Loading ...
Loading ...