Loading ...
Loading ...
Loading ...
5
ENGLISH
4. Preliminary operations
Make sure to read the “3. Safety” chapter.
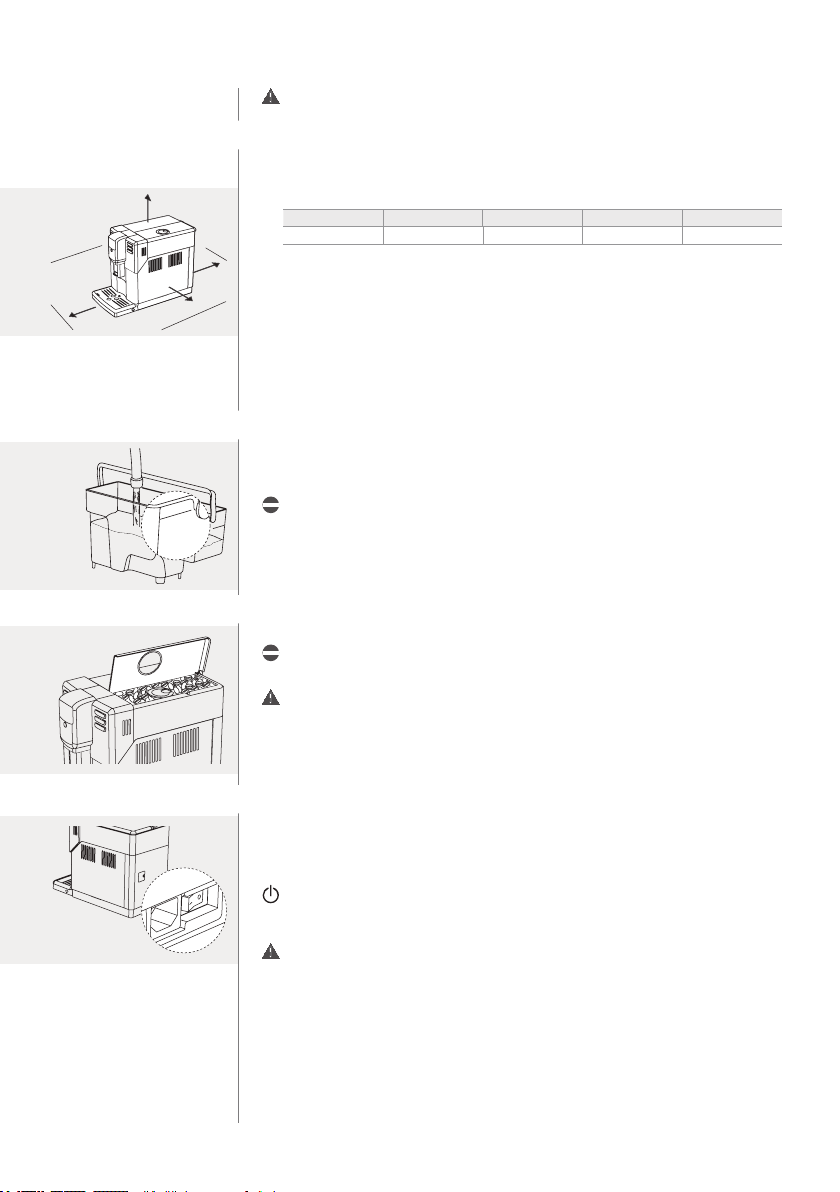
4.1 Positioning
To facilitate the use of the machine, it should be placed in an appropriate location that
provides adequate space to operate.
Working spaces
L1 L2 W1 W2 H1
150 mm 221 mm 430 mm 150 mm 340 mm
Unpacking and placement
The original packaging was designed and produced to protect the machine while
being moved; it is recommended to keep it, in case the machine needs to be moved
again.
> Remove the machine from its packaging.
> Choose a secure and horizontal surface away from heat sources and out of the
weather, in a sufciently lit and hygienic room, next to an easily accessed power socket.
> Position the machine allowing for working spaces.
4.2 Water tank lling
> Lift the lid of the water tank.
> Lift the water tank by its handle.
> Rinse the water tank with cold water.
Do not ll the water tank with hot, boiling or carbonated water or with other liquids
that might damage the tank and the machine. Use fresh water every time you use
the machine.
> Fill the water tank with fresh cold water to the MAX level.
> Put the tank back into the machine, checking that it is fully settled.
4.3 Coffee bean hopper lling
> Lift the coffee bean hopper lid.
Do not place too many coffee beans in the coffee bean hopper, so as to avoid
damaging grinding performance.
Coffee powder, soluble coffee, raw coffee and other substances, if placed in the coffee
bean hopper, may damage the machine. Always ll the coffee bean hopper with roasted
coffee beans only. Do not ll it with green, caramelised or avoured coffee beans.
> Pour the coffee beans slowly in the coffee bean hopper and close the lid.
4.4 Plug in and start
> Insert the plug into the socket located on the back of the machine.
> Insert the plug at the other end of the power cord into a wall socket with suitable
power voltage, as shown in the tag inside the service door.
> Turn the main switch to the ON position to turn the machine on.
> The STAND-BY button is ashing. Press the button to turn on the machine. The
display shows that it is necessary to prime the circuit: proceed as described in the
“5.2 First start” chapter.
Keeping the STAND-BY button pressed for over 8 seconds causes the DEMO MODE
function to start. To exit the demo mode, turn the machine OFF and ON using the
main switch.
L1
L2
W1
W2
H1
MAX
CALC
CLEAN
MAX
C
Loading ...
Loading ...
Loading ...