Loading ...
Loading ...
Loading ...
Familiarising yourself with your appliance en
31
Overview of drives
You can find an overview of the
drives and their purposes here.
Drive Use
Main
drive,
black
For the tools and ac-
cessories, e.g.
¡ Meat mincer
¡ Pasta press
Drive2,
yellow
For accessories marked
yellow, e.g.
¡ Continuous feed
shredder
¡ Multi-blender attach-
ment
Drive3,
red
For accessories marked
red, e.g.
¡ Glass blender attach-
ment
¡ Multi-chopper set
5.4 Tools
You can find out everything you need
to know about the different tools
here.
Tools are equipped with a protective
cap to protect the drive from soiling.
The two eject buttons on the protect-
ive cap make it easier to remove
tools.
→"Removing tools", Page34
Overview of tools
Use the appropriate tool depending
on use.
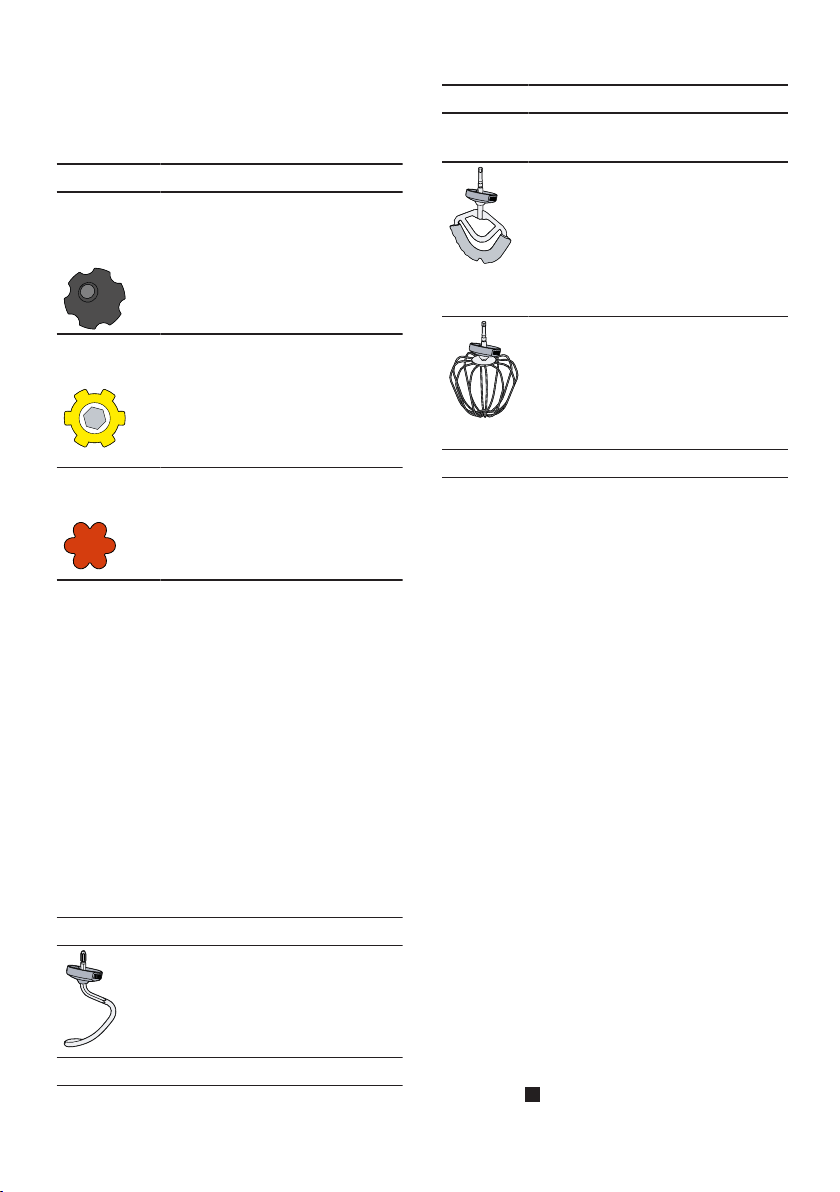
Tool Use
Kneading hook
¡ Knead dough, e.g. yeast
dough, bread dough,
pizza dough, pasta
dough, pastry dough.
1
Depending on the model
Tool Use
¡ Fold ingredients into the
dough, e.g. seeds.
Professional flexible
stirrer
1
¡ Mix dough, e.g. cake
mixture, fruit flan.
¡ Fold ingredients into the
dough, e.g. raisins,
chocolate chips.
Professional beating whisk
¡ Beat whipped egg
whites and cream (at
least 30% fat).
¡ Mix light dough, e.g.
sponge mixture.
1
Depending on the model
Fine adjustment of the
professional whisk
Use the fine adjustment system to
correct the distance between the
bowl and the professional beating
whisk.
Note:The professional beating whisk
is factory-set so that ingredients are
mixed together perfectly.
Correcting tool adjustment
ATTENTION!
The appliance and tools can be dam-
aged if a wrong tool setting is used.
▶ Never operate a tool that touches
the bowl.
Requirements
¡ The mains plug is not inserted.
¡ The swivel arm is open.
¡ The professional beating whisk is
inserted.
¡ The bowl has been inserted.
1. Hold the beating whisk at the bot-
tom with one hand and release the
lock nut clockwise using a spanner
wrench.
→Fig.
3
Loading ...
Loading ...
Loading ...