Loading ...
Loading ...
Loading ...
67
31-1000600 Rev. 0
Installation Instructions - Custom Overlay Door Panel
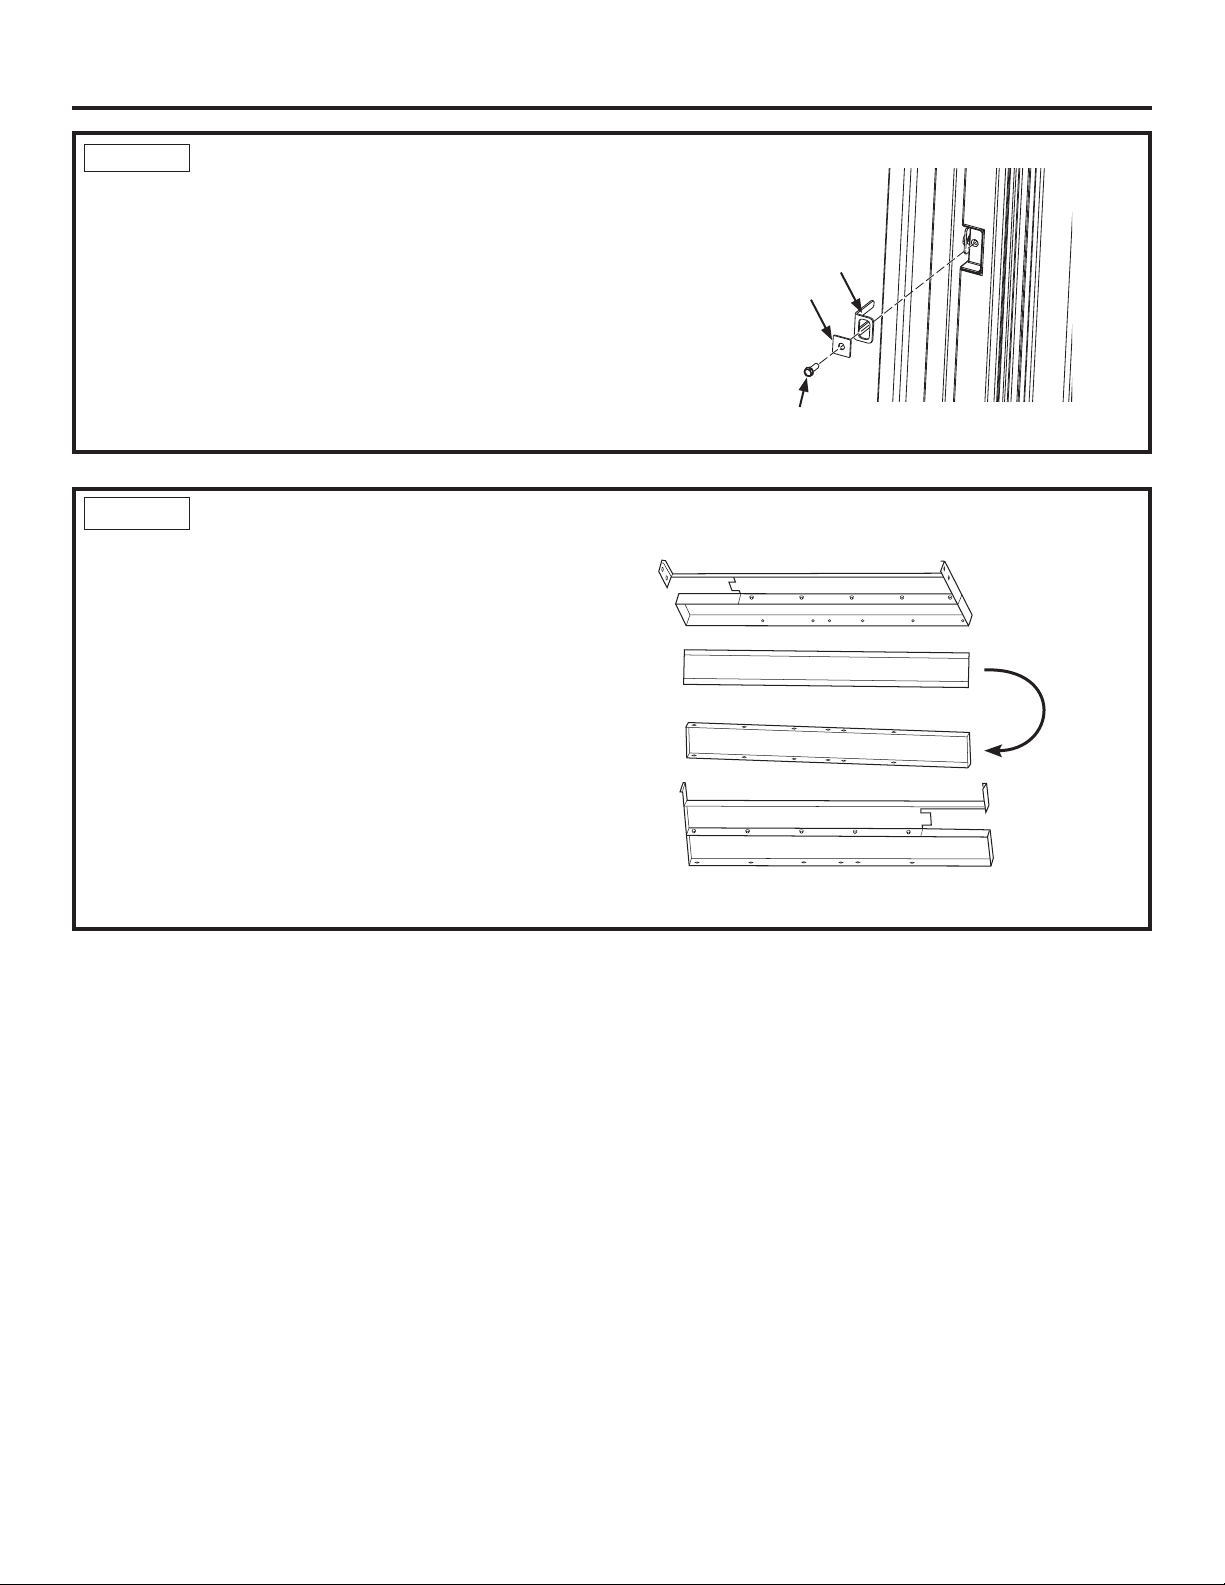
STEP 3 ADJUST OVERLAY PANEL (Cont.)
After the panel has been adjusted to the desired
position, secure the panel by first driving and tightening
the vertical screws at the bottom of the door brackets
and then drive and tighten the remaining horizontal
screws. ALL 12 SET SCREWS should be driven and
firmly tightened in order to properly secure the panel.
Ŷ After the top and bottom door panel brackets are
secured by installing / tightening all 12 set screws, use
1/4” hex screw and square washer to secure the center
mounting bracket.
Square
Washer
Center
Mounting
Bracket
1/4” Hex Screw
STEP 4 IF DOORS WERE REVERSED COMPLETE THE
FOLLOWING STEPS
Ŷ Top cover assembly shipped in box on side of product.
Remove screws and nuts to remove rectangular cover.
Retain parts to build new top assembly.
Ŷ Mount rectangular cover to bottom cover (removed
during door reversal) utilizing the screws and nuts that
were removed from top assembly. Be sure to align the
edges during assembly.
Rotate
180 degrees
Loading ...
Loading ...
Loading ...