Loading ...
Loading ...
Loading ...
4 Touch [Dimmer Duration].
The duration setting bar appears.
5 Touch the desired points on the dura-
tion setting bar, or slide the cursors to spe-
cify the start time and the end time,
respectively.
p The time display format depends on the
“Time Format” setting.
p The value displayed at the center of the
duration setting bar (“12” for 12-hour format
and “00” for 24-hour format) indicates mid-
night. The values to the left of the value at
the center are for the afternoon, and the va-
lues to the right of value at the center are
for the morning.
p The default values are “18:00” (start time)
and “6:00” (end time).
p The value can be changed in 15-minute
steps.
Adjusting the picture
You can adjust the picture for each source, the
Application screen, and rear view camera.
CAUTION
For safety reasons, you cannot use some of these
functions while your vehicle is in motion. To en-
able these functions, you must stop in a safe
place and apply the parking brake. Refer to Im-
portant Information for the User (a separate man-
ual).
1 Display the screen you wish to adjust.
2 Press the HOME button to display the
Top menu screen.
3 Touch the following keys in the follow-
ing order.
The “System” screen appears.
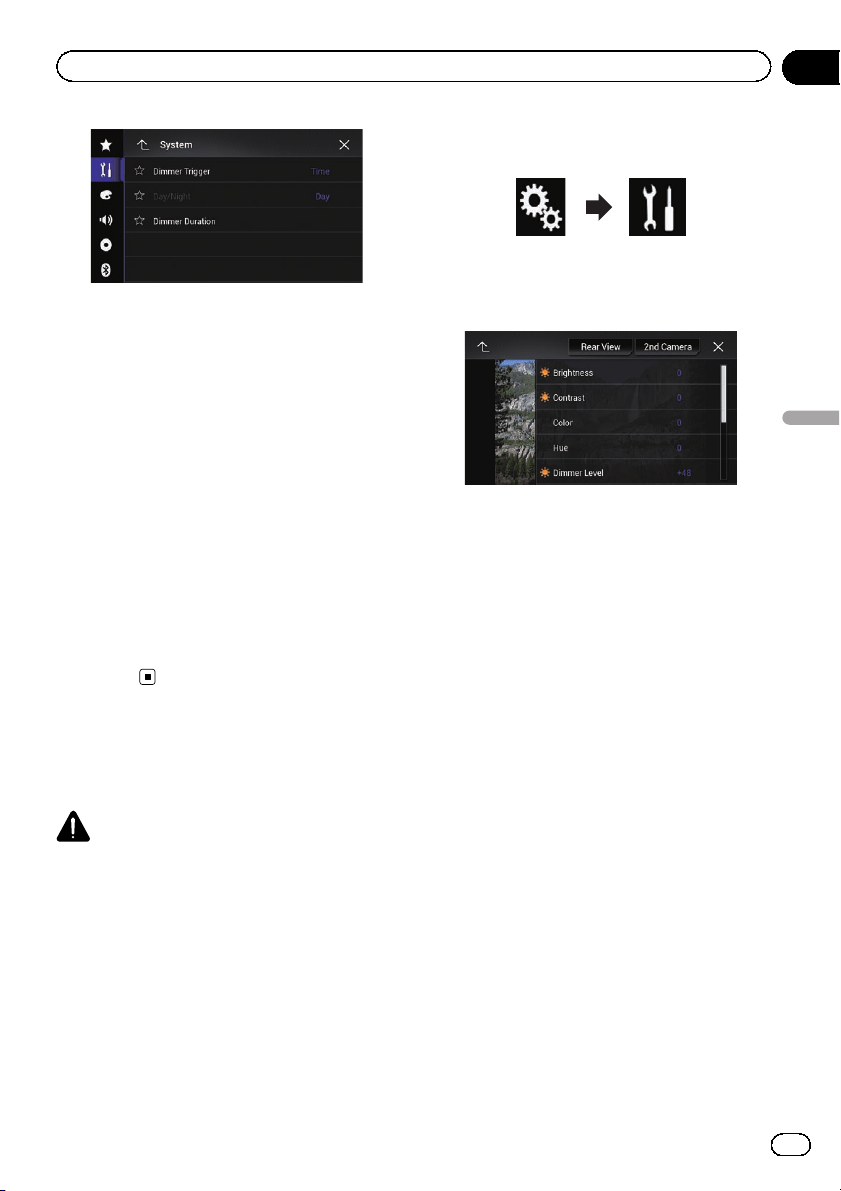
4 Touch [Picture Adjustment].
The following screen appears.
5 Touch any of the following keys to se-
lect the function to be adjusted.
Picture adjustment items are displayed.
! Brightness:
Adjusts the black intensity.
! Contrast:
Adjusts the contrast.
! Color:
Adjusts the color saturation.
! Hue:
Adjusts the tone of color (which color is em-
phasized, red or green).
! Dimmer Level:
Adjusts the brightness of the display.
! Temperature:
Adjusts the color temperature, resulting in
a better white balance.
p You can adjust Hue only when the color
system is set to NTSC.
# If you touch [Rear View]or[2nd Camera],
the mode changes to the selected camera mode.
By touching [Source], [Navi]or[Apps], you can
return to the selected mode.
En
189
Chapter
32
System settings
System settings
Loading ...
Loading ...
Loading ...