Loading ...
Loading ...
Loading ...
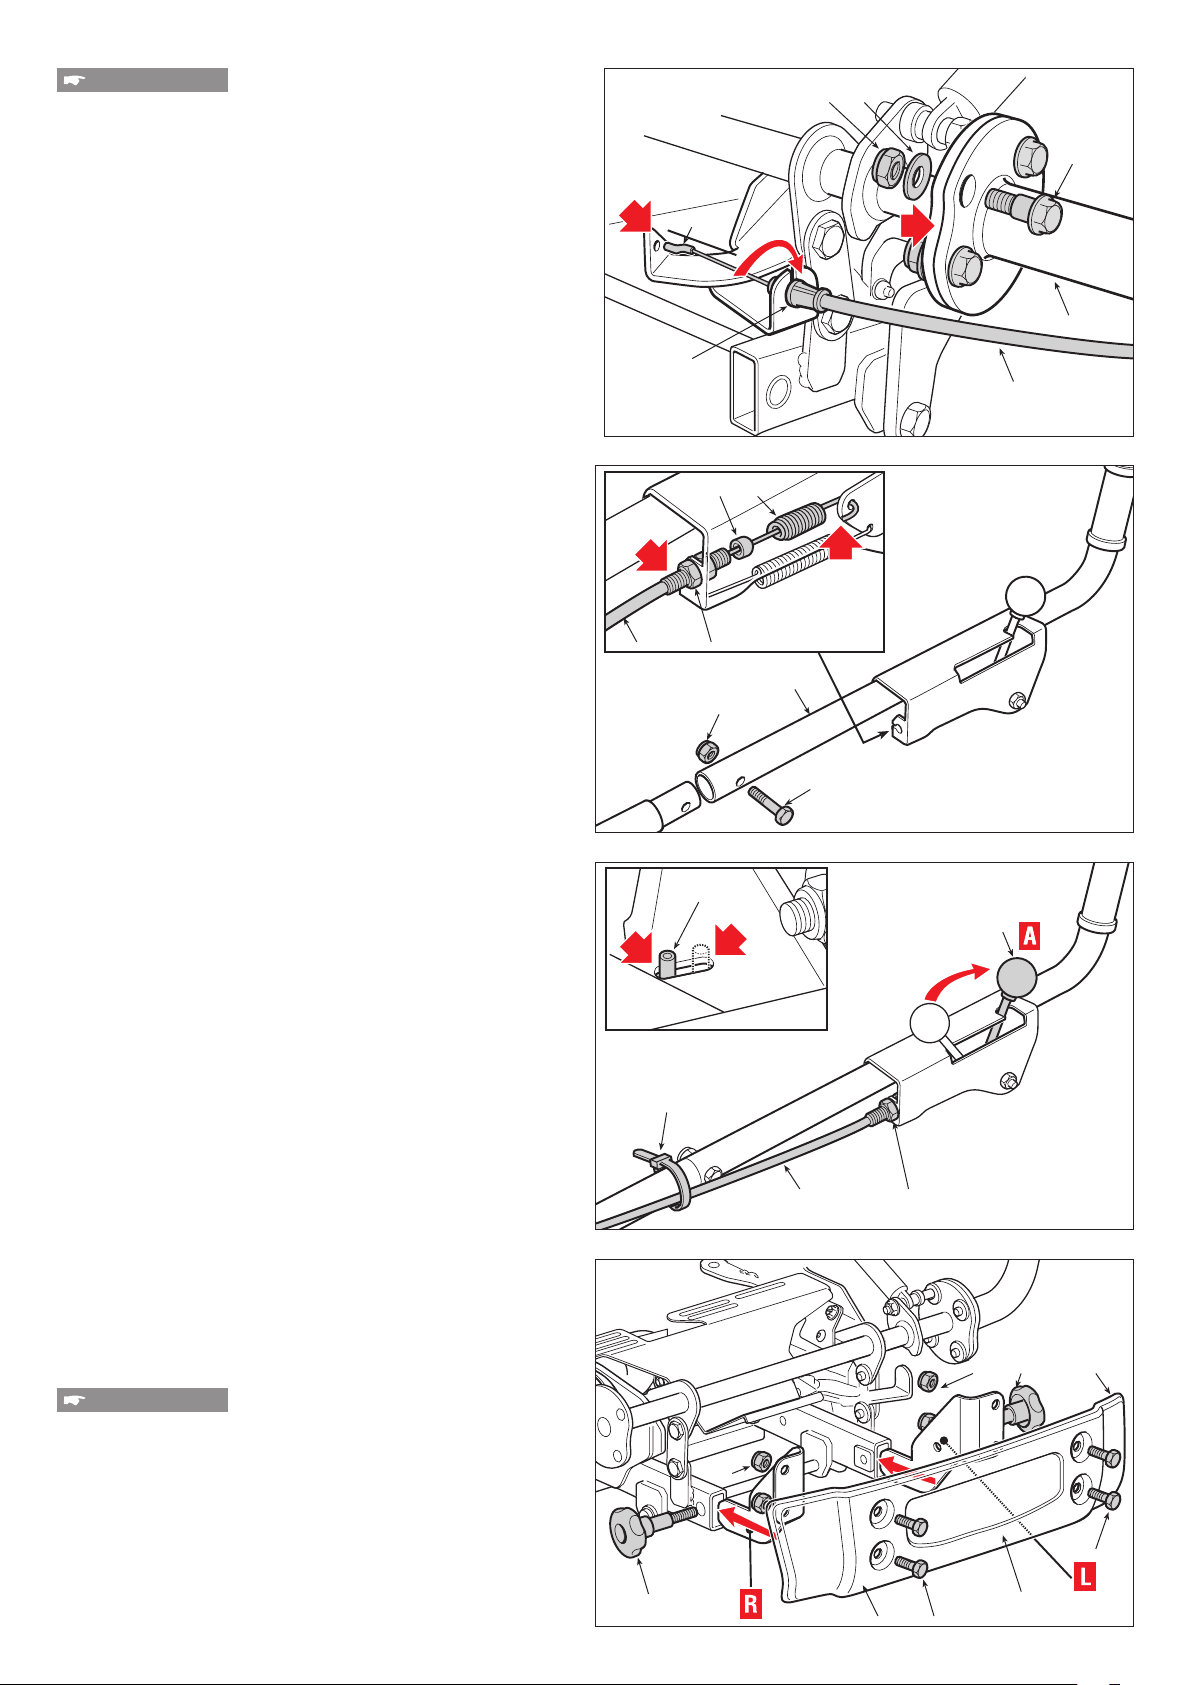
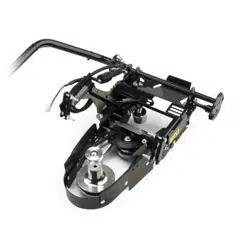
Tool Bag «A»
Fit the lower part of the lifting lever (31) so that the shape
of the two coupling anges coincides, then fasten in place
using the pins (32), the washers (33) and the self-locking
nuts (34) tightened to a torque of 20-25 Nm.
Fit the upper section of the lifting lever (35) and fasten in
place with the screw (36) and the self-locking nut (37).
Hook the upper spring (41) of the cable (39) to the hole on
the control lever, making sure the end of the spring is posi-
tioned as indicated in the diagram. Position and fasten the
adjuster (42) and slide the rubber pad (43) until it locks into
place on the adjuster (42).
Secure the lower quick coupling (38) of the cable (39) in-
serting it in its seat and then insert the end of the spring (40)
in the hole in the bracket.
Move the release lever (44) in both directions and check
that the pin (45) is free to slide in the slot, checking that
when the lever is in position “A”, the pin (45) is in the indi-
cated position.
If not, alter the adjuster (42) to achieve the correct set-up.
NOTE: This procedure only adjusts the block and re-
lease system on the lifting module and NOT the belt,
if the PTO is also present, proceed as seen in Chap. 4.
Grease the mechanism connected to the pin (45) and fas-
ten the cable (39) in place using the clamps (47).
Tool Bag «C»
Pre-assemble the two brackets (51) and (52) (using the
markings «R» = right and «L» = left) on the lifting module
square tubes and x them in place with the two knobs (56)
using the key provided where necessary.
Attach the front bumper (53) to the two brackets using the
screws (54) and nuts (55).
26
Loading ...
Loading ...
Loading ...