Loading ...
Loading ...
Loading ...
23
minutes before inserting the trays. Adjust oven function control knob to fan oven cooking and place food
inside oven. Set timer if needed.
grilling
The grill is controlled using the oven’s temperature knob. The grill function uses both elements at the
top of the oven, so is faster and more powerful than using the top element alone. Run this function
with the door closed and at a temperature not exceeding 150°C for up to 15 minutes. Use the enamel
tray with wire rack insert at positions 1 or 2 (or lower to slow down the grilling process). Do not leave
the tray in the upper positions when not in use, as they will deflect heat away from food.
Preheat for 5 minutes first before adding the food and tray. This function is best for thinner, quickly
cooked food like toast; for thicker food that will take longer, use the grill and fan cooking function.
grilling with fans
This function is similar to the grilling function, but with the rear fans added, allowing a more even heat to
flow around the food. Run this function with the door closed. Place the food on a wire rack and insert at
position 3. Place a baking dish on level 5 to catch any juice or crumbs (this allows the heat to circulate the
food). This is better for thicker foods which need to be cooked for longer times. Preheat for 5 minutes first
before adding the food and tray.
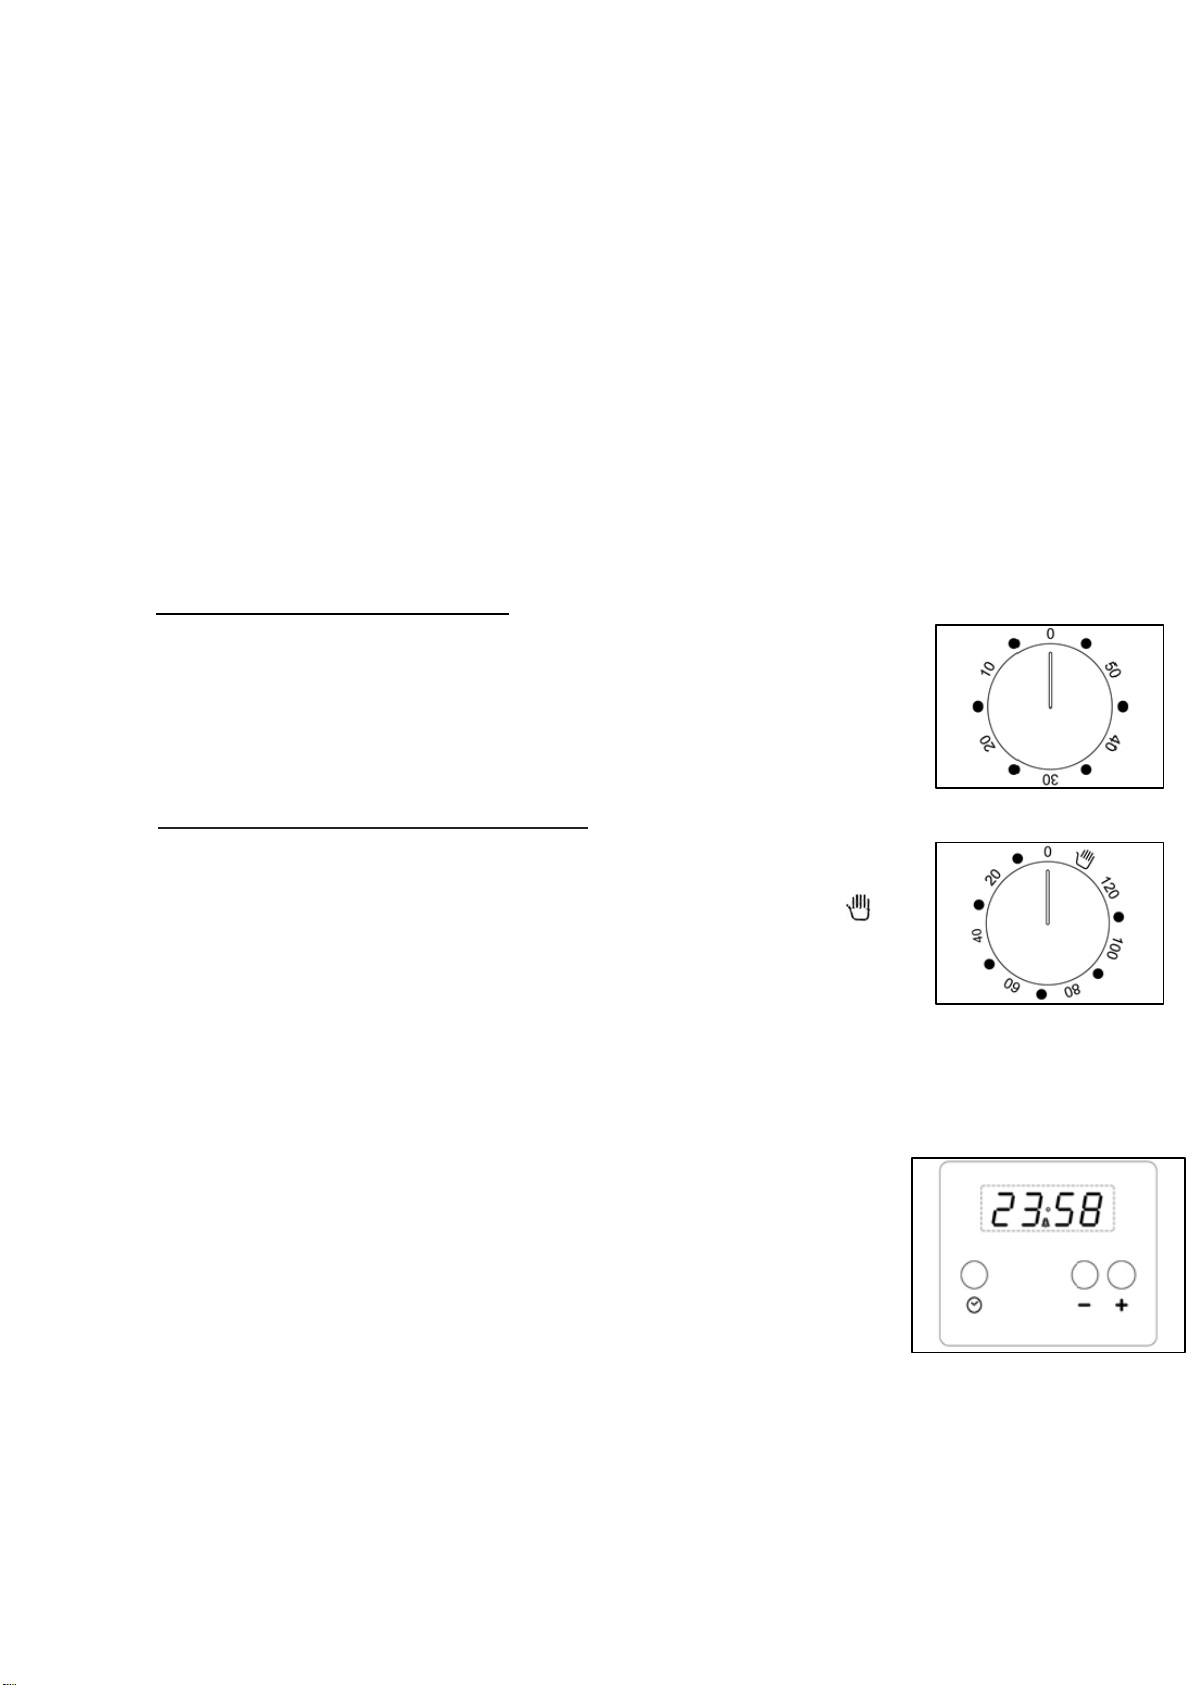
USING THE MINUTE-MINDER ( fig.24)
The minute-minder advises the user, with an acoustic signal, when food has been cooked, after
a certain time period has elapsed. To use the device, wind the minute-minder by turning the
knob clockwise one complete turn. Then turn the knob counterclockwise so that the indicator
corresponds with the selected cooking time
WARNING: the acoustic signal does not stop the cooking cycle. The use must turn off
the cooking cycle by hand using the relative knobs.
USING THE END OF COOKING TIMER (fig 25) Fig 24
It allows to select the cooking time manually or timer with automatic shut off of the oven at the
end of cooking.
If not cooking time is selected, it is necessary to position the timer knob on the symbol
.
To turn off the oven, select the timer knob on the desired cooking time and set the function and
the temperature knobs; the end of the countdown will be confirmed with a repeating tone.
NOTE: This function is available for the electric oven only.
Fig.25
USING THE DIGITAL CLOCK (fig.26)
Power on
Display is flashing
Time of day function
3 button version: press time of day button
2 button version: press both button simultaneous
Set time of day with "+" and "-" buttons.
This function remains activated 7 seconds after the last "+" / "-" operation!
Change Summertime / Wintertime
Activate time of day function; press the button for 4 seconds until the hours display will flash.
Change the hours only by using the “+” or “-“ button. The minutes and hidden seconds will
not be affected !
Set timer Fig.26
This function will be activated with "+" button. Press "+" button again to increase duration time.
During setting the units are 10 seconds steps or minutes.
During count down the timer has priority in the display. The bell- symbol illuminated. The units are seconds or
minutes in the long time section.
Loading ...
Loading ...
Loading ...