Loading ...
Loading ...
Loading ...
13
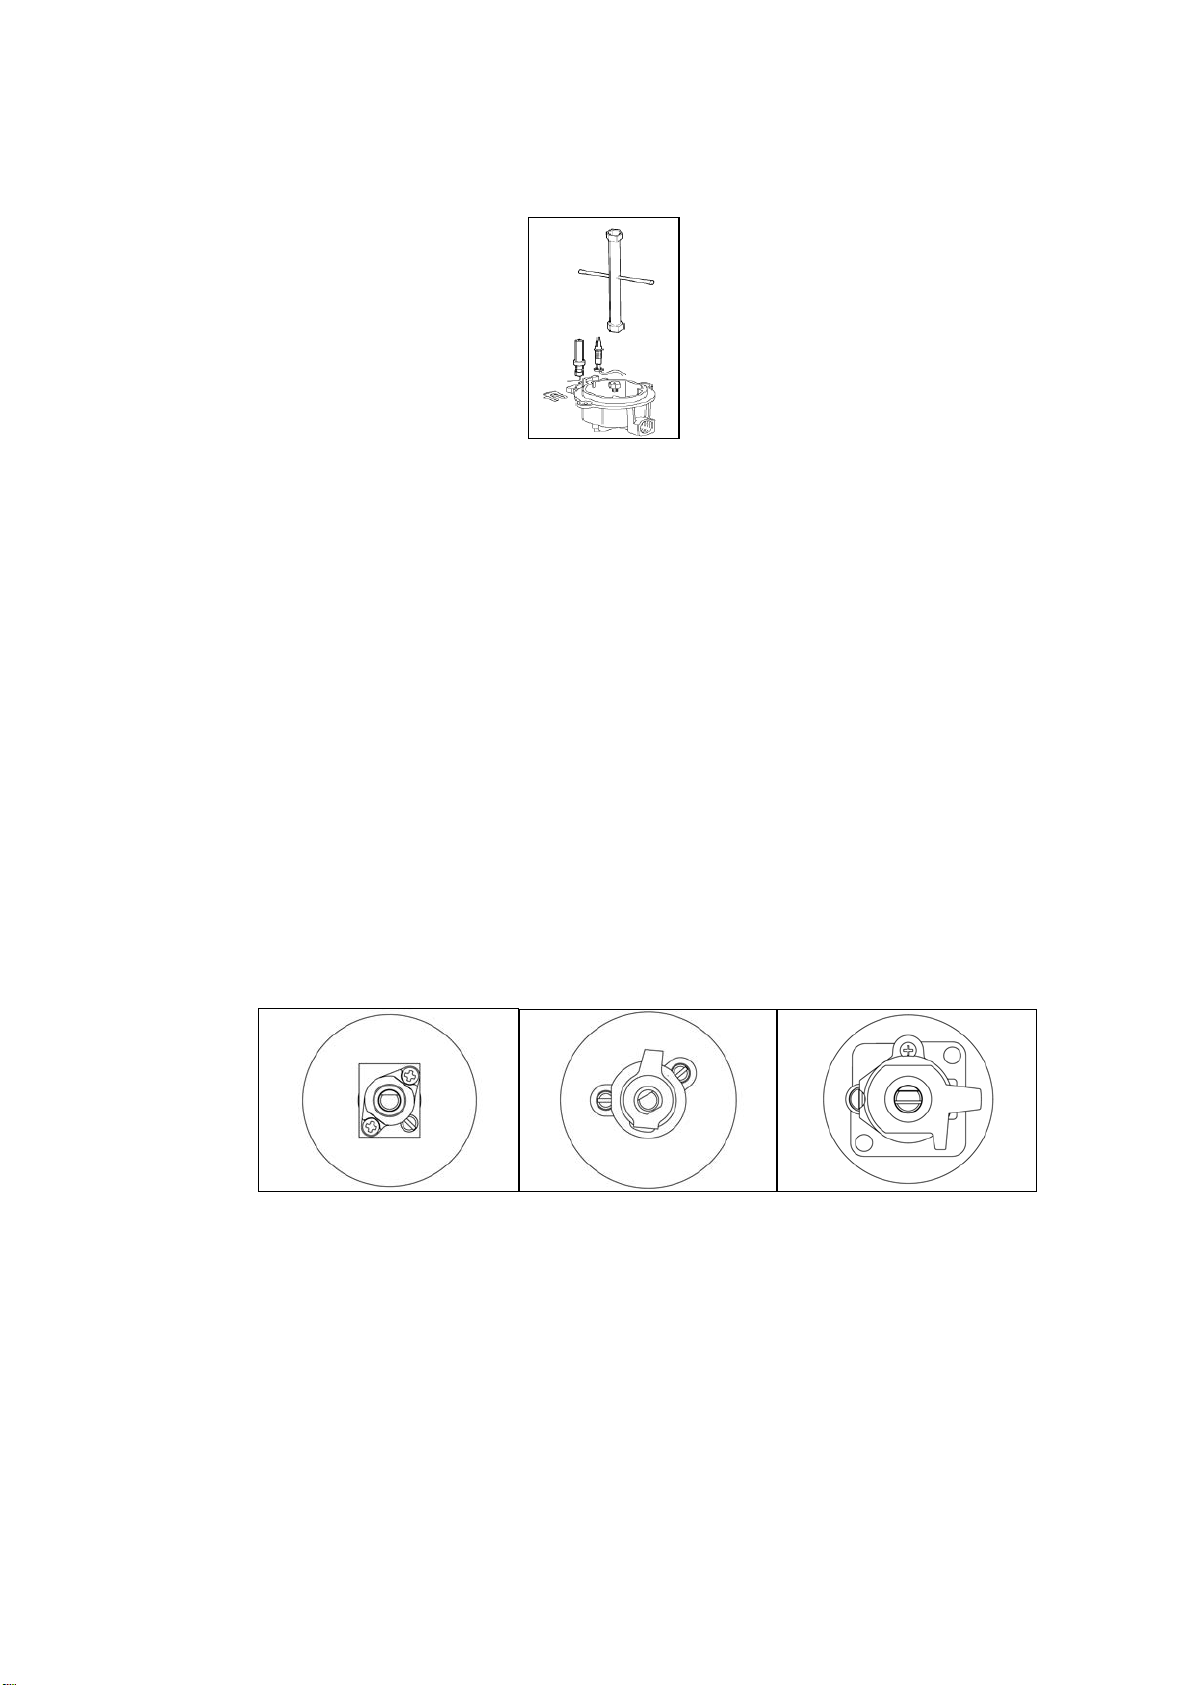
4) Unscrew the nozzles using a 7 mm spanner, and replace them (Fig.12) with those needed for the new type
of gas according to what is indicated in the Energy Consumption Table.
Fig.12
5) Burner "MINIMUM" adjustment:
Work surface burner adjustment: follow the instructions below to adjust the work surface burner minimum:
Light the burner and set the knob to the MINIMUM position (small flame).
Remove the knob of the valve that is press fit on the rod of that valve.
For all burners except for the wok burner, insert a small slotted screwdriver into the hole on the valve
rod (Fig. 13) and turn the choke screw to the right or left until the burner flame is adjusted to minimum.
The wok burner has 2 adjustment screws on either side of the body of the valve (Fig. 14). Screw A is
for the outer ring and screw B is for the inner ring. Turn the choke screw to the right or left until the burner flam
e is adjusted to minimum.
Ensure sure that the flame does not go out when s witching quickly from the MAXIMUM to the
MINIMUM position.
Oven burner adjustment: follow the instructions below to adjust the minimum:
Light the burner setting the knob to the MAXIMUM position.
Close the oven door and operate the oven for at least 10 minutes.
Set the knob to the MINIMUM position (corresponding to 120°) and then remove it.
With a slotted screwdriver turn the choking screw (see figure 15) and, while observing the flame at the
same time through the cooker porthole, evaluate the consistency of the flame so it remains on when switching
quickly from the MINIMUM to the MAXIMUM position.
WARNING: The above-mentioned adjustment should be made only with natural gas burners, while for
those operating with liquid gas the screw must be locked at the end in a clockwise direction.
Fig. 13 Fig.14 Fig.15
Loading ...
Loading ...
Loading ...