Loading ...
Loading ...
Loading ...
3
Shooting
66
6 Set the number of shots and bracket value.
Available operations
7 Press E.
The camera returns to standby mode.
8 Shoot.
After pictures are taken, the camera returns to standby
mode.
t Memo
• The bracket value can be set in increments of 1/3 EV steps or
1/2 EV steps according to the [1 EV Steps] setting of the E1
menu.
• The following settings for Bracketing can be set in the E2
menu.
• You can switch between [Single Frame Shooting] and
[Bracketing] and change the bracket value for [Bracketing]
using the Smart Function. (p.22)
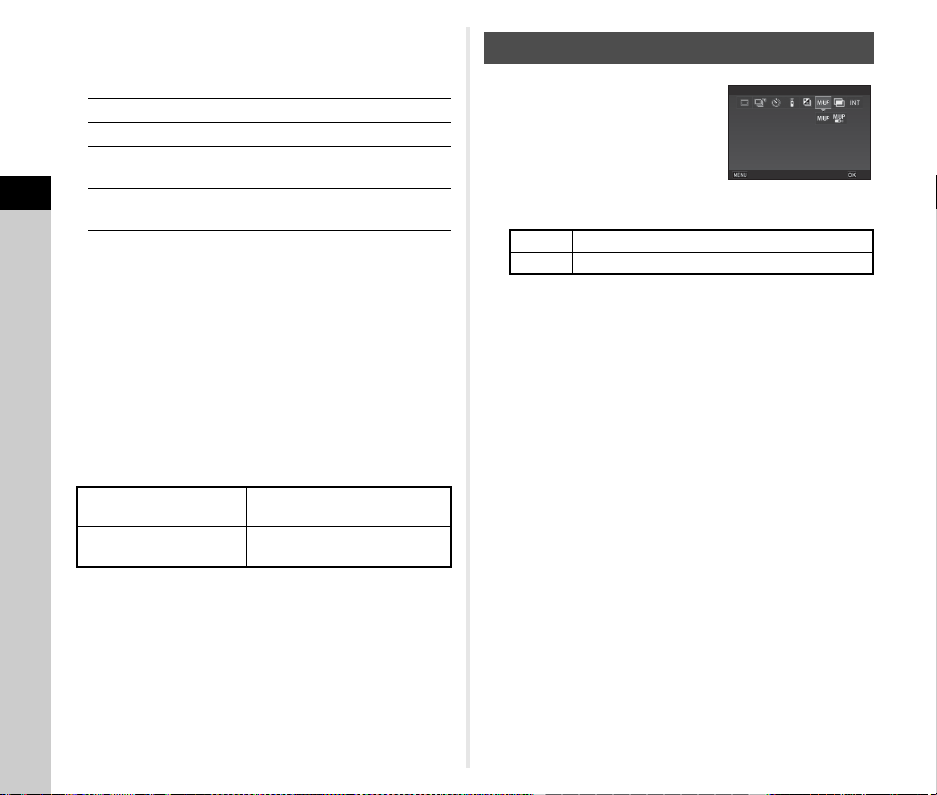
1 Select c on the Drive
Mode screen and press B.
2 Use CD to select c or d.
3 Press E.
The camera returns to standby mode.
4 Press 0 halfway, and then fully.
The mirror pops up and the AE Lock function is activated.
5 Press 0 fully again.
The mirror returns to its original position after the image is
taken.
t Memo
• The mirror automatically returns to its original position if 1
minute elapses after the mirror pops up.
u Caution
• Mirror Lock-up Shooting cannot be selected when shooting
with Live View.
Q
Sets the number of shots.
R
Changes the bracket value.
JR
Adjusts the exposure compensation
value.
M
Resets the compensation value to the
default setting.
11 Bracketing Order
Changes the shooting order of
pictures.
12 One-Push Bracketing
Takes all pictures with one
release of the shutter.
Mirror Lock-up Shooting
c Mirror Lock-up Shooting
d Mirror Lock-up Shooting + Remote Control
Mirror Lock-up Shooting
Mirror Lock-up Shooting
Cancel
Cancel
OK
OK
Loading ...
Loading ...
Loading ...