Loading ...
Loading ...
Loading ...
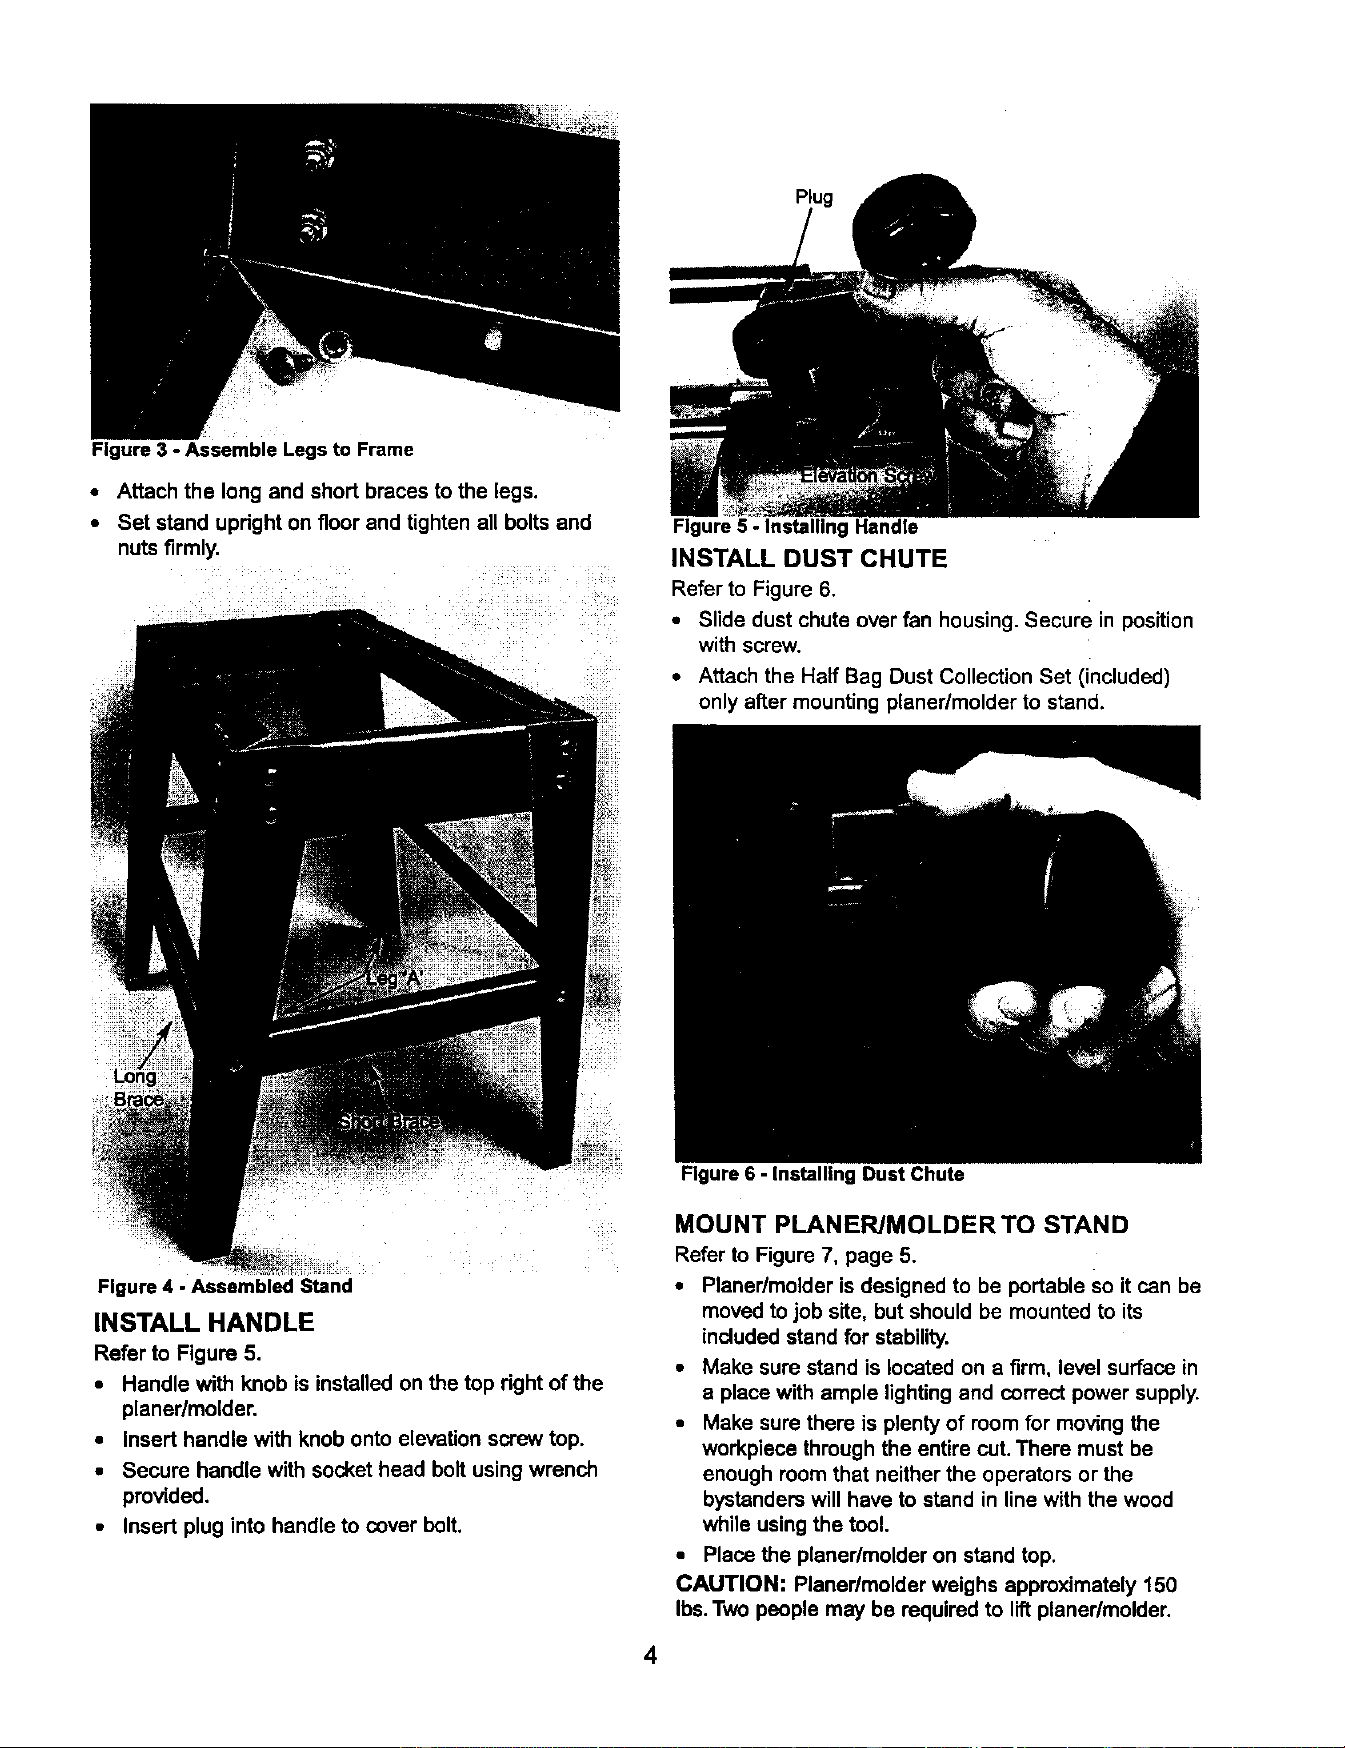
Figure3 - AssembleLegsto Frame
• Attach the long and short braces to the legs.
• Set stand upright on floor and tighten all boltsand
nuts firmly.
Figure5 - InstallingHandle
INSTALL DUST CHUTE
Refer to Figure 6,
• Slide dust chute over fan housing. Secure in position
with screw.
• Attach the Half Beg Dust Collection Set (included)
only after mounting planer/molder to stand.
Figure4 - Assembled Stand
INSTALL HANDLE
Refer to Figure 5.
• Handle with knob is installedon the top rightof the
planer/molder.
• Insert handle with knobonto elevationscrewtop.
• Secure handle with sockethead boltusingwrench
provided,
• Insert plug into handle to ooverbolt.
4
Figure 6 - Installing Dust Chute
MOUNT PLANERJMOLDER TO STAND
Refer to Figure 7, page 5.
• Planer/molderis designedto be portable so itcan be
movedtojob site, but shouldbe mountedto its
includedstand for stability.
• Make sure stand is located on a firm, level surface in
a place with ample lightingand correctpowersupply.
• Make sure there is plentyof roomfor movingthe
workpiece throughthe entire cut.There must be
enoughroomthat neither the operatorsor the
bystanderswill have to stand in linewith the wood
whileusingthe tool.
• Place the planer/molderon stand top.
CAUTION: Planer/molder weighs approximately150
Ibs.Two people may be required to liftplaner/molder.
Loading ...
Loading ...
Loading ...