Loading ...
Loading ...
Loading ...
• Check accuracy oftest cut priortoworkingon fin-
ishedproduct.
AVOID DAMAGE TO BLADES
• Thickness planer/molder is a precision woodworking
machine and shouldbe used on qualitylumber only.
• Do not plane dirtyboards;dirt and small stones are
abrasive and wear out blade.
• Removenailsand staples.Use planer/molderto cut
woodonly.
• Avoid knots.Heavily cross-grainedwood makes
knots hard. Knots can come loose and jam blade.
CAUTION: Any articlethat encountersplaner/molder
bladesmay be forciblyejectedfrom planer/moldercreat-
ingdsk of injury.
AVOIDING SNIPE
• Snipe refersto e depression at either end of board
caused by an unevenforce on cutterhead when
work is enteringor leaving planer/molder.
• Snipe occurswhen boards are not supported prop-
erly or when only one feed rollerisin contact with
work at beginningor end of cut.
• To avoidsnipe on the lead edge of the workpiece,
adjustthe infeedtable up slightlyabove hodzontaL
• To avoidsnipe on the trailingedge of the workpiece,
adjustthe ouffeed table up slightlyabove horizontal.
• When planing more than one board ofthe same
thickness, butt boardstogether to avoidsnipe.
• Snipe is more apparent when deeper cuts are taken.
• Feed work in direction of grain.Work fed against
grain will have chipped, splintered edges.
MOLDING
Molding, also known as millworkor trim, can be defined
as a stripof wood milledwith a plain or decorativesur-
face which is continuousthroughoutitslength.
• Toget superior moldingfinish,workpieca mustbe
planed and presized pdor to molding.Always presize
the workpieca to within ',_,"of the finalthickness
priorto molding.
• During moldingoperation, do not exceed I/,, total
depth of cut.
Certain molding profilesrequireouter edge clean-up.
When using such profilesthe workpieca mustbe pre-
sized to t_,,larger than the finalwidth.This willallow '1,,"
for clean-up on either side.
Certain moldingprofilescut onlythe edge of workpieca.
When using such profilesworkpieca mustbe presized
to the same widthas the final width.
INSTALLING MOLDING CUTTERS
Refer to Figures21-24.
NOTE: When installingmoldingcuttersor pattamknives,
only use the gibssupplied with this planer/molder.
The moldingcutter bits,Sears Model Numbers 23301
through 23313, and Picture Frame Cutter Set 24023
are 'k" thickand are installedusing the moldinggibs
and lk" spacers providedwith the planer/molder.
The cutterhead on this planer/molderhas four slots.
Two slotsare used to hold the planing blades.The
other two slots are used to hold moldingcuttersand
pattern knives.The settingblockin the slot alignsthe
cuttersso that both cutterscut theworkpiece in the
same positionprovidingprecise cutsand improvedsur-
face finish.
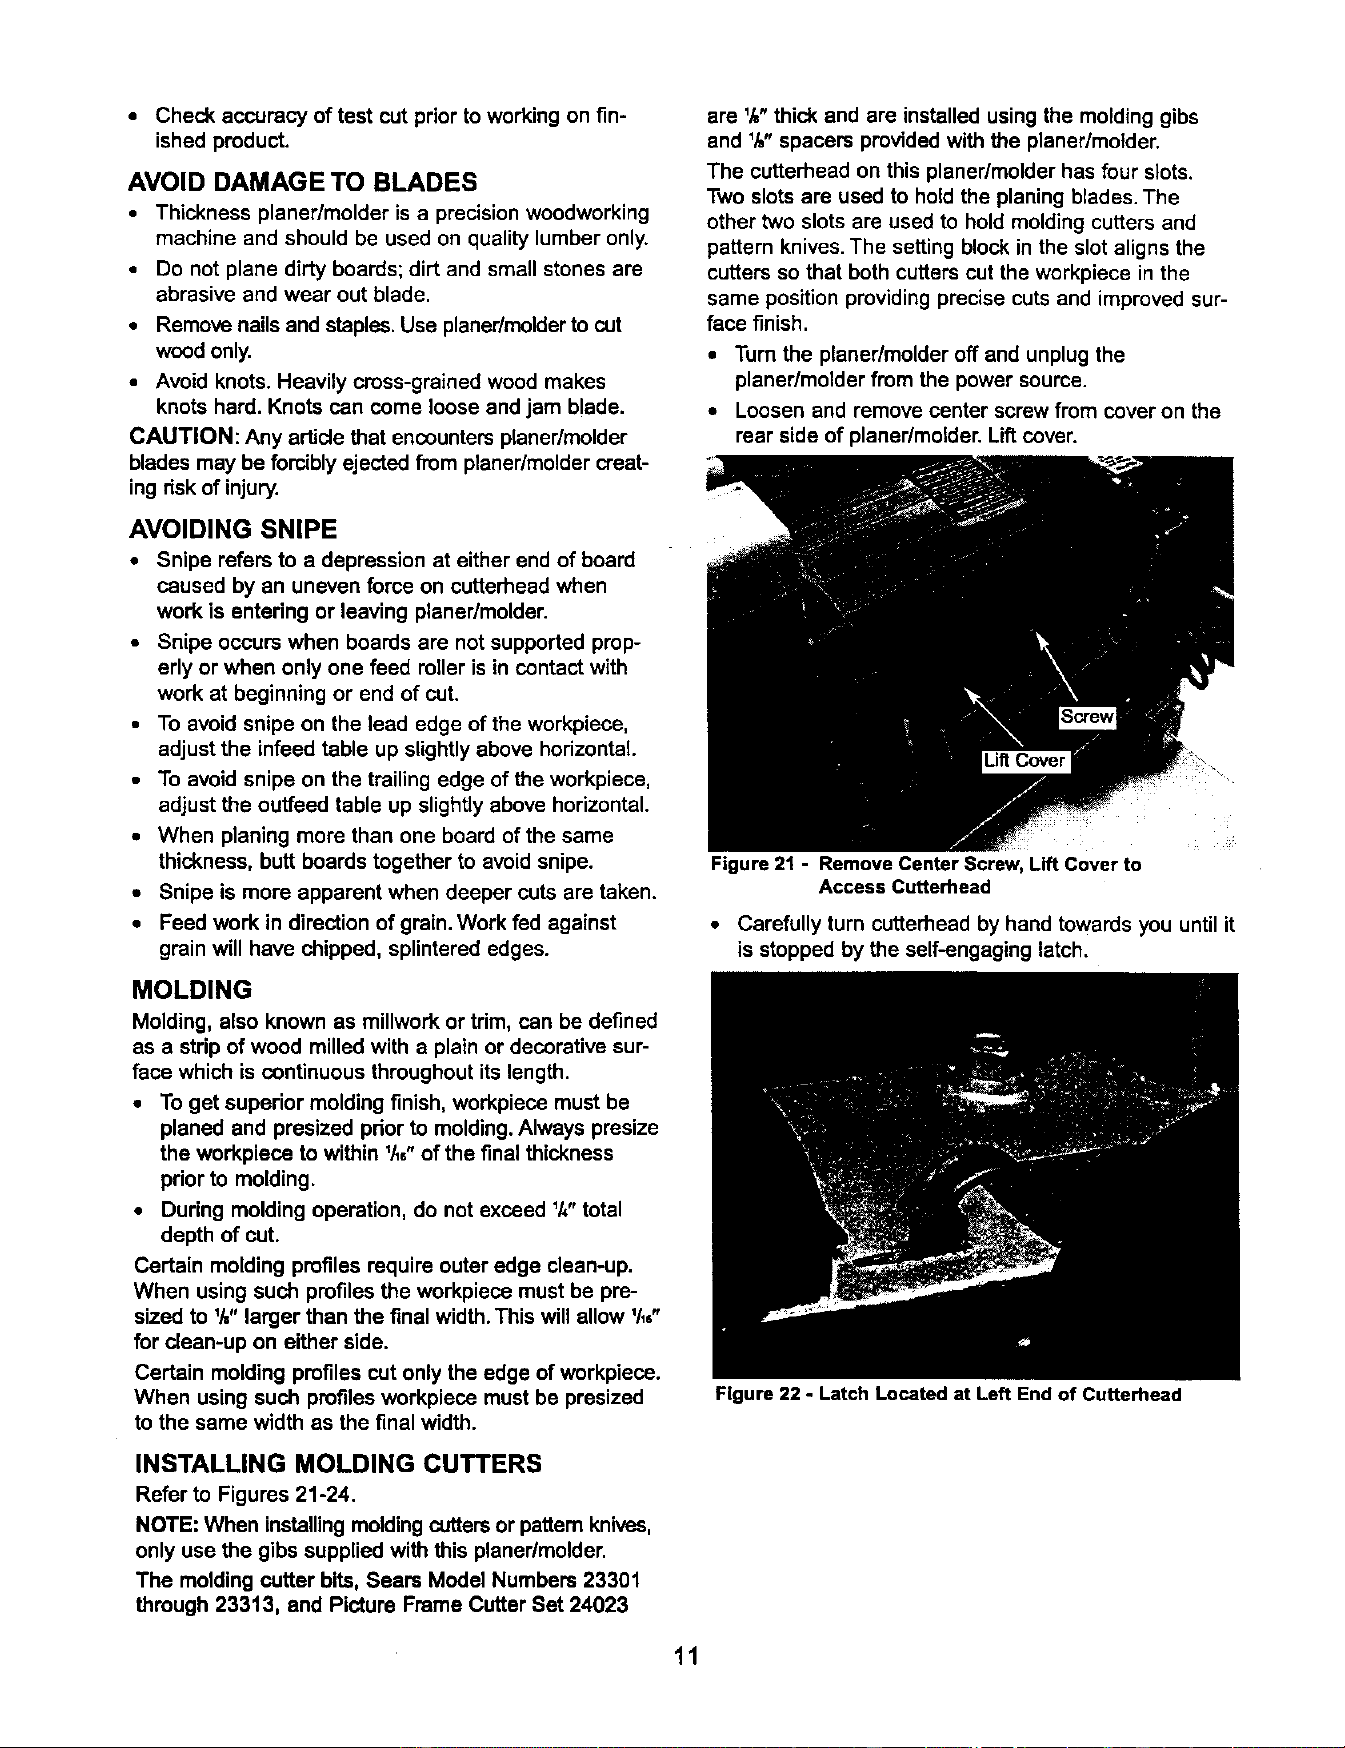
• Turn the planer/molderoff and unplugthe
planer/molderfrom the power source.
• Loosen and removecenter screwfrom cover on the
rear side of planer/molder.Lif_cover.
Figure 21 - Remove Center Screw, Lift Cover to
Access Cutterhead
• Carefully turn cutterheadby hand towards you until it
is stopped by the self-engaginglatch.
11
Figure 22 - Latch Located at Left End of Cutterhead
Loading ...
Loading ...
Loading ...