Loading ...
Loading ...
Loading ...
English
81
4 Replace the DVD.
If one disc cannot contain all scenes, the
screen for verifying DVD replacement will
appear. To continue dubbing, press the DISC
EJECT button, and then replace the DVD:
Dubbing will restart from the scene
following.
To stop dubbing, press the (STOP/EXIT)
button.
5 After dubbing is finished, check the “Delete
Scene” screen.
Choosing “YES” will delete the dubbed
scenes from the HDD.
To retain the dubbed scenes on the HDD,
choose “NO”.
6 Press DISC EJECT button to remove the DVD.
Close the cover of DVD insertion block.
If you do not want to remove the DVD, press
the (STOP/EXIT) button to end dubbing.
DUBBING SCENES RECORDED ON SAME DAY COLLECTIVELY (“DATE”
DUBBING)
This option allows you to collectively dub scenes recorded on HDD on one day, to a DVD.
If those scenes cannot be included on one DVD, the capacity of scenes will be calculated and the
scenes will be dubbed up to capacity. When the DVD is replaced following the instruction on
replacement of DVD during dubbing, dubbing will start from the scene following: Repeat this
operation until dubbing of all scenes recorded on HDD on one day is finished.
1 Press the DUBBING button.
The Dubbing Menu will appear.
You can also display the Dubbing Menu from
the Disc Navigation screen: Press the DISC
NAVIGATION button, press the MENU
button, choose “Scene”, “Dubbing”,
“Execute”, and then press the button.
2 From the Dubbing Menu screen, choose
“Date” and press the button.
If no DVD is loaded in this DVD video
camera/recorder, a message will appear:
Press the DISC EJECT button, and then load a
DVD.
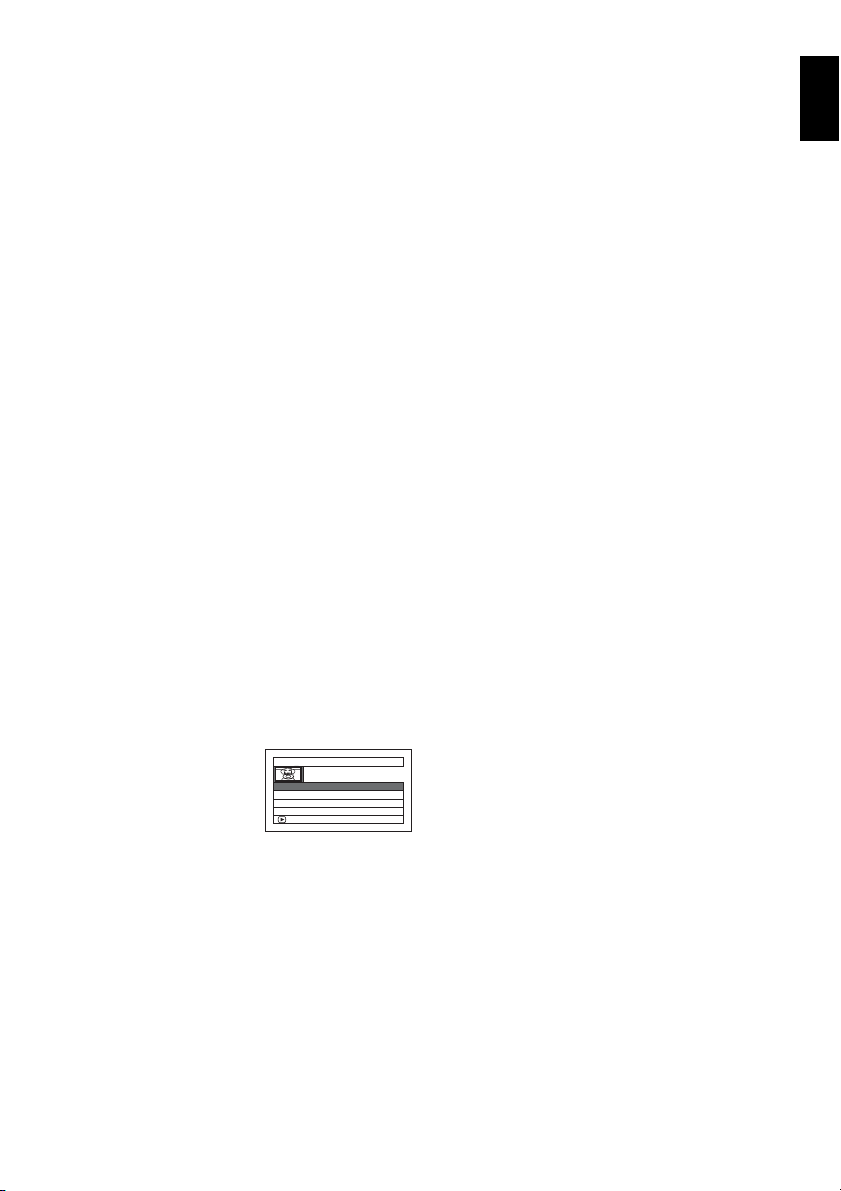
3 From the “Select
Date” screen, select
the date on which
scenes are to be
dubbed, and then
press the button.
If you have changed the title of programme
(see page 95), the title will appear on the
“Select Date” screen in place of the date.
4 The screen for verification will appear:
Choose “YES” and press the button.
Pressing the 2 button at this time will allow
you to check the scenes to be dubbed to a
DVD that is loaded in the DVD video
camera/recorder: The scenes to be dubbed
will be encircled by a red cursor. To return to
the verification screen, press the (STOP/
EXIT) button.
5 Replace the DVD.
If one disc cannot contain all scenes, the
screen for verifying DVD replacement will
appear. To continue dubbing, press the DISC
EJECT button, and then replace the DVD:
Dubbing will restart from the scene
following.
To stop dubbing, press the (STOP/EXIT)
button.
6 After dubbing is finished, check the “Delete
Scene” screen.
Choosing “YES” will delete the dubbed
scenes from the HDD.
To retain the dubbed scenes on the HDD,
choose “NO”.
7 Press DISC EJECT button to remove the DVD.
Close the cover of DVD insertion block.
If you do not want to remove the DVD, press
the (STOP/EXIT) button to end dubbing.
Select Date
03 10/ 3/ 2007
01 1/ 3/ 2007
02 5/ 3/ 2007
ENTER
04 15/ 3/ 2007
Loading ...
Loading ...
Loading ...