Loading ...
Loading ...
Loading ...
English
123
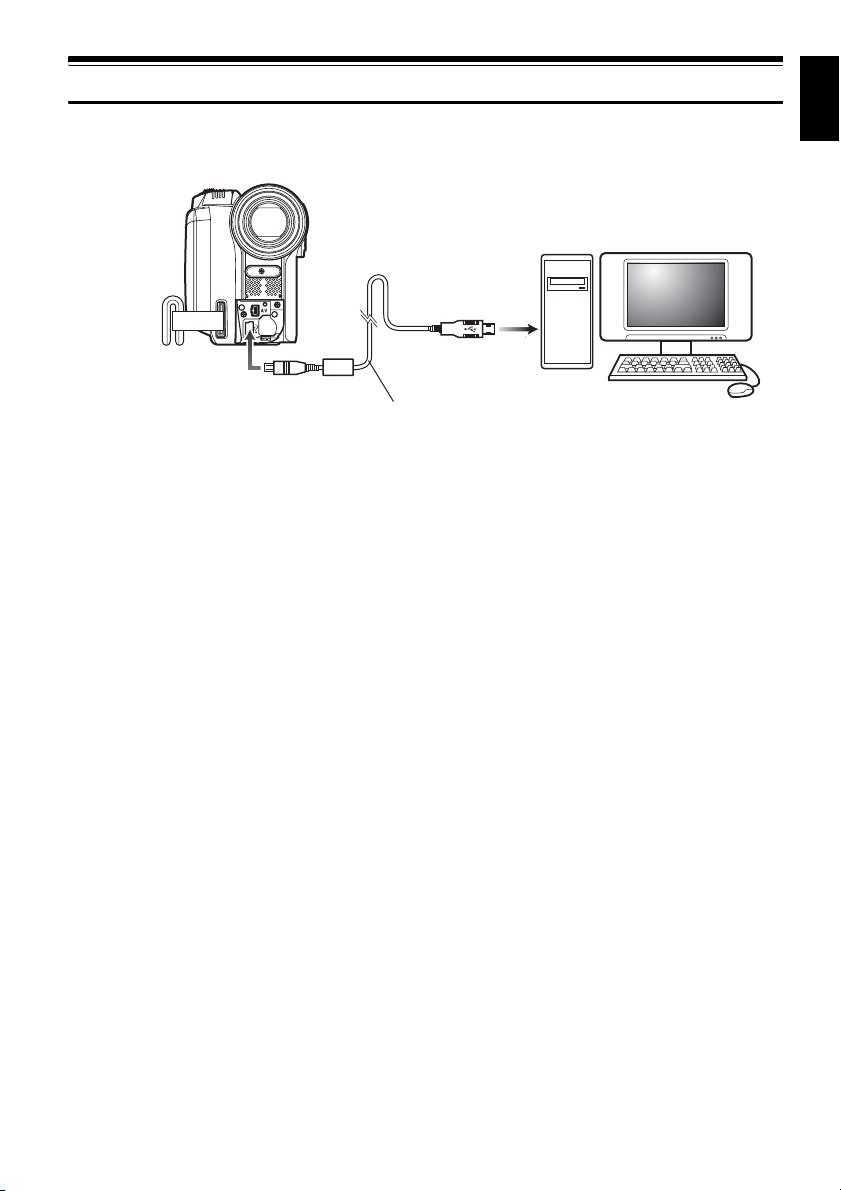
Connecting to PC via PC Connection Cable
Use the provided PC connection cable to connect the DVD video camera/recorder to PC as shown
below.
Note:
• The PC connection cable does not supply power to the DVD video camera/recorder: Use the AC adapter/charger
to power the DVD video camera/recorder.
• Before connecting the DVD video camera/recorder to PC, disconnect any cables other than the PC connection
cable and AC adapter/charger.
• When connecting the DVD video camera/recorder to PC, the ACCESS/PC indicator will light green. While HDD or
a disc is being accessed, the indicator will light or blink orange. While an SD memory card is being accessed, the
CARD ACCESS indicator will light or blink red.
• When this DVD video camera/recorder is connected to PC, nothing will appear on the LCD monitor or in the
viewfinder.
• When using Windows, the DVD video camera/recorder can be connected to a USB1.1 port of PC. However, since
the data transfer speed is lower than when connecting to a USB2.0 port, lost frames may occur or the process
may take more time.
• Read “Cautions when connecting DVD video camera/recorder to PC” on page 136.
The power switch of this DVD video camera/recorder has three modes: HDD mode when it is set to
“HDD”, Disc mode when it is set to “DVD”, and Card mode when it is set to “SD”.
* The mode cannot be switched while the DVD video camera/recorder is connected to PC. To
switch, unplug the PC connection cable from the PC (see page 126), and then change over the
power switch.
If you connect the DVD video camera/recorder to PC via PC connection cable, the PC will
automatically recognise the DVD video camera/recorder. After recognition is finished, it may be
prompted to restart the PC: In this case, follow the instruction and restart the PC.
To PC connection
terminal
PC connection cable (provided)
To USB connection
terminal
Loading ...
Loading ...
Loading ...